
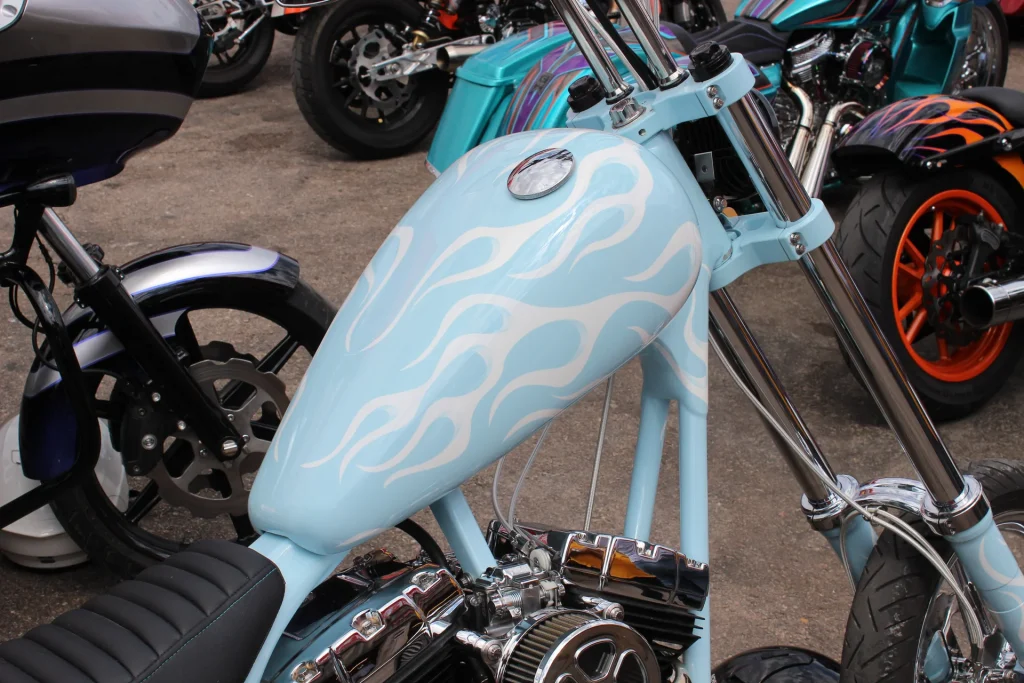
If you want your chopper bike to stand out and truly reflect your personality, customizing the paint is the key. Imagine rolling down the street with a bike that turns heads because of its unique color and design—one that no one else has.
You might think customizing paint is complicated or expensive, but it doesn’t have to be. You’ll discover simple steps and expert tips to create a paint job that’s all your own. Ready to transform your chopper into a masterpiece? Keep reading to find out how.

Credit: www.blackwidowcustompaint.com
Choosing The Right Paint Type
Enamel paintis easy to use and dries slowly. It offers a shiny finish but can be less flexible. Urethane paintis tougher and lasts longer. It resists chips and scratches well. Urethane also holds color better over time. Both types can make your chopper look great. Choose enamel for ease and cost, urethane for durability and shine.
- Custom paintsmake your bike unique and personal.
- They can protect metal from rust and weather.
- Custom colors can increase your bike’s value.
- They allow creative designs and patterns.
| Factor | Effect on Paint |
|---|---|
| Sunlight | Can fade colors over time |
| Weather | Rain and wind can wear paint |
| Surface Preparation | Clean, smooth surfaces help paint stick |
| Paint Quality | Higher quality paints last longer |
| Clear Coat | Protects paint from damage and shines |

Credit: www.youtube.com
Preparing The Bike Surface
Start by cleaningthe bike surface thoroughly. Use soap and water to remove dirt and grease. Dry the bike completely before moving on. Sandinghelps the paint stick better. Use medium-grit sandpaper to gently sand the frame. This removes the shiny layer and roughens the surface.
Remove old paint by using a paint stripper or sandpaper. Take care to protect your skin and eyes during this process. Scrape off peeling paint until the surface is smooth.
Apply a primerto the frame after cleaning and sanding. Primer helps the new paint stick and lasts longer. Use a spray primer for even coverage. Let the primer dry fully before painting.
Selecting Colors And Designs
Choosing the right colors sets the mood for your chopper bike. Popular color schemesoften include classic black and chrome, deep reds, or bright blues. These colors give a bold and clean look.
Personal stylecan shine through by mixing colors or adding unique touches. Use your favorite shades or try a matte finish for a modern feel.
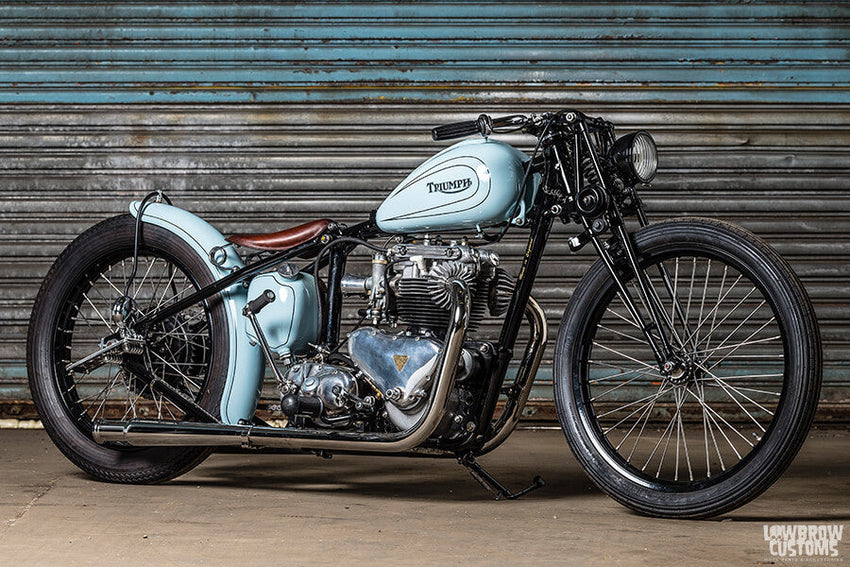
Stencils and tapehelp create sharp lines and patterns. They make painting easier and more precise. Simple shapes like stripes or flames add a cool effect without much effort.
- Black and chrome for a timeless look
- Bright red or blue for a stand-out style
- Matte or glossy finish for texture
- Stripes, flames, or geometric shapes using stencils
- Mix colors to show your personality
Credit: www.lowbrowcustoms.com
Painting Techniques For Choppers
Using a spray gunhelps create smooth and even paint layers on chopper bikes. Keep the gun 6-8 inchesfrom the surface. Use steady, sweeping motions to avoid drips. Thin the paint slightly for better flow. Practice on scrap metal before starting on the bike.
Hand painting works best for fine detailsand custom designs. Use small brushes and good-quality paint. Dab gently and build up color slowly. Patience helps avoid mistakes and uneven spots.
Layering and blending bring depth to the paint job. Start with a base coat. Let it dry before adding more layers. Blend colors while still wet for smooth transitions. Use light coats to prevent runs and bubbles.
Adding Custom Graphics
Airbrushinglets you create smooth, detailed designs on your bike. Choose bright colors that stand out. Use stencils for sharp shapes or freehand for a unique look. Practice on paper first to get the feel.
Decals and stickersare easy and fast. Pick designs that match your bike’s style. Clean the surface before applying. Press firmly to avoid bubbles. They can be changed anytime without damage.
Pinstripingadds thin, clean lines to your paint job. Use a steady hand and a small brush. Choose colors that contrast well with your base paint. Simple lines can highlight curves and edges beautifully.
Protecting Your Custom Paint
Clear coats give an extra layer of protection to your bike’s paint. They keep the paint looking shiny and new. Sealants work like a shield against dust and scratches. Both are important for maintaining your bike’s beauty. Use a quality product for the best results.
Proper curing and drying times are crucial. Let the paint dry completely before riding. This prevents damage and ensures durability. Paint usually needs a few days to cure. Be patient for the best outcome.
- Wash your bike regularly to keep it clean.
- Use soft cloths to avoid scratching the paint.
- Store your bike indoors to protect from weather.
- Check for any damage and fix it quickly.
Common Mistakes To Avoid
Avoid rushing the preparation process, as poor surface cleaning can ruin the paint finish. Skipping proper drying times leads to uneven coats and peeling later. Choosing the wrong type of paint or ignoring safety measures also causes problems.
Poor Surface Prep
Always clean the bike surface properly. Dust and dirt cause bad paint jobs. Use sandpaper to smooth rough spots. This helps paint stick better. A clean surface makes colors shine bright.
Inconsistent Coats
Apply paint evenly for a smooth look. Uneven coats look messy. Thin layers work best. Let each layer dry before adding more. This prevents paint from dripping.
Ignoring Safety Precautions
Safety gear is very important. Wear masks to avoid breathing fumes. Goggles protect your eyes from paint splashes. Gloves keep hands clean and safe. Always paint in a well-ventilated area. This keeps you safe from harmful chemicals.
Tools And Materials Checklist
Essential painting tools include spray guns, paintbrushes, and sandpaper. Use masking tapeto protect parts you do not want painted. A clean clothhelps remove dust before painting. Primerprepares the bike’s surface for paint.
| Recommended Paint Brands | Type | Notes |
|---|---|---|
| Dupli-Color | Spray Paint | Good for metal surfaces, durable finish |
| Rust-Oleum | Enamel Paint | Resists rust and chipping |
| House of Kolor | Custom Paint | Wide color range, high quality |
Wear safety glassesto protect eyes from paint splashes. Use a respirator maskto avoid breathing paint fumes. Gloves keep hands clean and safe. Work in a well-ventilatedarea to avoid harmful fumes.
Frequently Asked Questions
How Do I Choose Paint Colors For Chopper Bikes?
Choose colors that reflect your style and bike’s personality. Consider durable, high-quality paints for longevity and vibrancy.
What Tools Are Needed To Customize Chopper Bike Paint?
Essential tools include spray guns, airbrushes, sandpaper, masking tape, and primer. Proper tools ensure smooth and professional results.
Can I Customize Chopper Paint Myself At Home?
Yes, with patience and the right materials, DIY customization is possible. Follow preparation steps carefully for the best finish.
How Long Does Chopper Bike Paint Customization Take?
Customization varies by design complexity but typically takes several days. Allow time for drying and multiple paint layers.
Conclusion
Customizing paint on chopper bikes adds a personal touch and style. Choose colors and designs that reflect your personality. Use quality paint and tools for the best finish. Take your time to prepare the surface properly before painting. Remember, small details make a big difference in the final look.
Enjoy the process and show off your unique bike with pride. Keep practicing, and your skills will improve with every project.



