
Imagine cruising down the road on your bike, feeling the smooth glide of the wheels, and knowing you’re less likely to face a dreaded puncture. This isn’t just a dream—it’s the reality of converting your road bike to tubeless.
You’ve probably heard the buzz about tubeless tires, promising fewer flats and better performance. But how do you make the switch? If you’ve ever found yourself frustrated by flat tires or intrigued by the promise of a smoother ride, you’re in the right place.
We’ll guide you through the straightforward steps to convert your road bike to tubeless, making your rides more enjoyable and worry-free. As you discover the benefits and simplicity of this transformation, you’ll wonder why you didn’t make the change sooner. Are you ready to revolutionize your cycling experience? Let’s dive in.

Credit: www.reddit.com
Benefits Of Tubeless Road Bikes
Tubeless road bikes offer smoother rides. They reduce the risk of flat tires. Less air pressure means better grip on the road. This enhances control while cycling. Fewer punctures occur with tubeless tires. Riders spend more time cycling, less fixing flats. Tubeless tires are often lighter. This helps with speed and efficiency. Better performance is a key advantage. Cyclists enjoy longer rides with less discomfort. The tires adapt well to different terrains. They handle rough roads with ease. Improved traction helps in wet conditions. Safety is increased in rainy weather. Tubeless tires are a smart choice. They offer enhanced durability over regular tires. Maintenance is simpler and less frequent. Cyclists appreciate the convenience. Tubeless road bikes are a popular choice for many.
Essential Tools And Materials
Converting a road bike to tubeless requires specific tools. A tubeless tireis crucial. You also need a tubeless valve. It helps seal the tire. A sealantprevents air leaks. A tire leverassists in removing the tire.
Ensure you have a pump. It inflates the tire properly. A rim tapeis necessary to seal the rim. Check your bike’s rim compatibility. Not all rims work with tubeless.
- Tubeless tires
- Tubeless valves
- Sealant
- Tire levers
- Pump
- Rim tape
Gather these tools first. They make the process easier. The right tools ensure safety. Your bike will be ready for smooth rides.
Preparing The Wheel
Ensure the rims are clean and free of debris. Check compatibility with tubeless-ready tires. Apply sealant evenly inside the rim, allowing it to distribute throughout. Securely fit the tire onto the rim, ensuring a tight seal. Inflate to recommended pressure for optimal performance.
Removing The Tire
First, deflate the tire completely. Use a tire lever to gently pry off the tire from the rim. Be careful not to damage the rim or tire. Once the tire is loose, remove it entirely from the wheel.
Cleaning The Rim
Use a clean cloth to wipe the rim thoroughly. Ensure there is no dirt or residue left. This is important for the sealant to work effectively. Pay special attention to the rim edges, where the tire will sit. The rim must be spotless for a good seal.

Credit: www.youtube.com
Installing Tubeless Rim Tape
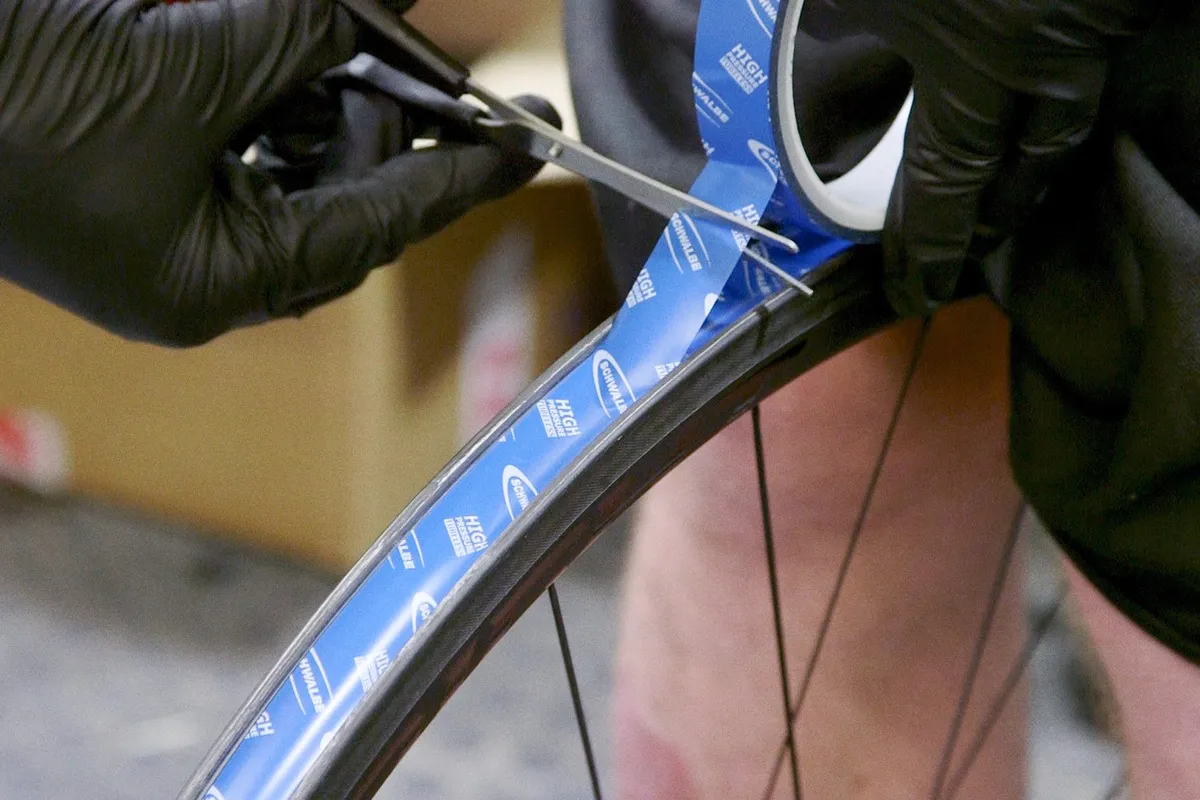
Installing tubeless rim tape ensures an airtight seal for your road bike conversion. Clean the rim thoroughly and apply the tape evenly. Make sure it covers all spoke holes to prevent leaks and maintain tire pressure.
Choosing The Right Tape
Pick tubeless-specific tape for your bike. Measure your rim width first. Ensure the tape is wide enough to cover the rim. Check the tape quality for durability. Avoid cheap tape that tears easily. Select a tape with strong adhesive. Choose a color that matches your bike style.
Applying The Tape
Start by cleaning the rim thoroughly. Make sure it’s dry before taping. Begin at the valve hole. Stick the tape firmly on the rim. Press it smoothly along the rim. Avoid air bubbles under the tape. Overlap the tape slightly at the end. Cut the tape neatly. Check for gaps or loose areas. Secure the tape well for a tight seal.
Mounting The Tubeless Tire
Mounting a tubeless tire on your road bike involves careful preparation. Clean the rim and apply rim tape. Install the valve, then fit the tire onto the rim. Inflate the tire to seat it properly, ensuring a secure fit for a smooth ride.
Selecting The Tubeless Tire
Choose a tire that fits your bike’s rim size. Look for tubeless-ready tires. These are easier to mount. Check the tire’s sidewall for compatibility. Some brands are more reliable than others. Read reviews before buying. A good choice makes riding smoother.
Positioning The Tire
Place one side of the tire onto the rim. Start at the valve stem. Use your hands to push the tire around. Make sure the tire is even. The tire should sit snugly on the rim. Use a tire lever if needed. Be careful not to pinch the tire.
Sealing The Tire
Sealing the tire is essential when converting a road bike to tubeless. Ensure the tire rim is clean and apply a special sealant to prevent air leaks, enhancing your ride’s efficiency and safety.
Adding Sealant
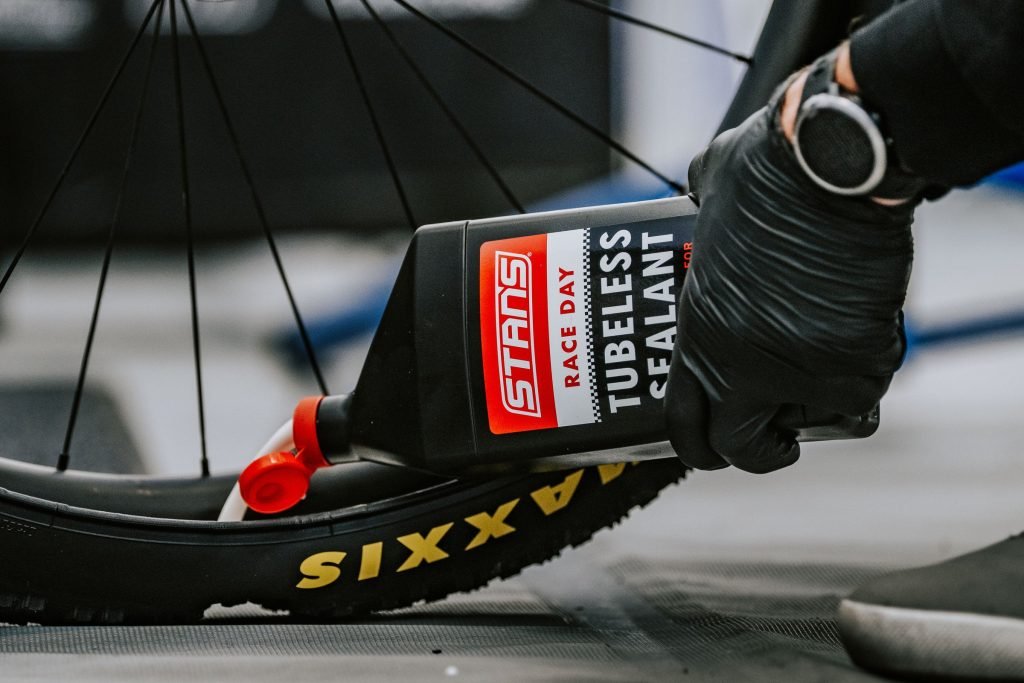
Start by shaking the sealant bottle. This mixes the ingredients. Remove the tire valve core. Use a small tool for this step. Pour the sealant inside the tire. Make sure the amount is correct. Check the sealant instructions. Replace the valve core carefully. Inflate the tire to the right pressure. Rotate the tire slowly. Let the sealant spread inside. This covers all small holes.
Ensuring Proper Sealing
Check the tire for any leaks. Listen for hissing sounds. If you hear one, add more sealant. Spin the tire again. Make sure the sealant covers everything. Check the tire pressure regularly. Keep it at the right level. This ensures the sealant works well. Ride your bike carefully at first. Test the tire on smooth roads. Look for any unusual sounds or leaks.
Inflating The Tubeless Tire
Ensure the rim is clean and free of debris. Apply tubeless tape to seal spoke holes. Insert tubeless valve securely. Inflate the tire to seat the bead properly. Check for leaks and adjust pressure as needed. Use sealant to prevent air loss and enhance puncture protection.
Using An Air Compressor
Place the air compressor nozzle on the valve. Ensure a tight seal. This helps air enter quickly. Turn on the compressor. Watch the tire inflate. It’s fast and easy. Check the pressure gauge. Stop when it reaches the right level. Be careful not to overinflate. Always wear protective gear. Safety first!
Checking For Leaks
Mix soapy water in a spray bottle. Spray it on the tire. Bubbles mean air is escaping. Find the bubbles to locate leaks. Mark the spots. Use tubeless sealant to fix them. Spin the wheel to spread sealant. Check again with soapy water. No bubbles mean no leaks. Your tire is ready to roll!
Credit: www.bikeradar.com
Troubleshooting Common Issues
Converting a road bike to tubeless can pose challenges like stubborn bead seating or air leaks. Addressing these issues requires patience and the right tools, such as a reliable pump and sealant. Properly preparing the rim and tire ensures a smooth transition to a tubeless setup.
Leaks And Punctures
Small leaks can cause tires to lose air. Check the tire for sharp objects. Remove any nails or glass. Use soapy water to find leaks. Bubbles show where air escapes. Patch the hole with a tubeless repair kit. Ensure the sealant inside the tire is enough. Shake the wheel to spread it evenly.
Maintaining Tire Pressure
Keep tires at the right pressure. Check weekly with a gauge. Low pressure makes riding hard. High pressure can cause a burst. Use a pump to adjust air. Make sure the valve is tight. Listen for air hissing. Tighten if you hear a sound.
Maintenance And Care Tips
Switching your road bike to tubeless enhances ride comfort and reduces punctures. Ensure rims and tires are compatible for tubeless setup. Regularly check sealant levels and tire pressure for optimal performance.
Regular Inspections
Check the tires for any cuts or damage. Make sure the valves are tight and secure. Look for any air leaks around the rims. Spin the wheels to see if they are straight. A wobbly wheel means a problem.
Test the brakes to ensure they work well. Clean the rims if they are dirty. Dirt can make the brakes less effective. Always make sure your bike is safe to ride.
Reapplying Sealant
Sealant helps keep your tires airtight. It stops small holes from leaking air. Every few months, add more sealant to the tires. Remove the valve core to do this.
Pour the new sealant into the tire. Spin the wheel to spread it evenly. Check if the tire holds air well. If not, add more sealant. This helps keep your ride smooth and safe.
Frequently Asked Questions
Can I Convert My Bike To Tubeless?
Yes, you can convert your bike to tubeless. Use a tubeless conversion kit, including sealant and rim tape. Ensure your rims are compatible with tubeless tires. Follow instructions carefully for successful conversion. Check with a bike professional if unsure about compatibility or installation.
Enjoy enhanced puncture resistance and improved ride quality.
Can I Put Tubeless Tires On My Road Bike?
Yes, you can use tubeless tires on your road bike. Ensure compatibility with your rims and follow installation instructions for optimal performance. Tubeless tires offer benefits like reduced punctures and improved ride quality. Proper setup involves sealant and airtight fitting to enjoy a smoother cycling experience.
Why Do Pros Not Ride Tubeless?
Pros often avoid tubeless tires due to reliability concerns, higher maintenance needs, and compatibility issues with certain rims. They prefer traditional clinchers or tubulars for consistent performance, easier repairs, and better handling in competitive races. Tubeless technology is improving, but many still prioritize proven options for critical events.
Is Converting To Tubeless Worth It?
Converting to tubeless is worth it for improved puncture resistance and better ride quality. Tubeless tires reduce rolling resistance and offer more traction. The initial cost is higher, but long-term benefits include fewer flats and enhanced performance. It’s a smart upgrade for avid cyclists seeking efficiency and comfort.
Conclusion
Converting your road bike to tubeless is a smart choice. It offers smoother rides and fewer punctures. With patience and the right tools, it’s achievable. Start by gathering necessary materials. Follow each step carefully. Ensure the rims and tires are compatible.
Sealant and tape are crucial. They prevent air leaks effectively. Regular maintenance keeps the setup durable. Stay prepared for minor adjustments. Enjoy the enhanced cycling experience. Tubeless can make your rides more enjoyable. Happy cycling!



