
Connecting a bike trailer to your bike is simple when you follow the right steps. This guide walks you through choosing the right hitch, attaching the trailer arm, and ensuring a secure, safe ride—perfect for family outings or cargo hauling.
Key Takeaways
- Choose the right hitch type: Most trailers use either a hitch that attaches to the rear axle or a frame-mounted quick-release system. Match it to your bike and trailer model.
- Check compatibility first: Not all trailers fit all bikes. Ensure your bike has the necessary mounting points or adapters, especially for full-suspension or carbon frames.
- Secure the connection properly: Always double-check that the hitch pin or locking mechanism is fully engaged before riding.
- Test before you ride: Give the trailer a gentle tug to confirm it’s firmly attached and doesn’t wobble or detach unexpectedly.
- Maintain your hitch and arm: Regularly inspect for wear, rust, or loose parts to ensure long-term safety and performance.
- Adjust trailer position if needed: Some trailers allow angle adjustments to improve stability, especially on hills or uneven terrain.
- Safety first: Always use safety flags, reflective tape, and lights when towing, especially in traffic or low-light conditions.
How to Connect a Bike Trailer to a Bike
Whether you’re hauling kids, groceries, or camping gear, a bike trailer turns your bicycle into a versatile transport machine. But before you hit the road, it’s essential to know how to connect a bike trailer to a bike safely and correctly. This step-by-step guide will walk you through the entire process—from choosing the right hitch to testing your setup—so you can ride with confidence.
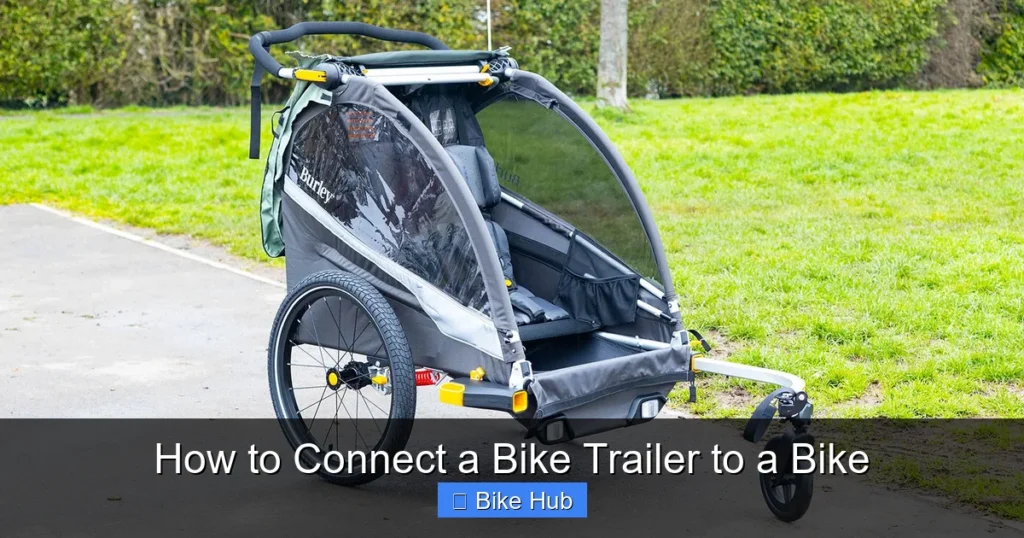
Step 1: Choose the Right Hitch Type
Visual guide about How to Connect a Bike Trailer to a Bike
Image source: images.bikable.com
Not all bike trailers use the same hitch system, so your first step is identifying which type your trailer uses. The two most common types are:
Axle-Mounted Hitches
These attach directly to your bike’s rear axle. They’re sturdy, reliable, and work well with most standard bikes. Look for a metal arm that clamps around the axle and secures with a locking pin or bolt.
Frame-Mounted or Quick-Release Hitches
These connect to the seatstay or rear dropout area using a quick-release lever. They’re common on higher-end trailers and offer easy attachment and removal. Some models include a safety tether that connects to the bike frame as a backup.
Pro Tip: If you’re unsure, check your trailer’s manual or look for model-specific instructions online. Some trailers come with multiple hitch options to fit different bike types.
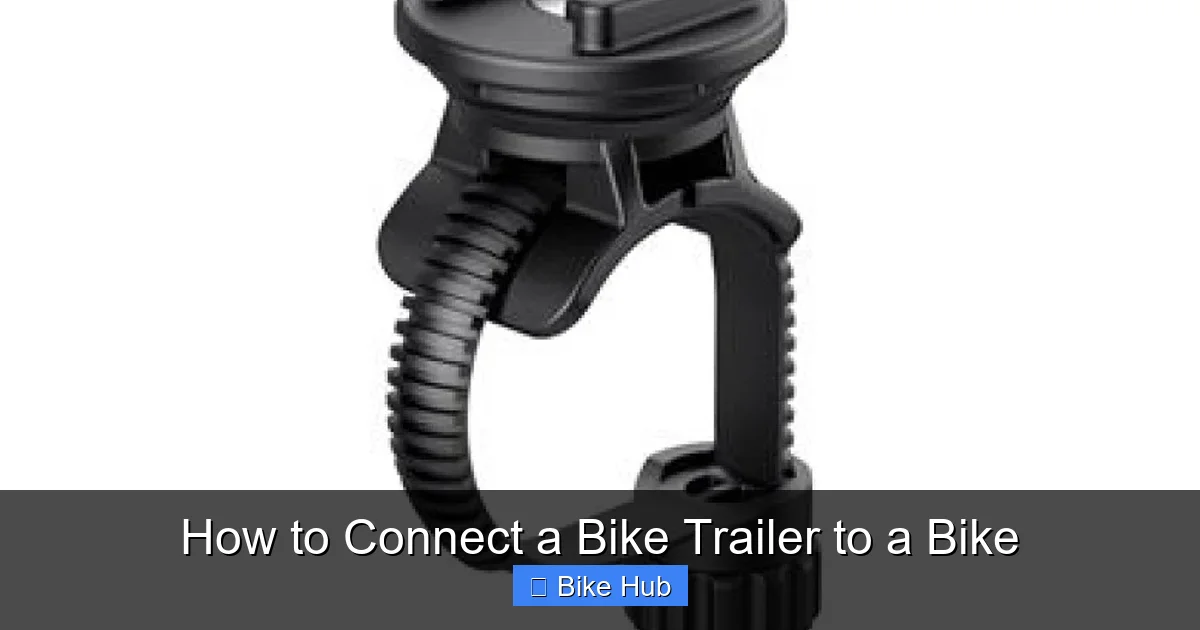
Step 2: Check Bike and Trailer Compatibility
Visual guide about How to Connect a Bike Trailer to a Bike
Image source: m.media-amazon.com
Before connecting anything, make sure your bike is compatible with the trailer. Most trailers work with standard adult bikes, but there are exceptions:
- Full-suspension bikes: May require a special suspension-compatible hitch or adapter to avoid interference with the rear shock.
- Carbon fiber frames: Avoid clamping directly onto carbon seatstays, as this can cause damage. Use a frame-safe hitch or consult the manufacturer.
- Thru-axle bikes: Many modern mountain and road bikes use thru-axles instead of quick-release skewers. You may need a thru-axle-specific hitch adapter.
If you ride a recumbent bike, check out our guide on how to store a recumbent bike for tips on maintenance and compatibility considerations.
Step 3: Prepare Your Bike
Before attaching the trailer, do a quick bike check:
Inspect the Rear Wheel and Axle
Make sure your rear wheel is securely fastened and the axle is clean and free of debris. If you’re using a quick-release skewer, ensure it’s tightened properly.
Remove Obstacles
Take off any rear racks, panniers, or bike bags that might interfere with the trailer arm or hitch. If you need to carry gear, consider a front rack instead—learn more in our guide on how to install a front bike rack.
Check Tire Pressure
Properly inflated tires improve stability and reduce strain on the hitch. Use a reliable pump and refer to the recommended PSI on your tire sidewall. For help, see our article on how to use a bike pump.
Step 4: Attach the Hitch to Your Bike
Now it’s time to connect the hitch. Follow these sub-steps based on your hitch type:
For Axle-Mounted Hitches
- Slide the hitch arm over the rear axle.
- Align the mounting bracket so it sits flush against the dropout.
- Secure it using the provided bolt or locking pin. Tighten firmly with a wrench if needed.
- Attach the safety tether (if included) to a secure point on the bike frame, such as the seat tube or down tube.
For Frame-Mounted Quick-Release Hitches
- Open the quick-release lever on the hitch.
- Position the clamp around the seatstay or rear dropout area.
- Close the lever until it’s snug—don’t overtighten, as this can damage the frame.
- Connect the safety tether to the frame as a backup.
Important: Never rely solely on the hitch. Always use the safety tether to prevent the trailer from detaching if the primary connection fails.
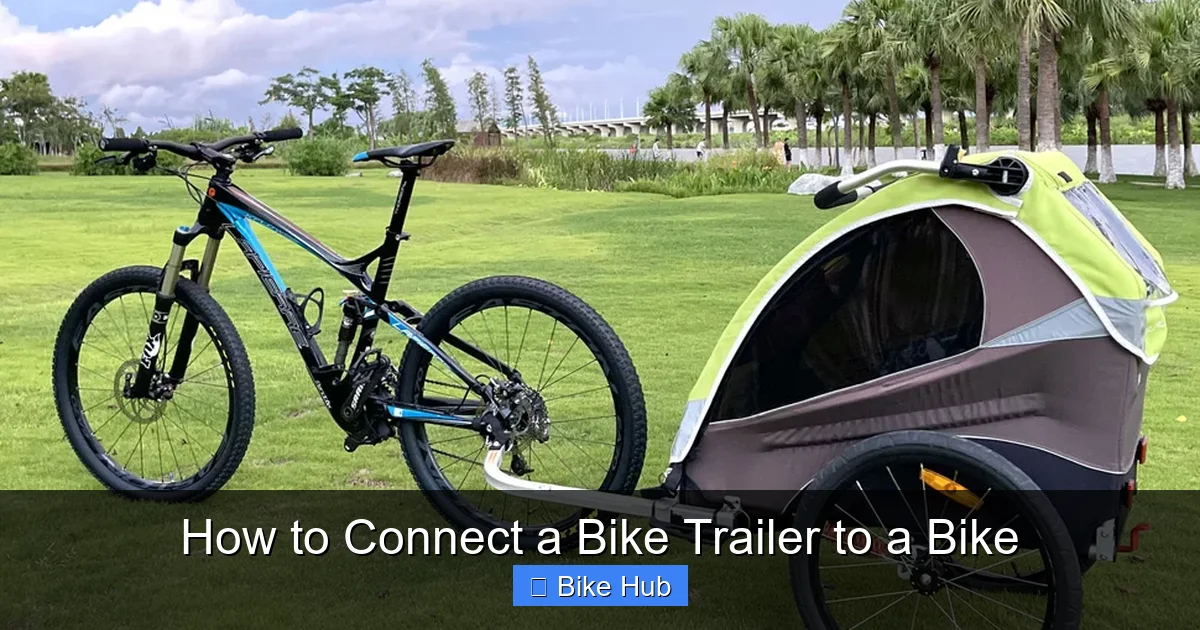
Step 5: Connect the Trailer Arm
With the hitch secured, it’s time to attach the trailer:
Align the Trailer Arm
Lift the trailer and align the arm’s connector with the hitch ball or socket. Most systems use a simple ball-and-socket design that clicks into place.
Lock It In
Push the arm firmly into the hitch until you hear a click or feel it lock. Some models have a locking pin that slides through both parts—insert it and secure with a cotter pin or clip.
Test the Connection
Give the trailer a firm tug to ensure it doesn’t come loose. Wiggle it side to side—there should be minimal play. If it feels loose, recheck the hitch and arm alignment.
Step 6: Adjust Trailer Position (If Needed)
Some trailers allow you to adjust the angle of the arm for better balance:
- Level position: Best for flat terrain and even loads.
- Slight upward tilt: Helps on hills or when carrying heavy loads in the back.
- Slight downward tilt: Can improve stability on descents—use cautiously.
Refer to your trailer’s manual for specific adjustment instructions. A well-balanced trailer reduces strain on your bike and improves handling.
Step 7: Perform a Safety Check
Before you ride, do a final safety inspection:
- ✅ Hitch is securely attached and locked.
- ✅ Safety tether is connected to the frame.
- ✅ Trailer arm doesn’t rub against the tire or frame.
- ✅ Wheels spin freely and aren’t wobbling.
- ✅ Load is balanced and secured inside the trailer.
- ✅ Reflective tape, flags, or lights are visible (especially important for child trailers).
If you’re carrying kids, ensure they’re buckled in and wearing helmets. For extra safety, read our guide on how to properly fit a bike helmet.
Troubleshooting Common Issues
Even with careful setup, problems can arise. Here’s how to fix the most common ones:
Trailer Wobbles or Swings Side to Side
This usually means the hitch isn’t tight or the trailer is overloaded on one side. Recheck the hitch connection and redistribute the load evenly.
Trailer Arm Rubs Against the Tire
Adjust the arm angle or check if the hitch is mounted too close to the wheel. Some trailers include spacers to prevent contact.
Hitch Won’t Stay Attached
Ensure the locking mechanism is fully engaged. If using a bolt-on hitch, tighten it with a wrench. Replace worn or damaged parts immediately.
Difficulty Turning
Bike trailers have a limited turning radius. Avoid sharp turns, especially at high speeds. Practice slow, wide turns in a safe area first.
Conclusion
Connecting a bike trailer to your bike doesn’t have to be complicated. By choosing the right hitch, ensuring compatibility, and following these step-by-step instructions, you’ll be ready to tow safely and smoothly. Whether you’re biking with kids, hauling gear, or exploring new trails, a properly attached trailer enhances your cycling experience.
Remember: safety starts with a secure connection. Always double-check your setup before every ride, and maintain your hitch and trailer regularly. With the right preparation, your bike trailer will be a reliable companion for years to come.


