
You love your bike, and you know every part of it needs to be in top shape for the best ride possible. But have you ever thought about your bike light switches?
These small components might seem insignificant, but they play a crucial role in your safety and visibility. Imagine cruising down a trail at dusk, and suddenly your lights flicker or fail. It’s not just frustrating—it’s dangerous. Cleaning your bike light switches can be the difference between a seamless ride and a risky situation.
You might think it’s a small task, but the impact on your ride can be huge. We’ll walk you through simple steps to keep those switches clean and functioning perfectly. You’ll learn how to prevent malfunctions and extend the life of your bike lights, ensuring every ride is safe and enjoyable. Are you ready to give your bike the care it deserves? Let’s dive in and make sure your next ride is as smooth and safe as possible.
Gather Necessary Tools
- Soft cloth
- Mild soap
- Small brush
- Water
- Dry towel
Always wear safety gloves when cleaning. They protect your hands from dirt. Safety goggles are also important. They keep soap and water away from your eyes. It’s good to work in a well-lit area. This helps you see every detail.

Credit: www.tiktok.com
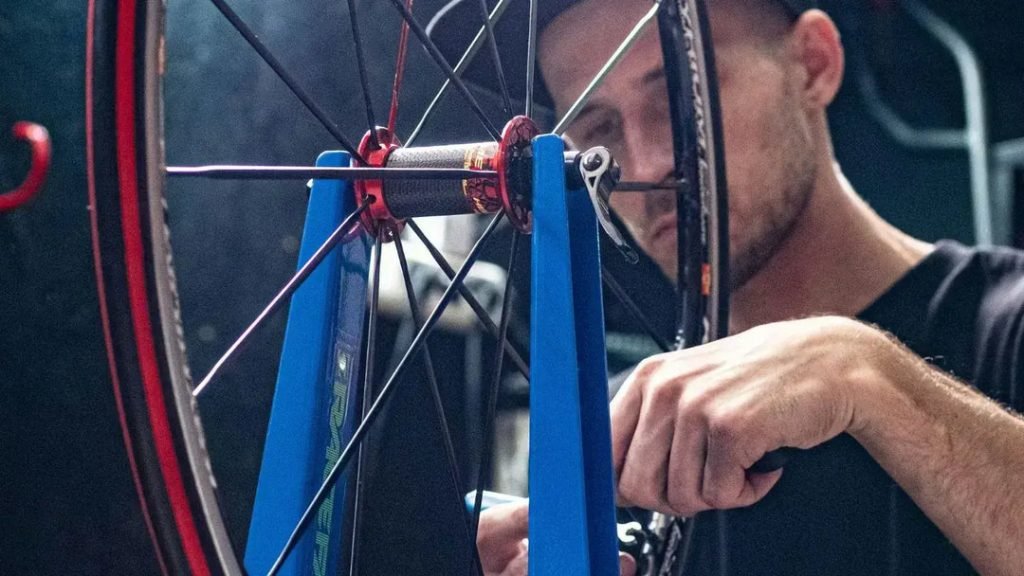
Prepare The Bike
Cleaning bike light switches ensures better performance and longevity. Use a soft cloth and mild cleaner to remove dirt. Gently wipe the switches without applying too much pressure.
Positioning The Bike
Place the bike on a flat surface. Use a stand if available. Ensure the bike is stable and won’t fall. This helps in cleaning safely. Check the bike’s position twice. Make sure it won’t move.
Disconnecting The Battery
Turn off the bike’s engine. Find the battery location. Carefully disconnect the battery cables. Avoid touching metal parts. This prevents electric shocks. Keep the battery in a safe place. Reconnect it only after cleaning.
Access The Light Switches
First, find the bike switch covers. These are usually plastic or rubber. Carefully pry off each cover using a small tool. A screwdriver works well for this task. Be gentle to avoid breaking the covers. Keep the screws and covers safe for later use.
Look at the bike’s handlebars. Notice where the switches are placed. They might be near the grips or in the middle section. Each switch has a specific function. Make sure to note their positions. This helps when cleaning or replacing them later.

Credit: www.tiktok.com
Cleaning Process
Gently remove dirt and dust from bike light switches using a soft brush. Next, clean the switches with a damp cloth and mild soap, ensuring all residue is wiped away. Finally, dry the switches thoroughly with a clean towel to prevent moisture damage.
Using Cleaning Solutions
Use a soft cloth with a mild cleaner. Avoid harsh chemicals to protect the switches. Gently wipe the switches to remove dirt. Ensure the cloth is damp, not soaking wet. Excess water can damage the switches. Repeat until all dirt is gone.
Scrubbing Techniques
Use a soft toothbrush for stubborn dirt. Gently scrub the edges of the switches. Be careful not to apply too much pressure. Avoid using metal brushes to prevent scratches. Rinse the brush often to keep it clean. Finish by drying the switches with a soft towel.
Reassemble The Components
Place each part back in its spot. Make sure everything fits right. Align the switches correctly. Each part should click into place. Check for any loose parts. Tighten screws if needed. Clean any remaining dirt. Keep the area tidy.
Securing Covers
Attach the covers carefully. Ensure they snap tightly. Loose covers might let in dirt. Use a screwdriver if needed. Check for a snug fit. Covers protect the switches. Keep them secure.
Testing Functionality
Turn on the bike lights. Press each switch. Make sure lights respond. Test all functions. If something is wrong, recheck the assembly. Proper function means a job well done. Enjoy safe rides!
Maintenance Tips
Regular cleaning keeps bike light switches functioning smoothly. Use a soft cloth and mild cleaner to remove dirt. Ensure the switch is dry before reassembly to prevent damage.
Regular Cleaning Schedule
Clean bike light switches often to keep them working well. Use a soft cloth with warm water. Gently wipe the switch to remove dirt and dust. Avoid using too much water. This can damage the switch. Dry it with a clean towel. Do this every month for best results. A clean switch works better and lasts longer.
Preventive Measures
Keep your bike indoors when not in use. This protects the switches from rain. Install a small cover over the switches. This keeps dust away. Check the switches for cracks or loose parts. Fix them quickly to prevent more damage. Be gentle when using switches. This helps them stay strong and last longer.
Credit: riiroo.com
Frequently Asked Questions
How To Clean Old Dirty Light Switches?
Turn off the power to the switch. Dampen a cloth with a mild soap solution. Gently wipe the switch. Dry with a clean cloth. Reattach the switch cover.
How To Clean Yellowed Light Switches With Vinegar?
Mix equal parts vinegar and water in a bowl. Soak a cloth in the solution. Wipe the yellowed light switches gently until clean. Dry with a clean cloth to prevent moisture. Regular cleaning helps maintain their appearance.
How To Clean Brushed Stainless Steel Light Switches?
Use a soft microfiber cloth dampened with mild soapy water. Wipe the switch gently, then dry with a clean, dry cloth. Avoid abrasive cleaners to prevent scratches on the brushed stainless steel surface.
How To Clean Plastic Switches?
Use a soft cloth and mild soap solution to clean plastic switches. Gently wipe the surface to remove dust and grime. Avoid abrasive cleaners or excessive moisture. Ensure switches are dry before use. Regular cleaning maintains functionality and appearance.
Conclusion
Keeping bike light switches clean ensures safety and smooth operation. Regular cleaning prevents dirt buildup and prolongs switch life. Use gentle tools and solutions for effective cleaning. Always check for signs of wear during maintenance. Replace damaged parts promptly to avoid future issues.
Clean switches enhance visibility, ensuring safer rides. Simple steps can prevent bigger problems down the road. A clean switch means a more enjoyable biking experience. Prioritize maintenance and enjoy worry-free rides. Stay safe, stay bright. Happy cycling!


