

Choosing the right cooking pots can make or break your bikepacking trip. Imagine being hungry after a long day of riding, only to struggle with heavy, bulky pots that don’t cook well or take forever to clean.
You want gear that fits your bike, saves space, and helps you prepare meals quickly and easily. You’ll discover simple tips to pick the perfect cooking pots for your adventure. By the end, you’ll feel confident that your gear will work as hard as you do on the trail.
Keep reading to make your next bikepacking trip smoother and more enjoyable.
Types Of Cooking Pots
Choosing the right cooking pot is key for bikepacking trips. Your pot needs to be light, durable, and easy to clean.
This guide covers the main types of pots by material, size, shape, and weight. It will help you pick the best fit for your trip.
Material Options
Cooking pots come in several materials, each with pros and cons. Common types include aluminum, stainless steel, and titanium.
- Aluminum:Lightweight and heats up fast. It can dent easily but is usually the cheapest option.
- Stainless Steel:Durable and resists rust. It is heavier and heats slower than aluminum.
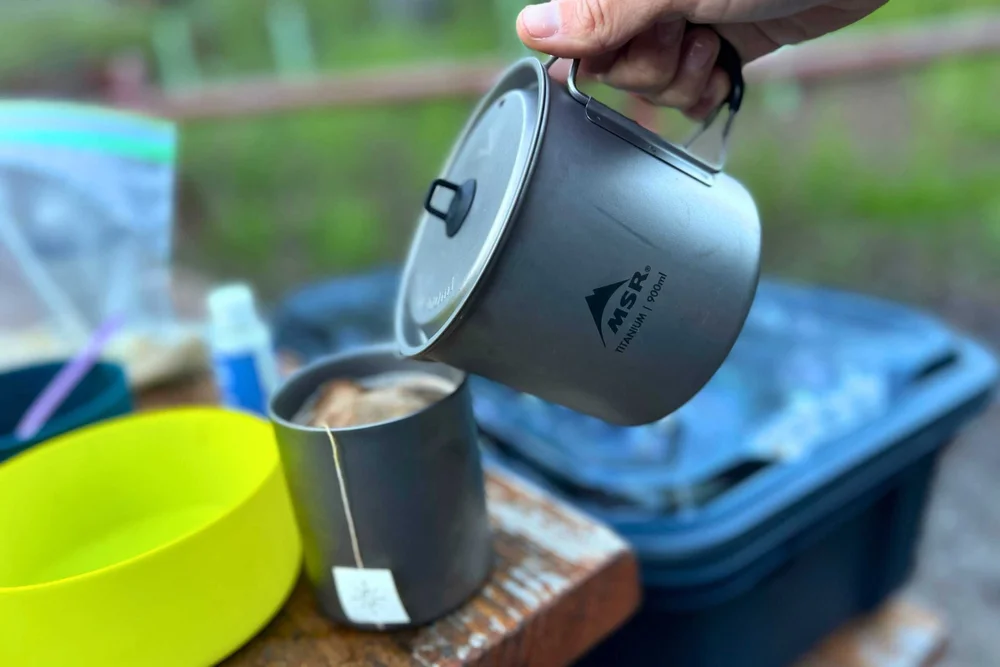
- Titanium:Very light and strong. It costs more but is perfect for long trips.
- Hard-Anodized Aluminum:Stronger than regular aluminum and has a non-stick surface.
Sizes And Shapes
Choosing the right size and shape depends on how many people you cook for and what meals you plan.
| Size | Best For | Notes |
|---|---|---|
| Small (0.5-1 liter) | Solo trips or quick meals | Very light and compact |
| Medium (1-2 liters) | One to two people | Good balance of space and weight |
| Large (2+ liters) | Groups or long meals | Heavier and bulkier |
Taller pots hold more water but take longer to boil. Wide pots cook food faster but can be harder to pack.
Weight Considerations
Weight is a key factor for bikepacking. Every extra ounce matters on the trail.
Here are tips to keep your cooking pot light:
- Choose titanium or hard-anodized aluminum for lighter weight.
- Pick smaller pots if you only cook for yourself.
- Look for pots that nest with lids and other gear.
- Avoid heavy handles or extra features you don’t need.
Credit: www.treelinereview.com
Key Features To Look For
Choosing the right cooking pots for bikepacking is important. The right pot makes cooking easier and more fun on your trip.
Look for pots that balance weight, strength, and cooking ability. This helps you cook well without carrying too much.
Heat Conductivity
Heat conductivity means how well the pot spreads heat. Good heat conductivity helps food cook evenly and faster.
Materials like aluminum and copper have high heat conductivity. They heat quickly but may need careful handling to avoid hot spots.
- Aluminum: Heats fast, lightweight, common in bikepacking pots
- Stainless steel: Slower heat, but very durable
- Titanium: Lightweight, moderate heat conductivity
Durability And Strength
Your cooking pot must handle rough conditions. It should resist dents, scratches, and wear from travel.
Look for pots made from strong materials. Titanium is very strong and light, while stainless steel is tough but heavier.
- Titanium: Very strong and light, but costlier
- Stainless steel: Heavy but resists damage well
- Aluminum: Lightweight but can dent easily
Lid And Handle Design
The lid keeps heat in and helps food cook faster. Choose a lid that fits tightly and is easy to use.
Handles should be sturdy and foldable. This saves space and makes the pot easier to carry on your bike.
- Secure lids prevent spills and retain heat
- Folding handles save space and add convenience
- Heat-resistant handles protect your hands
Balancing Weight And Functionality
Choosing the right cooking pots for bikepacking is important. You want pots that are light but still work well.
Balancing weight and usability helps you carry less without losing cooking quality.
Ultralight Vs. Durable Pots
Ultralight pots weigh less but may be less strong. Durable pots last longer but can be heavier.
- Ultralight pots use thin materials like titanium or aluminum.
- Durable pots use thicker metals or coatings for strength.
- Ultralight pots save weight but may dent or scratch easily.
- Durable pots resist damage but add to your pack weight.
- Choose based on your trip length and cooking needs.
Compactness For Packing
Compact pots take less space and fit easily in your bike bags. This helps keep your load organized.
| Feature | Benefit |
| Stackable design | Saves packing space |
| Collapsible pots | Reduces bulk when not in use |
| Shape and size | Fits better with other gear |
| Lightweight lids | Cut down on extra weight |
Credit: www.treelinereview.com
Fuel Compatibility
Choosing the right cooking pot for bikepacking depends on fuel compatibility. Your stove and pot must work well together to cook safely and efficiently.
Some fuels need special pots or stove types. Knowing your stove type helps pick the best pot for your trip.
Types Of Stoves
There are many stove types for bikepacking. Each uses different fuel and needs a matching pot style.
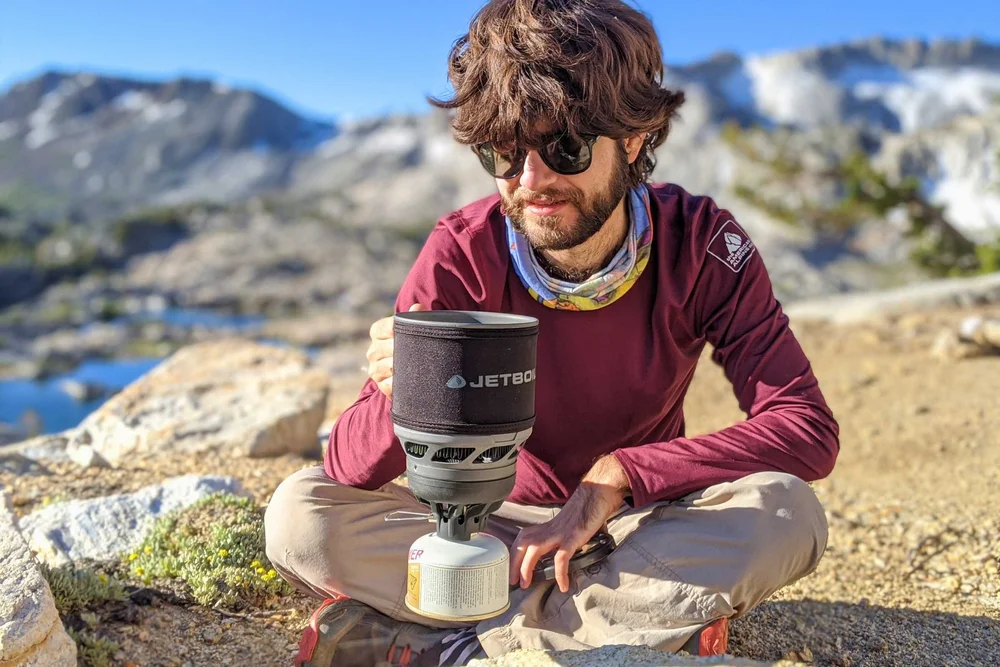
Canister stoves use gas fuel like propane or butane. They work well with lightweight pots.
Liquid fuel stoves use fuels like white gas or kerosene. Pots must handle higher heat and stability.
- Canister stoves: Use pressurized gas cartridges.
- Liquid fuel stoves: Use refillable fuel bottles.
- Alcohol stoves: Use denatured alcohol, simple but slower.
- Wood stoves: Burn small sticks, need sturdy pots.
Pot Stability On Different Stoves
Pot shape and size affect stability on your stove. A stable pot reduces accidents and fuel waste.
Wide and low pots stay steady on small stoves. Tall and narrow pots may tip easily on some stove types.
- Canister stoves: Use pots with flat, wide bases for good balance.
- Liquid fuel stoves: Strong pot supports are needed for safety.
- Alcohol stoves: Smaller pots work best due to low heat output.
- Wood stoves: Heavy pots with flat bottoms keep steady on open flames.
Cleaning And Maintenance
Choosing the right cooking pots for bikepacking trips means thinking about cleaning and maintenance. Clean pots keep your food safe and taste good. Easy cleaning saves time and effort while on the trip.
Good care helps your pots last longer. This section covers how to pick pots that are simple to clean and avoid leftover food buildup.
Ease Of Cleaning
Choose pots made from materials that clean easily, like stainless steel or hard-anodized aluminum. Non-stick coatings help remove food quickly. Smooth surfaces stop dirt from sticking.
Pots with wide openings and simple shapes are easier to wash by hand. Avoid pots with many corners or small parts that trap food. This helps you clean fast after cooking.
- Look for non-stick or smooth surfaces
- Pick pots with wide openings
- Choose simple shapes without many corners
- Test how easy it is to wipe or scrub the pot
Avoiding Residue Build-up
Residue build-up can ruin your pots and affect taste. Clean pots soon after use to stop food from sticking. Use warm water and mild soap for best results.
Avoid cooking pots that stain easily or keep smells. Regularly check for leftover food in corners or on lids. Dry pots fully before packing them away to prevent mold.
- Wash pots right after cooking
- Use gentle soap and warm water
- Check corners and lids for stuck food
- Dry pots completely before storage
Credit: www.treelinereview.com
Budget And Brand Choices
Choosing the right cooking pots for bikepacking trips depends on your budget and brand preferences. You want pots that are light, durable, and fit your budget.
Knowing the differences between affordable and premium options helps you pick the best pot for your trip. Trusted brands offer quality and reliability.
Affordable Vs. Premium Options
Affordable cooking pots are great for beginners or short trips. They usually weigh more and use simple materials like aluminum.
Premium pots cost more but offer better materials, like titanium, which is lighter and stronger. These pots last longer and save space.
- Affordable pots: heavier, budget-friendly, good for casual use
- Premium pots: lightweight, durable, better heat distribution
- Consider how often you cook and your trip length
Trusted Brands For Bikepacking
Choosing pots from trusted brands ensures quality and good customer support. These brands test their products for outdoor use.
Some brands focus on lightweight gear, while others offer a balance of price and quality. Pick brands known for durability and design.
- MSR – known for durable and lightweight cookware
- Snow Peak – offers premium titanium pots
- GSI Outdoors – affordable and practical options
- Toaks – popular for titanium pots at reasonable prices
Packing Tips For Cooking Pots
Choosing the right cooking pots for bikepacking trips is important. You want pots that are light, strong, and easy to pack.
Packing your pots correctly protects them and saves space in your bags. This guide covers ways to keep your gear safe and pack efficiently.
Protecting Your Gear
Cooking pots can get scratched or dented during your trip. Use soft materials to protect them inside your bags.
- Wrap pots in a small towel or cloth
- Place pots in padded compartments
- Keep sharp items away from pots
- Store pots in a hard-sided container if possible
- Dry pots completely before packing to avoid rust
Maximizing Space Efficiency
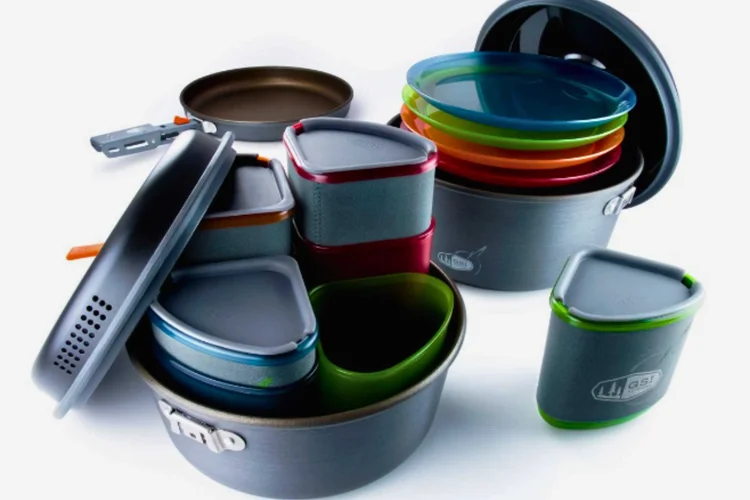
Efficient packing helps you carry more without extra bulk. Nest pots and use their space wisely.
| Tip | How to Do It |
| Stack Pots | Place smaller pots inside larger ones |
| Use Lids as Plates | Keep lids on pots to save space and use them for eating |
| Store Small Items Inside | Put utensils or fuel canisters inside pots |
| Fill Gaps | Use cloth or food packets to fill empty space |
| Pack Vertically | Stand pots upright to fit better in bags |
Frequently Asked Questions
What Materials Are Best For Bikepacking Cooking Pots?
Lightweight materials like titanium, aluminum, or stainless steel are best. They balance durability, heat distribution, and weight for easy carrying. Titanium is light but expensive. Aluminum heats quickly but can dent. Stainless steel is durable and affordable but slightly heavier.
How To Choose The Right Size Cooking Pot?
Choose a pot size based on your group size and meal plans. A 1 to 1. 5-liter pot suits solo or duo trips. Larger groups need bigger pots. Consider weight and packing space to avoid carrying unnecessary bulk.
Are Nesting Pots Useful For Bikepacking?
Yes, nesting pots save space and reduce pack weight. They fit inside each other, simplifying storage. This organization helps keep your gear compact and easy to access. Nesting sets often include multiple pot sizes for versatile cooking needs.
Should Cooking Pots Have Lids For Bikepacking?
Lids are essential for faster cooking and heat retention. They help boil water efficiently and keep dirt out. Choose lightweight lids with secure fits to prevent spills. Some lids double as plates or strainers, adding extra functionality.
Conclusion
Choosing the right cooking pots makes bikepacking trips easier. Consider pot size and weight. Lightweight pots are great for travel. Durable materials like titanium or aluminum work well. Non-stick coatings help with easy cleaning. Always check if the pot fits your stove.
Compact designs save space in your pack. Budget is important too. Compare prices and features before buying. A good pot enhances your cooking experience. Enjoy warm meals on your journey. Your adventure awaits with the right gear.


