
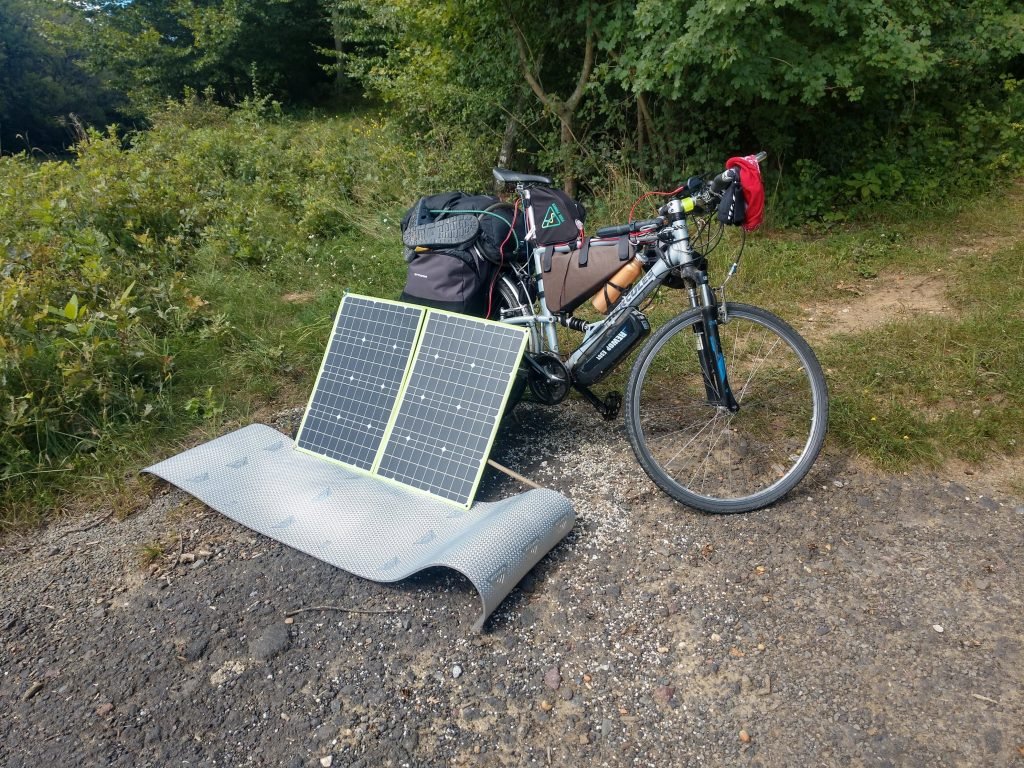
Imagine you’re miles away from the nearest power outlet, relying entirely on your bike and your gear. Your phone, GPS, and lights need power to keep you safe and connected.
That’s where a solar charger becomes your best friend. But how do you carry it without adding bulk or risking damage? You want a solution that’s light, practical, and easy to use on the move. You’ll discover smart tips and tricks to carry your solar charger efficiently on your bikepacking trips.
Keep reading, and you’ll never worry about running out of power again.
Choosing The Right Solar Charger
Carrying a solar charger on your bikepacking trip keeps your devices charged. Picking the right one helps you save space and weight. It also gives enough power for your needs.
Think about the type, size, weight, and power output before buying. These factors affect your ride and charging ability.
Types Of Solar Chargers
Solar chargers come in different styles. Each type fits a different need and bikepacking style.
Rigid panels are strong and fast at charging but can be bulky. Flexible panels are light and bend to fit your gear but may charge slower.
- Rigid solar panels: durable and efficient
- Flexible solar panels: lightweight and bendable
- Foldable solar chargers: compact and easy to pack
Size And Weight Considerations
Your solar charger should be small and light. Heavy chargers add extra load to your bike. Large chargers may not fit well with your gear.
Think about how much space you have and how much weight you want to carry. Balance size and weight with the power you need.
- Choose compact chargers for small packs
- Lightweight chargers reduce bike load
- Check if the charger fits your bike frame or bag
Power Output And Efficiency
Power output shows how fast the charger can charge devices. Efficiency means how well it converts sunlight to electricity.
Look for chargers with good wattage for your device needs. Higher efficiency means better performance in less sunlight.
| Power Output (Watts) | Best For |
|---|---|
| 5-10 W | Charging phones and small devices |
| 10-20 W | Charging phones and small batteries |
| 20+ W | Charging tablets and larger batteries |
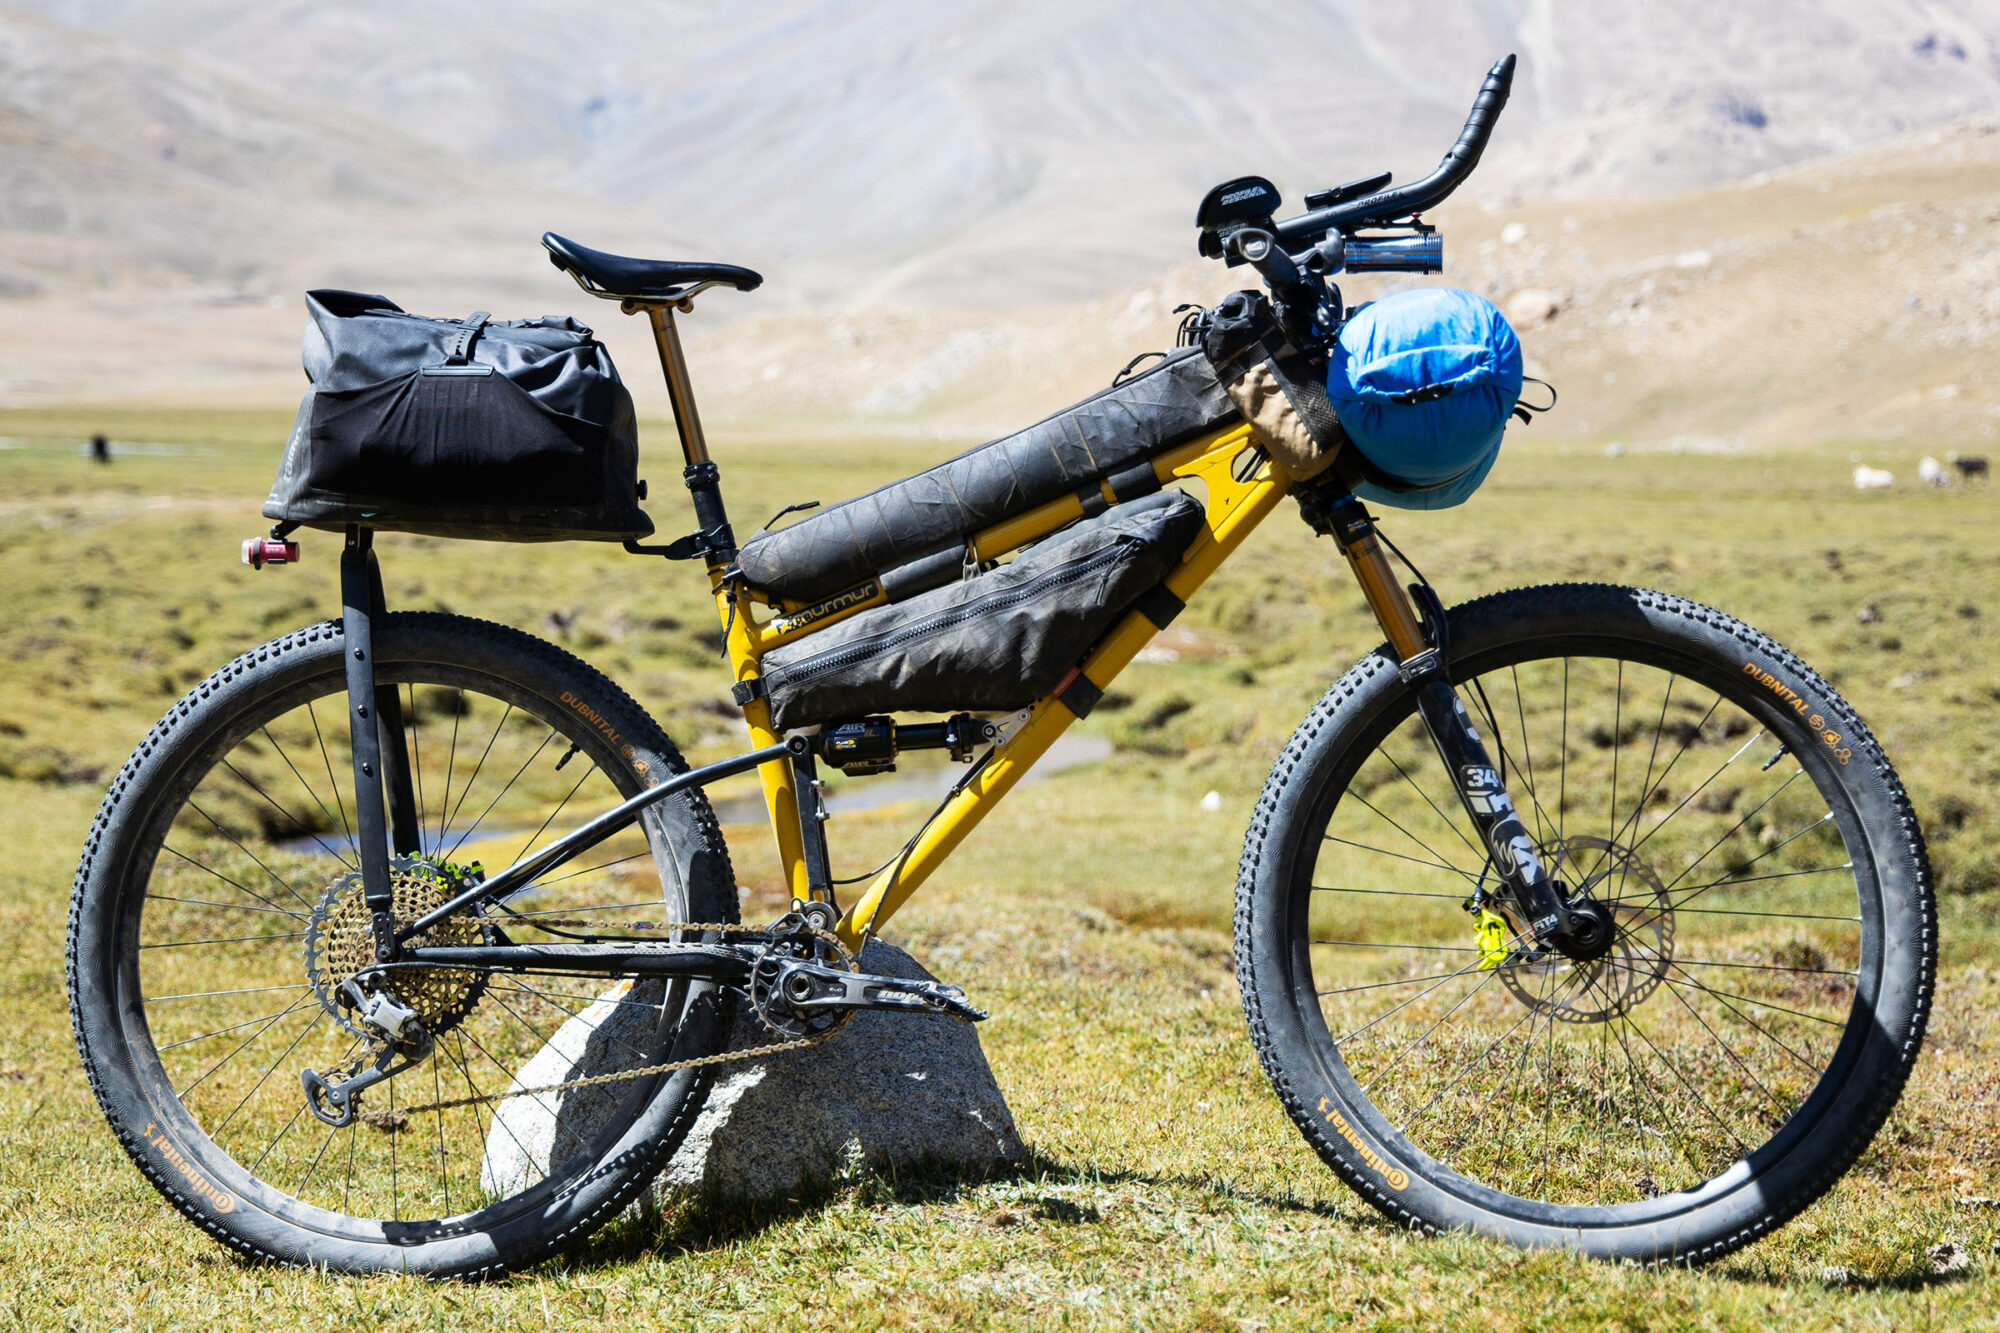
Credit: bikepacking.com
Mounting Options For Bikes
Carrying a solar charger on a bikepacking trip needs smart mounting choices. The right setup keeps your charger safe and easy to use.
Below are three common ways to mount a solar charger on your bike. Each method fits different needs and bike styles.
Handlebar Mounts
Handlebar mounts hold the solar charger in front of you. This spot gets good sunlight while riding or resting. It also keeps the charger visible.
- Use adjustable straps or clamps to secure the charger.
- Choose mounts with padding to avoid damage.
- Check that the charger does not block your view or controls.
- Easy to remove when you want to pack the bike.
Frame Bag Integration
Frame bags can hold a solar charger inside or on top. This option protects the charger from weather and bumps.
| Type | Benefits | Considerations |
| Inside Frame Bag | Protected from rain and dirt | May reduce sunlight exposure |
| On Top of Frame Bag | Good sunlight access | Needs secure fastening |
| Custom Frame Bag with Solar Panel | Integrated design | Usually higher cost |
Backpack Attachment
You can attach a solar charger to your backpack. This lets the charger get sun when you walk or stop. It also frees up space on your bike.
Tips for backpack mounting:
- Use clips or Velcro straps for easy attachment.
- Place the charger on the outside for best sunlight.
- Secure cables to avoid tangles while riding.
- Check the weight to keep your pack comfortable.
Packing And Protection Tips
Carrying a solar charger on a bikepacking trip needs care. You want to keep it safe and working well.
Good packing and protection help the charger last longer. It also keeps it ready to charge your devices.
Weatherproofing Your Charger
Solar chargers face rain, dust, and sun. Protect them with weatherproof covers or bags.
Use waterproof cases or dry bags to keep water out. Make sure the charger stays dry and clean.
- Choose a bag with a secure zipper or roll-top seal
- Wrap the charger in a plastic bag for extra protection
- Keep the charger inside a bike frame bag to shield from dust
- Check the weather forecast before your trip
Avoiding Damage On Rough Trails
Rough trails can shake or bump your solar charger. Protect it with padding and careful placement.
Secure the charger tightly to avoid movement. Use soft materials to cushion it from impacts.
- Use foam or bubble wrap inside the bag
- Place the charger in a hard case if possible
- Mount the charger where it won’t hit rocks or branches
- Check the charger often during breaks for damage
Maximizing Charging Efficiency
Carrying a solar charger on your bikepacking trip helps keep your devices powered. Proper use ensures you get the most energy from the sun.
This guide covers key tips to improve charging efficiency while on the road.
Optimal Placement For Sunlight
Place your solar charger where it gets direct sunlight without shade. The angle and position affect how much energy it collects.
- Mount the charger on your bike’s handlebars or frame facing the sun
- Adjust the angle to match the sun’s height during the day
- Avoid placing it under tree branches or your backpack
- Use reflective surfaces nearby to increase sunlight exposure
Managing Charging Times
Charging time varies with sunlight strength and device needs. Plan charging during the brightest hours for best results.
| Time of Day | Charging Efficiency |
| Morning (8 AM – 10 AM) | Moderate |
| Midday (10 AM – 2 PM) | High |
| Afternoon (2 PM – 4 PM) | Moderate |
| Evening (After 4 PM) | Low |
Using Power Banks With Solar Chargers
Power banks store energy from solar chargers and provide backup power when sunlight is low. Use them to keep devices charged overnight.
- Choose a power bank with enough capacity for your devices
- Charge the power bank during peak sunlight hours
- Connect devices to the power bank instead of charging directly from the solar panel
- Keep the power bank in a cool, dry place to maintain battery health
Safety And Maintenance
Carrying a solar charger on bikepacking trips needs care. You must keep it safe and well-maintained. This helps the charger work well and last longer.
Check your solar charger often and handle it carefully during rides. These habits protect your gear and make your trip smoother.
Inspecting For Wear And Tear
Look at your solar charger before each trip. Small damage can grow if not fixed early. Watch for cracks, loose parts, or dirt buildup.
- Check the solar panel surface for scratches or cracks
- Inspect cables and connectors for frays or corrosion
- Clean the panel with a soft cloth to remove dust and dirt
- Test charging output to ensure it works correctly
- Store the charger in a dry place to avoid moisture damage
Safe Handling During Rides
Protect your solar charger from shocks and weather while riding. Use secure mounts and cover it if needed. Avoid heavy impacts and water exposure.
| Handling Tip | Reason |
| Use padded mounts | Reduces shocks to the charger |
| Cover charger in rain | Prevents water damage |
| Avoid placing heavy items on charger | Prevents cracks and breaks |
| Keep cables neat and tight | Stops cable damage and loss |
| Remove charger when not needed | Protects from theft and damage |
Credit: bikepacking.com
Credit: bikepacking.com
Frequently Asked Questions
How To Pack A Solar Charger For Bikepacking Trips?
Pack your solar charger in a waterproof pouch. Attach it securely to your bike or backpack. Keep cables organized to avoid damage. Ensure easy access for sunlight exposure while riding or resting.
What’s The Best Place To Mount A Solar Charger On A Bike?
Mount the solar charger on your bike’s rear rack or handlebars. Choose a flat, stable surface with direct sunlight exposure. Avoid obstructed spots to maximize charging efficiency during your ride.
Can I Carry A Solar Charger In My Bikepacking Backpack?
Yes, store the solar charger inside a padded compartment. Use a waterproof cover to protect it from rain. Keep it accessible for quick deployment when the sun is out.
How To Protect A Solar Charger While Bikepacking?
Use a durable, water-resistant case or pouch. Avoid sharp objects that can scratch or damage solar panels. Regularly clean the charger to maintain optimal performance during your trip.
Conclusion
Carrying a solar charger on a bikepacking trip keeps your devices powered. Choose a lightweight, durable charger that fits your pack well. Place it where sunlight hits directly during rides or breaks. Secure the charger to avoid damage or loss on rough paths.
Keep cables organized and protected from dirt and water. Regularly check the charger’s position and clean the surface if needed. This simple setup helps you stay connected and safe on the road. Enjoy your adventure with reliable solar power by your side.



