
Imagine capturing every thrilling moment of your bike ride, from breathtaking views to unexpected encounters. Attaching a camera to your handlebars can transform your cycling experience, letting you relive each adventure and share it with others.
Whether you’re a biking enthusiast or a casual rider, understanding how to securely attach a bike camera to your handlebars is essential for ensuring stability and quality footage. In this guide, we’ll walk you through simple steps that will have you ready to record your next ride in no time.
You’ll learn how to choose the right camera, the best mounting techniques, and tips for optimizing your camera settings. Get ready to unlock a new perspective on your cycling journeys and capture memories that last a lifetime. Keep reading to find out how you can start filming your rides effortlessly and effectively.
Choosing The Right Bike Camera
Attaching a bike camera to handlebars ensures a stable view. Use a mount or clamp for secure placement. Adjust the angle for clear footage while riding.
Types Of Bike Cameras
Bike cameras come in different types. Action cameras are small and light. Helmet cameras give a great view. Handlebar cameras capture the road directly. 360-degree cameras show everything around you. Each type offers unique advantages.
Features To Consider
- Resolution: High resolution shows clear details.
- Battery Life: Long battery lets you record longer rides.
- Mounting Options: Ensure easy attachment to handlebars.
- Durability: Cameras should be weather-resistant.
- Stabilization: Smooth videos are nice to watch.
Consider these features for a better camera choice. Make sure it fits your needs.
Gathering Necessary Tools
Choose a sturdy bike camera mount to ensure a secure fit. Gather screwdrivers and wrenches for easy installation. Keep rubber grips handy to prevent slipping and protect handlebars.
Essential Tools List
- Allen wrenchfor tightening screws
- Screwdriverto adjust fittings
- Mounting bracketfor the camera
- Rubber gripsto prevent slipping
Optional Tools For Enhanced Security
- Zip tiesto secure loose parts
- Velcro strapsfor extra hold
- Locking mechanismfor added safety
Preparing The Handlebars
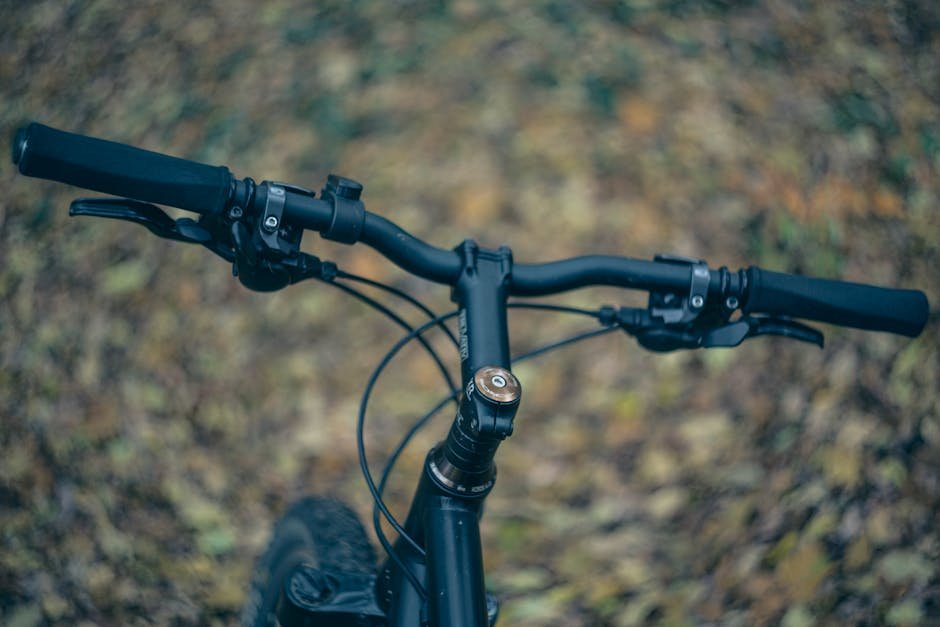
Preparing the Handlebars Clear the handlebars of any accessories and clean the surface. Ensure the area is dry and unobstructed. This creates a stable base for securely attaching your bike camera.
Cleaning The Surface
First, wipe the handlebars with a damp cloth. Remove all dust and dirt. Clean handlebars help the camera stick well. Use a gentle cleaner if needed. Make sure the handlebars are dry before moving on. Wet surfaces can make the mount slip.
Identifying The Best Mounting Spot
Look for a flat spot on the handlebars. This spot should be close to the middle. A central spot keeps the camera balanced. Avoid spots with curves or bumps. Curves can make the camera tilt. Make sure the spot is easy to reach. You should adjust the camera without much effort.
Mounting The Camera
Choose a strong mount for your bike handlebars. Use a screwdriver to tighten the mount screws. Make sure it is very tight. The mount should not move when you push it. Align the mount straight with the handlebars. This helps the camera see better.
Place the camera on the mount. Twist it gently to lock it in place. Check if the camera is stable. It should not wobble or shake. Adjust the camera angle. Point it in the direction you want to record. Double-check the camera’s position. Ensure the lens is clear of any objects.
Adjusting Camera Position
Find a spot on your handlebars for the camera. Ensure it doesn’t block your view. Balance is key for a smooth ride.
Setting The Angle
Choose an angle that captures the road. Test different angles to find the best view. Tilt slightly for a wider scene.
Ensuring Stability
- Use strong mounts to secure the camera.
- Check for loose parts regularly.
- Tighten screws to prevent wobbling.
Testing The Camera Setup
Secure the camera mount on the handlebars. Ensure it’s tight for stable footage. Attach the camera, aligning it properly for optimal view.
Recording A Test Video
Start by pressing the record buttonon your bike camera. Ride your bike for a short distance. Make sure to include turns and bumps. This helps in checking how stable the camera is. Listen for any rattling sounds. These might mean the camera is loose. If needed, adjust the camera again.
Checking Video Quality
Play the video on your computer. Look for clear images and bright colors. Make sure nothing is blurry or shaky. Check if the sound is clear. You should hear your bike sounds clearly. If the video is not good, adjust the camera angle. Test again until you get a good video. A good video helps capture your rides perfectly.
Troubleshooting Common Issues
Attaching a bike camera to handlebars can be tricky. Secure the mount tightly to prevent wobbling. Ensure the camera lens is unobstructed for clear footage.
Resolving Mounting Problems
Sometimes the bike camera won’t stay on the handlebars. Check if the mounting brackets are tight enough. Loose brackets can make the camera fall. Use a screwdriver to tighten any loose screws. If the mounting surface is uneven, adjust it. Try adding a piece of rubber under the mount. This can help the camera stick better. Make sure the camera is facing forward. A misaligned camera may give bad video.Improving Video Stability
A shaky video can be hard to watch. Balance the camera on your handlebars. It should not lean to one side. This helps in keeping the video smooth. Use a stabilizer if the camera is still shaky. Stabilizers help in reducing vibrations. Check if your bike tires are flat. Flat tires can make the ride bumpy. Pump them up for a smoother ride. `Maintaining Your Camera Setup
Securely attaching your bike camera to handlebars ensures stable footage during rides. Begin by selecting a compatible camera mount. Tighten the mount screws to prevent shaking. Adjust the camera angle for the best view. Regularly check the attachment for loose parts, ensuring safety and optimal recording quality.
Regular Cleaning Tips
Keep your bike camera clean for clear videos. Use a soft, dry cloth to wipe the lens. Avoid using water or harsh chemicals. Dust can blur the camera. Check for dirt and clean it gently. A clean camera works better and lasts longer.
Checking For Wear And Tear
Look at the camera mount often. Make sure it’s tight and strong. Check for cracks or loose parts. Replace worn-out mounts quickly. This keeps your camera safe while biking. Inspect the camera itself for any damage. Fix small issues before they become big problems.
Frequently Asked Questions
How To Attach A Camera To A Bike?
Secure the camera mount on the bike handlebar or helmet. Use screws or straps for stability. Attach the camera to the mount firmly. Adjust the angle for optimal recording. Ensure all parts are tightened to prevent falls during rides. Check compatibility of the mount with your camera model.
How To Attach Streamers To Bike Handles?
To attach streamers, insert the plastic pin into the hole at the end of the bike’s handle grips. Push firmly until secure. Ensure the streamers hang freely and evenly. Adjust if necessary for a balanced look. Enjoy the colorful addition to your ride!
Where Is The Best Place To Mount A Bike Camera?
Mount the bike camera on the handlebars for a clear road view. Consider the helmet for capturing dynamic perspectives. Ensure secure attachment to avoid vibrations. Both positions offer unique angles, enhancing footage quality. Choose based on your filming preference and safety needs.
How To Attach A Gopro To Handlebars?
Use a GoPro handlebar mount. Secure the mount tightly on the handlebars. Attach the GoPro to the mount. Adjust the angle for optimal video capture. Ensure stability to prevent vibration during recording.
Conclusion
Attaching a bike camera to handlebars is simple. Follow the steps carefully. A secure mount ensures stable footage. Check that the camera is fixed tightly. This prevents shaking. Use tools if necessary for a stronger hold. Test before starting your ride.
Make sure it works well. Capture your journey smoothly. Enjoy the views and record memories. Safety matters too. Keep the camera angled properly. Avoid distractions while biking. With practice, setup becomes easier. Now, pedal confidently and explore the world. Your adventures await.



