
Are you ready to turn a box of parts into your child’s favorite new bike? Assembling a kid’s bike at home might seem tricky at first, but with the right steps, you can do it quickly and confidently.
Imagine the pride you’ll feel watching your little one take their first ride on a bike you put together yourself. In this guide, you’ll find simple instructions and helpful tips that make the process smooth and even fun. Stick with me, and by the end, your child’s new bike will be ready to roll!
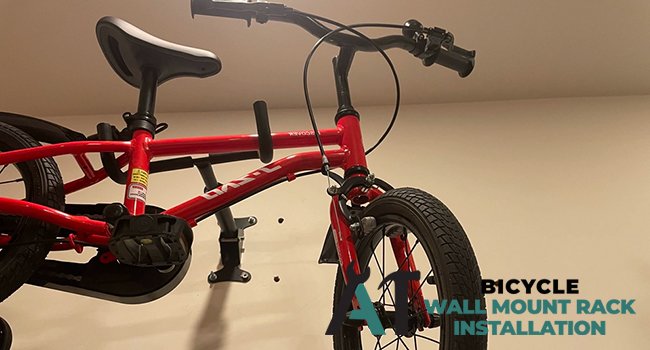
Credit: a1bicyclewallmountrack.com
Tools Needed
Assembling a kid’s bike at home is easier with the right tools. These tools help you put the bike parts together safely and correctly.
Using the proper tools makes the process faster and prevents damage to the bike. Gather them before you start.
Wrenches
Wrenches are essential for tightening nuts and bolts on the bike frame and wheels. Most kids’ bikes use standard sizes like 15mm or adjustable wrenches.
Screwdrivers
Screwdrivers help secure small parts such as brakes and reflectors. You usually need both flathead and Phillips head screwdrivers.
Allen Keys (hex Keys)
Many bike parts use hex bolts that require Allen keys. A set with multiple sizes is best to fit different bolts on the bike.
Additional Helpful Tools
- Tire pump to inflate the tires after assembly
- Adjustable pliers for gripping and bending cables
- Bike grease or lubricant for smooth moving parts
- Rubber mallet to gently tap parts into place
Tool Checklist Table
| Tool | Purpose |
| Wrench (15mm or adjustable) | Tighten nuts and bolts |
| Flathead Screwdriver | Secure screws on brakes and reflectors |
| Phillips Screwdriver | Fasten crosshead screws |
| Allen Key Set | Tighten hex bolts on frame and handlebars |
| Tire Pump | Inflate tires to proper pressure |
| Adjustable Pliers | Hold and bend cables or wires |
| Bike Grease | Lubricate moving parts |
| Rubber Mallet | Tap parts without damage |
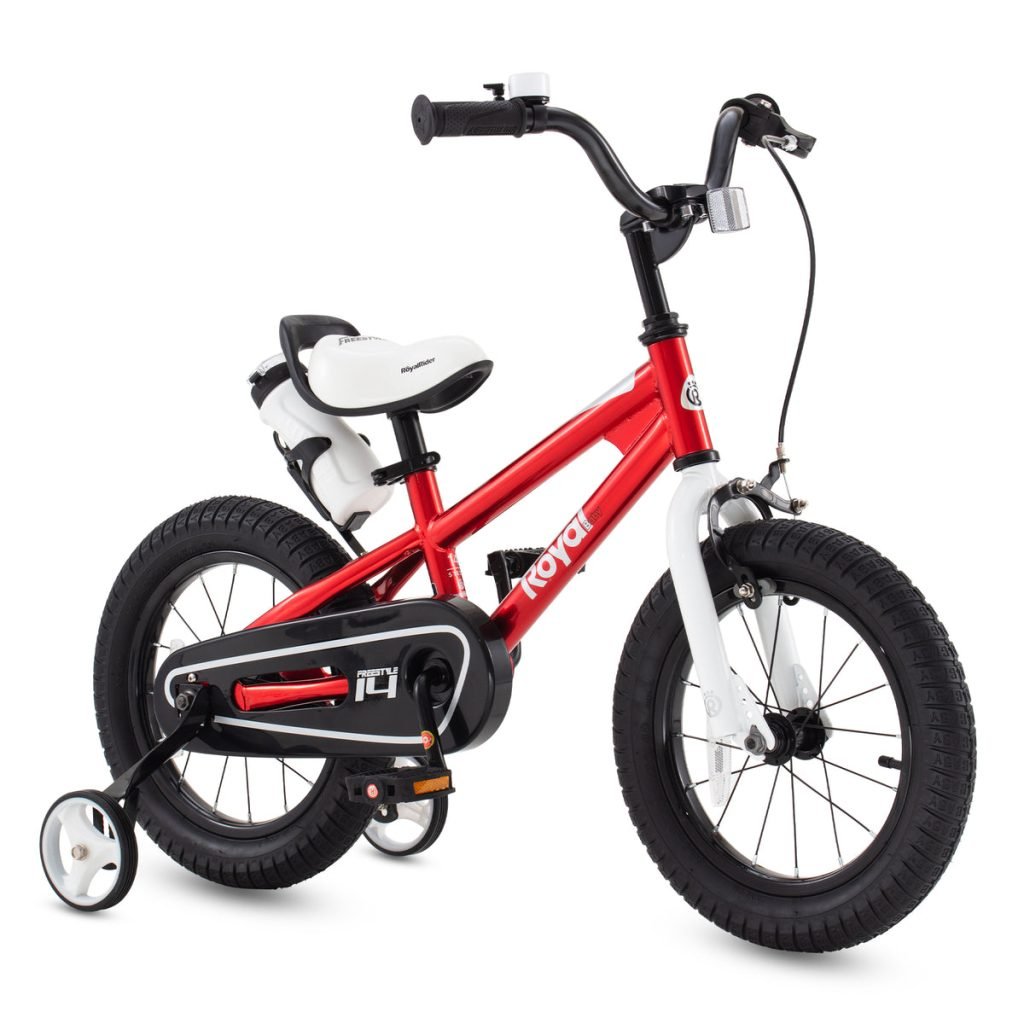
Unboxing The Bike
Unboxing a kid’s bike is the first step to a fun project. It is important to open the package carefully. This keeps all parts safe and ready for assembly.
Take your time to check the contents of the box. This helps you find everything you need before you start building.
Prepare Your Workspace
Clear a flat area to work in. A clean space helps you avoid losing small parts. Lay down a soft cloth or cardboard to protect the bike parts.
Check The Box Contents
Look inside the box and find all parts and tools. Use the manual to verify each item. This saves time and frustration later on.
- Bike frame
- Wheels
- Handlebars
- Pedals
- Seat
- Tools and screws
- User manual
Inspect Each Part
Look closely at each piece for damage. Check for scratches, dents, or missing screws. Report problems before starting the assembly.
| Part | What to Check |
| Frame | No cracks or bends |
| Wheels | Round shape, no dents |
| Handlebars | Tight grips and no bends |
| Pedals | Spin smoothly |
| Seat | Firm and undamaged |
Attaching The Wheels
Attaching the wheels is an important part of assembling a kid’s bike. Proper installation ensures safety and smooth riding.
This guide covers how to attach both the front and rear wheels with clear steps.
Front Wheel Setup
Start by placing the front wheel between the bike forks. Make sure the tire faces forward and aligns with the brakes.
- Insert the axle into the fork dropouts.
- Tighten the nuts or quick-release lever on both sides.
- Check the wheel spins freely without wobbling.
- Adjust the brake pads to touch the rim evenly.
Rear Wheel Setup
The rear wheel holds the chain and gears. Place it carefully between the frame’s rear dropouts.
| Step | Action | Notes |
| 1 | Align the sprocket with the chain. | Make sure the chain fits over the gear teeth properly. |
| 2 | Insert the axle into the dropouts. | Push the wheel forward to tension the chain. |
| 3 | Tighten the axle nuts securely. | Use a wrench for firm tightening. |
| 4 | Check wheel alignment and spin. | Wheel should rotate freely and stay centered. |
Installing The Handlebars
Installing the handlebars on a kid’s bike is an important step. It helps make sure the bike is safe and comfortable to ride.
This guide will explain how to attach and adjust the handlebars properly at home.
Preparing The Handlebars And Stem
Start by checking the handlebars and the stem. Make sure they match in size and style for the bike.
Remove any packaging or protective covers from the parts before assembly.
Attaching The Handlebars To The Stem
Position the handlebars in the stem clamp. Align them so they are straight and centered.
- Loosen the stem bolts if they are tight.
- Place the handlebars inside the clamp.
- Adjust the angle for comfort and control.
- Tighten the bolts evenly to secure the handlebars.
Checking Handlebar Alignment
Check that the handlebars point straight ahead. This helps the bike go straight and stay balanced.
Tightening And Securing The Bolts
Use a wrench or Allen key to tighten the stem bolts. Do this in small steps and alternate between bolts.
| Tool Needed | Tightening Torque |
| Allen Key | 5-7 Nm |
| Wrench | Check bike manual |
Do not over-tighten the bolts. This can damage the bike or make the handlebars unsafe.
Securing The Seat
Attaching the seat properly is key for a safe and comfortable ride. The seat must be tight and stable on the bike frame.
This guide will help you secure the seat on your kid’s bike at home with clear steps and tips.
Check The Seat Post And Clamp
Start by inspecting the seat post and clamp. Make sure they match the bike frame size. A loose fit can cause wobbling or slipping while riding.
Adjust The Seat Height
Set the seat height to fit your child’s leg length. The child’s foot should touch the ground when sitting on the seat. This helps with balance and control.
Tighten The Seat Clamp
Use the right tool to tighten the seat clamp bolt. This keeps the seat post from sliding down or turning during rides.
- Insert the seat post into the frame.
- Adjust the seat height.
- Align the seat so it is straight with the bike frame.
- Use a wrench or Allen key to tighten the clamp bolt firmly.
- Check that the seat does not move or twist.
Test The Seat Stability
Have your child sit on the bike. Check if the seat feels stable and secure. If it shifts, tighten the clamp more or adjust the seat post again.
| Common Issues | Solutions |
|---|---|
| Seat slides down | Tighten the seat clamp bolt securely |
| Seat twists or rotates | Align the seat properly and tighten the clamp |
| Seat height too low or high | Readjust seat post height for comfort |
Adjusting Brakes And Cables
Adjusting the brakes and cables on a kid’s bike is important for safety. Proper brake adjustment helps the bike stop quickly and smoothly.
Loose or tight cables can make braking hard or cause the brakes to drag. Learn how to adjust them correctly at home.
Check Brake Lever Tension
Start by squeezing the brake lever on the handlebar. It should feel firm but move easily. If it feels too loose or too tight, adjust the cable tension.
Look for the barrel adjuster near the brake lever or the brake caliper. Turning this adjuster changes the cable tension.
- Turn the barrel adjuster counterclockwise to tighten the cable.
- Turn it clockwise to loosen the cable.
- Adjust until the brake lever stops about 1 inch from the handlebar.
Adjust Brake Cable At The Caliper
If the barrel adjuster does not fix the problem, adjust the brake cable at the caliper. Loosen the bolt holding the cable with a wrench.
Pull the cable tight by hand, then retighten the bolt. Make sure the brake pads sit close to the rim without touching it.
- Loosen the cable bolt on the brake arm.
- Pull the cable to remove slack.
- Tighten the bolt again securely.
- Check brake pad distance from the wheel rim.
Align Brake Pads Properly
The brake pads need to touch the rim evenly when brakes are applied. Misaligned pads can reduce stopping power or damage the tire.
Loosen the pad holder bolts, move the pads to line up with the rim, then tighten the bolts again.
- Check if pads touch rim fully and evenly.
- Adjust pads so they do not touch the tire.
- Tighten bolts to keep pads in place.
Test The Brakes
After adjusting cables and pads, test the brakes. Squeeze the brake lever and check if the bike stops smoothly.
Make small adjustments if needed until the brakes feel safe and responsive.
Checking Tire Pressure
Checking tire pressure is an important part of assembling your kid’s bike at home. Proper pressure keeps the ride smooth and safe.
Too little or too much air can cause problems like poor handling or tire damage. Let’s learn how to check and adjust it correctly.
What You Need To Check Tire Pressure
To check the tire pressure, you will need a bike tire pressure gauge and a pump. These tools help measure and adjust the air in the tires.
- Tire pressure gauge
- Bike pump with pressure gauge
- Valve adapter (if needed)
- User manual for recommended pressure
How To Check The Tire Pressure
First, locate the valve stem on each tire. Remove the valve cap and press the pressure gauge onto the valve firmly. Read the pressure on the gauge.
If the pressure is too low, use the pump to add air. If it is too high, press the valve to release some air. Check pressure again to confirm.
| Pressure Level | What to Do |
|---|---|
| Below recommended | Add air with a pump |
| At recommended | Keep as is |
| Above recommended | Release air slowly |
Recommended Tire Pressure For Kids’ Bikes
Check the bike’s manual or the side of the tire for the right pressure. It usually ranges from 20 to 40 PSI depending on the bike size.
Here is a quick guide:
- 12-inch wheels: 20-25 PSI
- 16-inch wheels: 25-30 PSI
- 20-inch wheels: 30-40 PSI
Final Safety Checks
After assembling your kid’s bike, it is important to do final safety checks. These checks help make sure the bike is safe to ride.
Focus on tightening bolts, testing brakes, and ensuring proper alignment before the first ride.
Tightening Bolts
Check all bolts and nuts on the bike to make sure they are tight. Loose bolts can cause parts to fall off or shift during riding.
Use the right size wrench or Allen key. Do not over-tighten to avoid stripping the threads or damaging parts.
- Check handlebar bolts
- Check seat clamp bolts
- Check wheel axle nuts or bolts
- Check pedals and crank arm bolts
Testing Brakes
Test the brakes by squeezing the brake levers. Make sure they stop the wheels quickly and smoothly.
If brakes feel loose or weak, adjust the brake cables or pads. Proper brakes keep kids safe while riding.
- Pull each brake lever firmly
- Check if the wheel stops immediately
- Adjust brake pads if they do not touch the rim well
- Replace worn brake pads if needed
Ensuring Proper Alignment
Make sure the wheels and handlebars are straight. Proper alignment helps the bike ride smoothly and safely.
Check that the front wheel points straight ahead and the handlebars do not twist. Fix any misalignment before riding.
- Stand in front of the bike
- Look if the front wheel is centered
- Turn handlebars to check for smooth movement
- Adjust the stem or fork if needed
Tips For Maintenance
Keeping a kid’s bike in good shape makes riding safe and fun. Regular care helps the bike last longer.
Simple checks and cleaning are easy to do at home. Small fixes prevent bigger problems later.
Check The Tires
Look at the tires before every ride. Make sure they are firm and not flat. Soft tires can cause falls.
Clean The Chain
Dirt and rust can stop the chain from working well. Clean the chain with a soft brush and oil it to keep it smooth.
- Wipe dirt off the chain
- Apply bike chain oil
- Remove excess oil with a cloth
Tighten Nuts And Bolts
Loose parts can cause accidents. Check all nuts and bolts often. Use a wrench to tighten any that are loose.
Adjust The Brakes
Brakes must work well to stop the bike quickly. Test the brakes before riding. Adjust or replace brake pads if needed.
| Maintenance Task | How Often | Tools Needed |
| Check Tires | Before Each Ride | Hand Pump |
| Clean Chain | Weekly | Brush, Chain Oil, Cloth |
| Tighten Nuts & Bolts | Monthly | Wrench |
| Adjust Brakes | Monthly or as needed | Allen Key, New Brake Pads |
Store The Bike Properly
Keep the bike in a dry place. Avoid leaving it outside in rain or sun. This stops rust and paint damage.
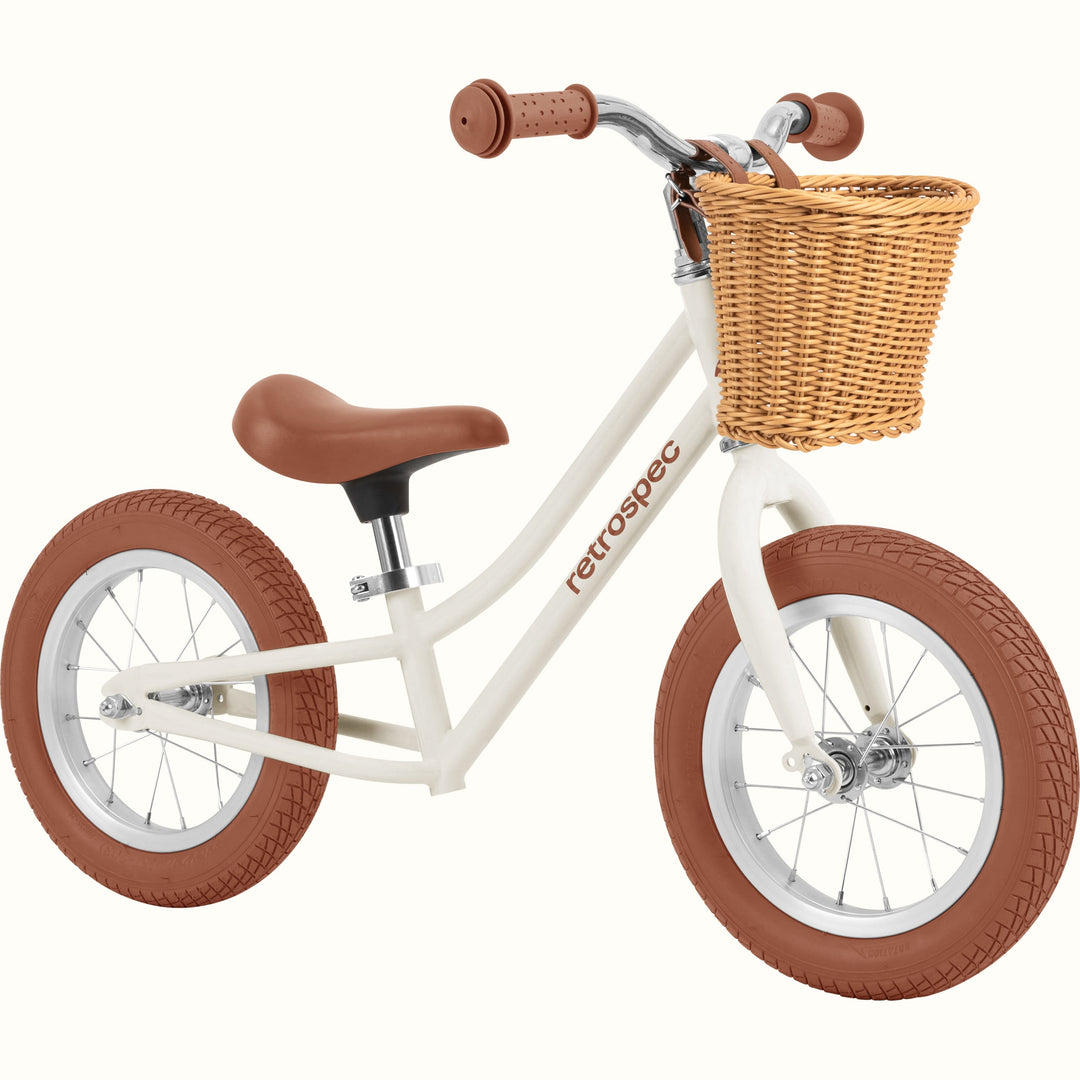
Credit: retrospec.com

Credit: www.huffy.com
Frequently Asked Questions
How Long Does It Take To Assemble A Kid’s Bike?
Typically, assembling a kid’s bike takes 30 to 60 minutes. It depends on your experience and the bike model. Following the manual carefully speeds up the process. Having the right tools ready also helps complete the assembly efficiently and correctly.
What Tools Do I Need To Assemble A Kid’s Bike?
You usually need a wrench, screwdrivers, and Allen keys. Some bikes may require tire levers or a bike pump. Check the bike’s manual for specific tools. Having a complete toolkit ensures a smooth, hassle-free assembly experience at home.
How Do I Ensure The Bike Is Safe After Assembly?
Tighten all bolts and screws firmly but avoid over-tightening. Check the brakes, tires, and chain for proper function. Test ride the bike gently to confirm stability. Regularly inspect safety features to keep the bike safe for your child.
Can I Assemble A Kid’s Bike Without Professional Help?
Yes, assembling a kid’s bike at home is possible. Most bikes come with clear instructions and necessary tools. Take your time and follow each step carefully. Watching tutorial videos can also help if you’re unsure about any part.
Conclusion
Assembling a kid’s bike at home is simple and rewarding. Follow each step carefully. Use the right tools. Ensure all parts fit securely. Check the brakes and tires. Safety first, always. Encourage your child to help. It makes the process fun.
With practice, it gets easier. Enjoy the time spent together. Building memories while building a bike. Remember, patience is key. Soon, your child will ride with joy. Share this activity with others. Inspire confidence and creativity in children. Happy biking!


