
Wearing a properly fitted and secured helmet is crucial for your safety while cycling, skating, or participating in other activities. This comprehensive guide will walk you through the process of strapping your helmet step-by-step to ensure a snug and comfortable fit.
Wearing a properly fitted and secured helmet is one of the most important safety measures you can take when participating in activities like cycling, skateboarding, or skiing. A helmet that is not fitted correctly can come off in a crash, leaving you vulnerable to serious head injuries.
In this comprehensive guide, we’ll walk you through the step-by-step process of properly strapping your helmet to ensure a secure and comfortable fit every time. By following these instructions, you can have peace of mind knowing that your helmet will provide the maximum protection in the event of an accident.
Key Takeaways
- Proper helmet fit is essential for safety: A helmet that is too loose can come off in a crash, while one that is too tight can be uncomfortable and distracting.
- Adjust the straps to create a “V” shape under your ears: This helps keep the helmet in place and distributes the force of an impact evenly.
- Tighten the chin strap until you can fit no more than two fingers between the strap and your chin: This ensures the helmet won’t come off in a crash.
- Check the fit by shaking your head from side to side: If the helmet moves more than an inch, it needs further adjustment.
- Replace your helmet after a significant impact: Even if it looks undamaged, the internal structure may be compromised and no longer offer full protection.
- Regularly inspect your helmet for any cracks or damage: This can compromise its integrity and reduce its effectiveness in a crash.
- Choose a helmet that meets safety standards for your activity: Look for certifications like CPSC, ASTM, or SNELL to ensure it’s rated for your intended use.
Step 1: Choose the Right Helmet
The first step in properly strapping your helmet is to make sure you have the right one for your intended activity. Look for a helmet that is certified by organizations like the Consumer Product Safety Commission (CPSC), ASTM International, or the Snell Memorial Foundation. These certifications ensure the helmet meets rigorous safety standards.
Additionally, consider the type of activity you’ll be using the helmet for. Bike helmets, for example, are designed differently than ski or skateboarding helmets to provide the appropriate level of protection. Make sure to select a helmet that is specifically made for the sport or activity you’ll be participating in.
Step 2: Adjust the Fit
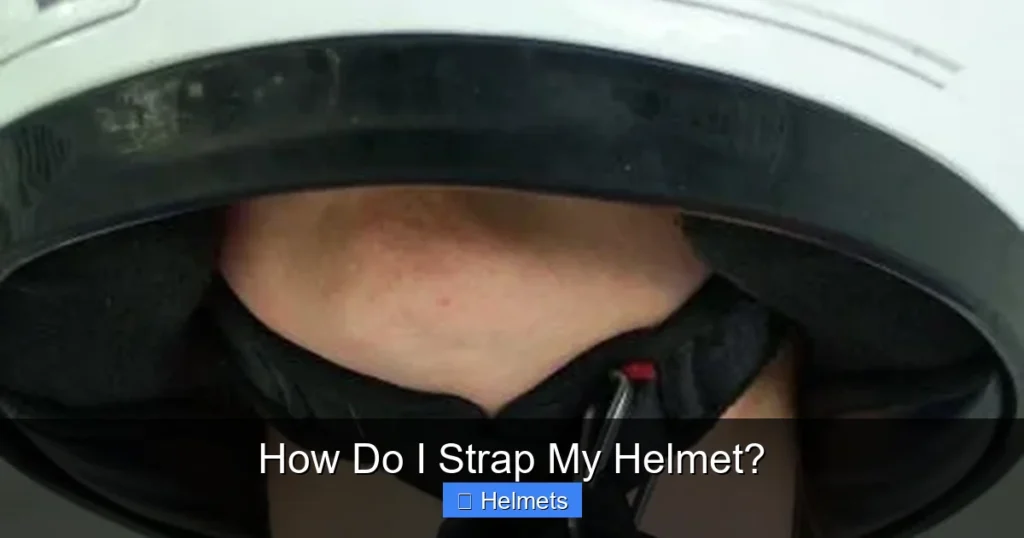
Visual guide about How Do I Strap My Helmet?
Image source: bbburma.net
Once you have the right helmet, it’s time to adjust the fit. The helmet should sit level on your head, with the front edge just above your eyebrows. It should not tilt back or forward.
Adjust the Side Straps
Start by adjusting the side straps so they form a “V” shape just below your ears. The straps should be snug but not uncomfortably tight.
Adjust the Chin Strap
Next, tighten the chin strap until you can fit no more than two fingers between the strap and your chin. This ensures the helmet won’t come off in a crash.
Check the Fit
Finally, shake your head from side to side. The helmet should not move more than an inch in any direction. If it does, you’ll need to adjust the straps further.
Step 3: Secure the Helmet
Once you’ve adjusted the fit, it’s time to secure the helmet in place. Start by fastening the chin strap buckle. Make sure it clicks securely into place.
Next, adjust the side straps until they form a “V” shape just below your ears. The straps should be snug but not uncomfortably tight.
Finally, tighten the chin strap until you can fit no more than two fingers between the strap and your chin. This ensures the helmet won’t come off in a crash.
Step 4: Double-Check the Fit
After securing the helmet, give it a final check to ensure it’s properly fitted. Shake your head from side to side and up and down. The helmet should not move more than an inch in any direction.
If the helmet does move, go back and adjust the straps until you achieve a snug, secure fit.
Troubleshooting Tips
If you’re having trouble getting your helmet to fit properly, here are a few troubleshooting tips:
Helmet is Too Loose
If the helmet feels loose and moves around on your head, try the following:
– Tighten the side straps until they form a tight “V” shape under your ears.
– Adjust the chin strap until it’s snug but not uncomfortable.
– Try a smaller size helmet if available.
Helmet is Too Tight
If the helmet feels uncomfortably tight or is causing pressure points, try the following:
– Loosen the side straps and chin strap.
– Try a larger size helmet if available.
– Ensure the helmet is sitting level on your head and not tilting forward or backward.
Helmet Moves During Use
If the helmet shifts or moves around during use, try the following:
– Tighten the side straps and chin strap.
– Ensure the helmet is sitting level on your head.
– Check for any worn or damaged components that may need to be replaced.
Conclusion
Properly strapping your helmet is essential for ensuring your safety during any activity where head protection is recommended. By following the steps outlined in this guide, you can achieve a snug, secure fit that will stay in place in the event of a crash or impact.
Remember to regularly inspect your helmet for any signs of wear or damage, and replace it after any significant impact, even if it appears undamaged. With the right helmet and a proper fit, you can have peace of mind knowing you’re doing everything you can to protect your head and stay safe.


