

Are your bike’s brakes not gripping like they used to? Feeling a little unsure about how to get them back to their full stopping power?
You’re not alone. Many cyclists find themselves puzzled when it comes to setting up V-brakes. But here’s the good news: mastering V-brake installation is easier than you might think, and you don’t need to be a bike mechanic to do it.
Imagine gliding down the road with confidence, knowing your brakes are perfectly tuned for safety. In this guide, you’ll discover straightforward steps to set up your V-brakes, ensuring smooth rides and secure stops every time. Keep reading, and you’ll be equipped with the knowledge to tackle this task with ease and precision. Your bike deserves the best, and so do you. Let’s dive in!

Credit: yzbrakeparts.com
Tools Needed
Setting up V-brakes is easy with the right tools. You will need a few simple items. Here’s a list to help you:
- Allen wrench: Adjusts the brake pads and cables.
- Screwdriver: Tightens screws and adjusts the brake arms.
- Cable cutters: Trims excess brake cable.
- Ruler or tape measure: Ensures correct spacing and alignment.
- Lubricant: Keeps brake parts moving smoothly.
These tools make the job easier. Keep them handy for adjustments. Proper tools ensure safe braking. Always check your bike’s manual for specific tool recommendations.
Understanding V-brakes
V-brakes are a popular type of bicycle brake. They are known for their strong stopping power. They are also easy to maintain. V-brakes are often found on mountain bikes. They work by squeezing the wheel rim. This action slows the bike down.
V-brakes consist of a few parts. The most important parts are the brake arms. These arms hold the brake pads. Brake pads press against the wheel rim. Brake cables connect the brake lever to the brake arms. Pulling the lever tightens the cable. This action moves the brake arms.
V-brakes are adjustable. This helps with brake pad wear. It also helps with changing wheel sizes. Regular checks ensure the brakes work well. Proper setup leads to safe rides. Always check the brake pads for wear. Replace them if needed. This ensures your bike stops properly.
Removing Old Brake Pads
First, loosen the brake pad nutsusing a wrench. This allows easy removal. Next, slide the pads off the brake arms. Inspect the padsfor wear or damage. If pads are worn, replace them. Ensure the new pads match the old ones. Check the alignment of the brake arms. They should be parallel to the wheel rim. If not, adjust them accordingly. This ensures smooth braking.
Clean the area with a cloth. Remove any dirt or debris. This prevents damage to new pads. Finally, dispose of the old pads responsibly. Recycleif possible. Now, your bike is ready for new brake pads.
Installing New Brake Pads
Setting up V-brakes involves aligning the brake pads with the rim’s surface. Ensure pads are centered and tightened securely. Adjust cable tension for optimal brake response and test for smooth operation.
Choosing The Right Pads
Brake pads come in different materials. Some are made of rubber, others from metal. Rubber pads are soft and quiet. Metal pads last longer but make more noise. Choose pads that fit your bike. Check the size and type. Make sure they are compatible. This ensures safe and smooth braking.
Securing Brake Pads
Position the new pads correctly. Align them with the wheel rim. Tighten the screws firmly using a wrench. Avoid over-tightening to prevent damage. Make sure the pads touch the rim evenly. This helps in effective braking. Test the brakes after installation. Adjust if needed for better performance.
Adjusting Brake Cable
First, find the barrel adjusternear the brake lever. Turn it clockwise to loosen the cable. This makes the brakes less tight. Next, locate the cable clamp bolton the brake arm. Use an Allen key to loosen this bolt. This will free the cable, allowing you to adjust it. Make sure the cable can move freely. Check the brake pads; they should not touch the rim. If they do, adjust the cable more. Ensure the wheel spins without rubbing.
To tighten, turn the barrel adjuster counterclockwise. This will make the brakes tighter. Pull the cable through the clamp bolt. Keep the cable taut but not too tight. Tighten the cable clamp bolt using your Allen key. Test the brakes by squeezing the lever. The brake pads should touch the rim firmly. If not, adjust the cable more. Ensure the brakes work properly before riding.
Aligning Brake Pads
Aligning brake pads ensures efficient braking and safety. Position pads parallel to wheel rims for even contact. Adjust tension screws to avoid rubbing against tires, maintaining smooth operation.
Positioning Pads
Make sure the brake pads are close to the wheel rim. They should not touch the tire. The pads should be at the same level as the rim. Adjust them until they are straight. Ensure they have equal distance from the rim’s edge.
Testing Alignment
Press the brake lever gently. Look at how the pads hit the rim. They should touch the rim evenly. Check that both pads touch the rim at the same time. If one pad hits first, adjust again. The brakes should stop the wheel smoothly.
Setting Brake Tension
Adjusting brake tension is crucial for effective braking. Begin by loosening the cable bolt slightly. Then, pull the cable tight and re-tighten the bolt. Test the brakes to ensure the pads contact the rim evenly and adjust as needed for optimal performance.
Adjusting Tension
Use a screwdriver to turn the barrel adjuster. This changes the cable length. Aim for the brakes to be evenly spaced from the rim. Too tight, and the brakes will rub. Too loose, and they won’t stop you. Ensure the cable is snug, but not too tight. Adjust both sides until they feel even. Test by squeezing the brake lever.
Testing Brake Responsiveness
Squeeze the brake lever gently. Check if the brakes grab the rim quickly. They should not be too loose or too tight. Roll the bike forward slowly and apply the brakes. Ensure the bike stops without skidding. Make small adjustments to the tension if needed. Repeat the process until satisfied.
Final Testing And Adjustments
Final testing ensures your V-brakes function smoothly. Adjust the tension, align the pads, and test the brakes. Make sure they stop effectively without squeaking.
Checking Brake Performance
Ensure the brake leversare easy to squeeze. The pads should touch the rims when you pull the levers. Spin the wheels to see if they stop quickly. Listen for any strange noises. The brakes should be silentwhen working. Make sure the pads don’t rub the rims. If they do, adjust them slightly.
Making Necessary Adjustments
Use a screwdriver to adjust the tensionscrews. Find these on the brake arms. Turn the screws gently to balance the brakes. Make sure both pads touch the rim at the same time. If one pad touches first, adjust the screws again. Check the cables. They should be tight but not too tight. If they are loose, tighten them with a wrench. Test the brakes again after adjustments.
Maintenance Tips
Properly setting up V-brakes ensures smooth and safe braking. Begin by aligning the brake pads with the wheel rim. Adjust the brake cable tension for responsive braking, and check for even spacing between pads. Regular checks keep your brakes in top condition.
Lubrication
Keep your V-Brakes working smoothly with regular lubrication. Use a light oilon the brake pivot points. This helps reduce frictionand ensures smooth movement. Clean off excess oil to avoid attracting dirt.
Brake Pad Inspection
Check the brake pads for wear and tear. Replace them if they are too thin. Worn pads can damage the rims and reduce braking power. Ensure they are aligned properly with the rims.
Cable Tension
Cable tension is important for effective braking. Adjust the tension by turning the barrel adjuster. Ensure the brakes engage easily when you squeeze the levers. Too loose or tight cables can affect performance.
Cleaning
Regularly clean the brake components. Use a damp cloth to remove dirt and grime. This keeps your brakes in good condition and improves their lifespan. Avoid using strong chemicals that can damage parts.

Credit: www.reddit.com
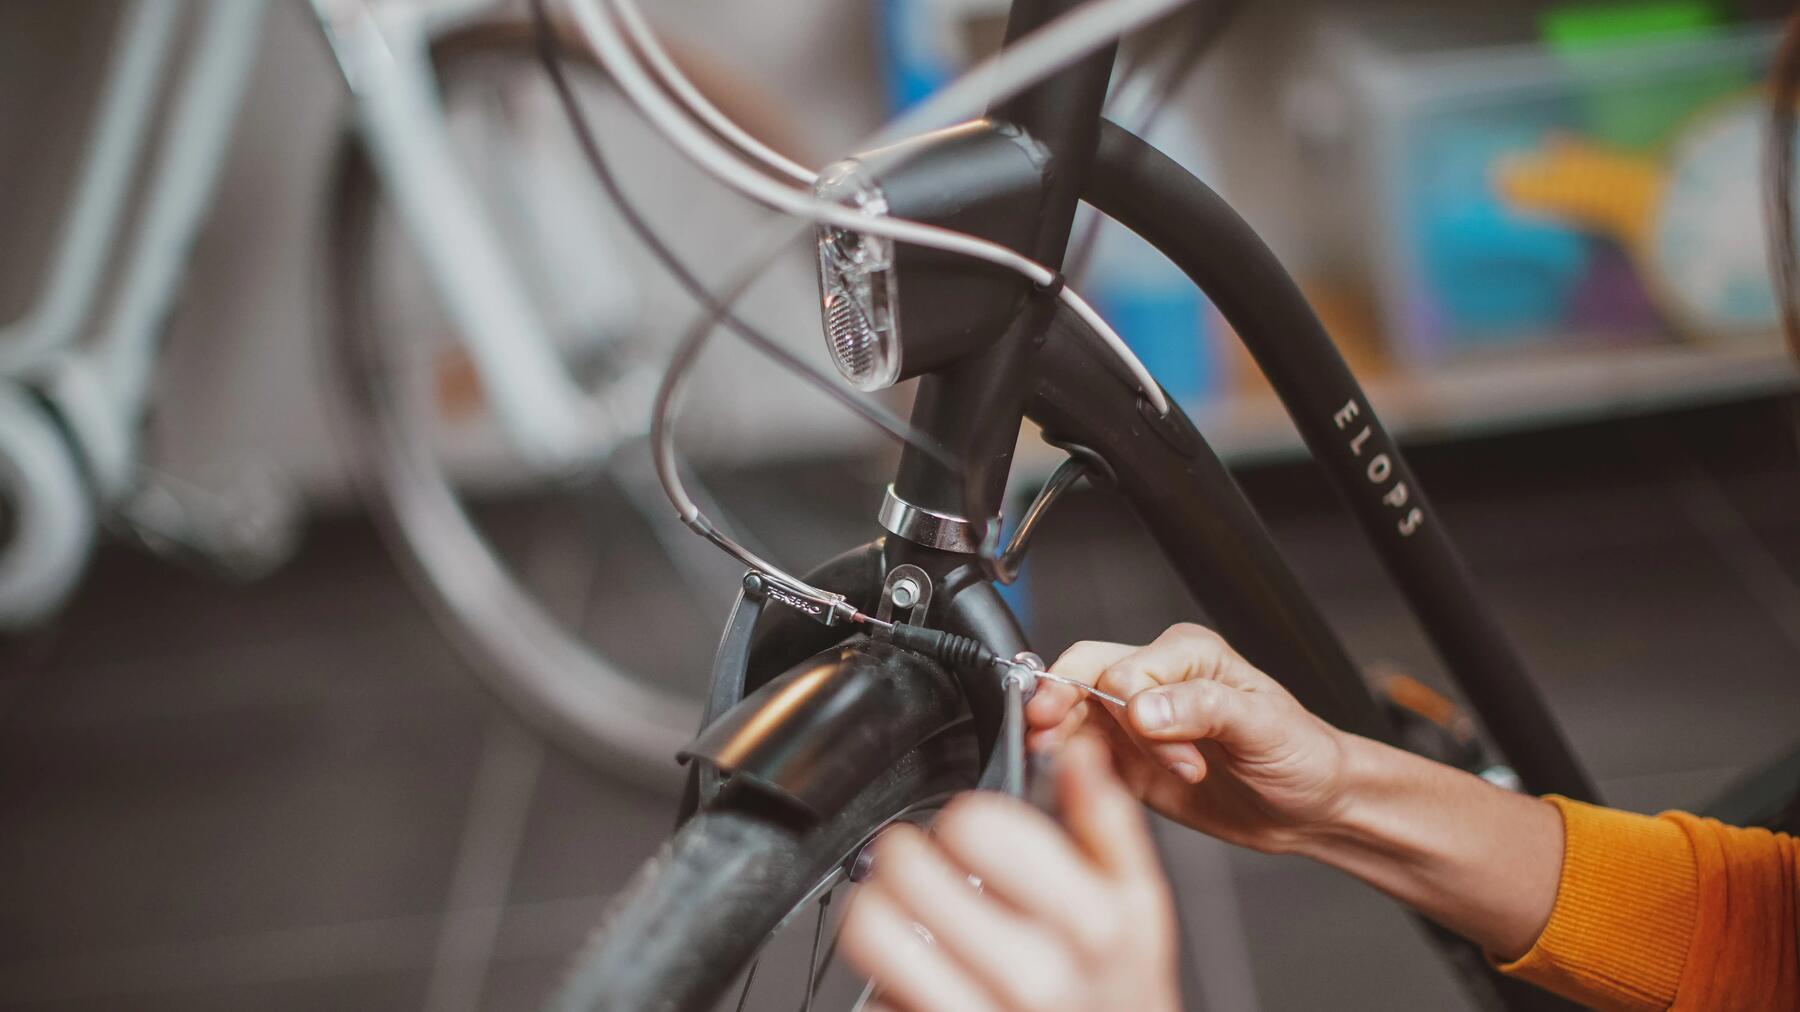
Credit: www.decathlon.co.uk
Frequently Asked Questions
How To Properly Set Up V-brakes?
Start by loosening the brake bolts. Align brake pads with the rim’s braking surface. Tighten bolts securely. Adjust cable tension for optimal braking power. Test brakes for proper function and make necessary adjustments.
How To Stop V-brakes From Rubbing?
Adjust the brake pads by loosening the bolts and aligning them parallel to the rim’s surface. Check for wheel truing and tighten the bolts securely. Ensure the brake cable is properly tensioned. Regularly clean the rims and pads to prevent debris buildup.
How Do You Adjust The Screw On V-brakes?
Locate the adjustment screw on the side of the v-brake. Turn clockwise to tighten, counterclockwise to loosen. Make small adjustments until the brake pads align perfectly with the rim. Ensure the wheel spins freely without rubbing. Test the brakes for proper function after adjustments.
How To Install A V-brake Noodle?
To install a V-brake noodle, insert it into the brake lever’s housing. Align it with the brake cable. Secure the cable tightly with the anchor bolt. Ensure the noodle is correctly positioned for smooth cable operation. Test the brakes to ensure proper functionality and adjust as needed.
Conclusion
Setting up V-brakes is simpler than it seems. Follow the steps, and you’ll enjoy smoother rides. Start with adjusting the brake pads. Ensure they align with the rim. Next, fine-tune the cable tension. This ensures effective braking. Always check for wear and tear.
Replace any worn-out parts. Regular maintenance keeps brakes reliable. Practice makes perfect. Soon, you’ll feel confident in your setup skills. A well-adjusted brake enhances your biking experience. Ride safely and enjoy the journey. Remember, safety first. Happy cycling!


