
Replacing an inner tube on a bike is a must-know skill for every cyclist. This guide walks you through the entire process—from removing the wheel to inflating the new tube—so you can fix a flat tire quickly and confidently.
Key Takeaways
- Gather the right tools: You’ll need tire levers, a new inner tube, a pump or CO2 inflator, and a wrench (if your bike has bolt-on wheels).
- Remove the wheel safely: Always shift into the smallest gear before removing the rear wheel to reduce chain tension.
- Inspect the tire carefully: Check for sharp objects like glass, thorns, or metal that could cause another flat.
- Install the new tube correctly: Partially inflate the tube before inserting it to prevent pinching, and align the valve with the rim hole.
- Reinstall and test: Make sure the tire is seated evenly on the rim and inflate to the recommended PSI before riding.
- Know when to patch instead: For small punctures, consider learning how to patch a bike inner tube to save money and reduce waste.
- Practice makes perfect: Try replacing a tube at home before you’re stuck on the road—it builds confidence and speed.
How to Replace an Inner Tube on a Bike
Getting a flat tire is one of the most common—and frustrating—issues cyclists face. But don’t worry: replacing an inner tube on a bike is easier than you think, and with a little practice, you’ll be back on the road in under 10 minutes. Whether you’re commuting, touring, or hitting the trails, knowing how to swap out a damaged inner tube is an essential skill that every rider should master.
In this guide, we’ll walk you through the entire process step by step. You’ll learn how to safely remove your wheel, take out the old tube, inspect for damage, install a new one, and get rolling again—all with clear instructions and practical tips. We’ll also cover troubleshooting common problems and share advice on preventing future flats. By the end, you’ll feel confident handling a flat like a pro.
What You’ll Need
Before you start, make sure you have the right tools. Here’s a quick checklist:
Visual guide about How to Replace an Inner Tube on a Bike
Image source: biketips.com
- Tire levers: Usually come in sets of two or three. Plastic ones are gentle on rims; metal ones are stronger but risk scratching.
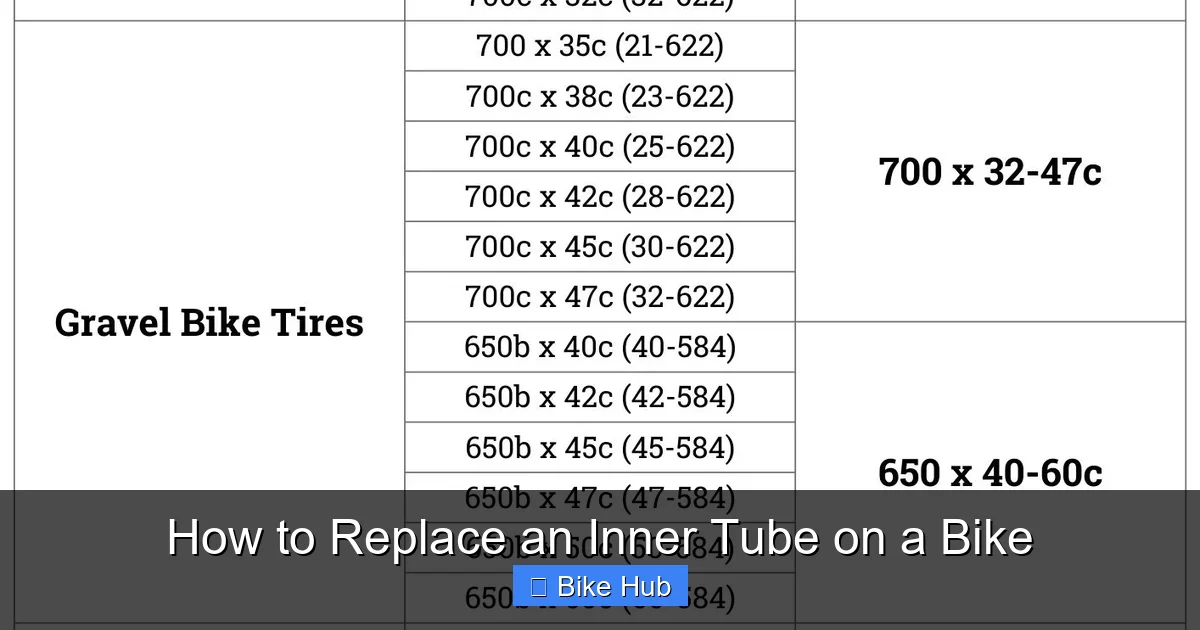
- New inner tube: Match the size to your tire (e.g., 700x25c for road bikes, 26×2.1 for mountain bikes). Check the sidewall of your tire for sizing info.
- Bike pump or CO2 inflator: A floor pump is best for home use; CO2 cartridges are great for quick roadside fixes.
- Wrench (optional): Only needed if your bike has bolt-on wheels instead of quick-release levers.
- Gloves (optional): Keep your hands clean and protected from dirt and sharp debris.
Pro tip: Keep a spare tube, mini pump, and tire levers in your saddlebag or backpack so you’re always prepared.
Step 1: Remove the Wheel
For the Rear Wheel
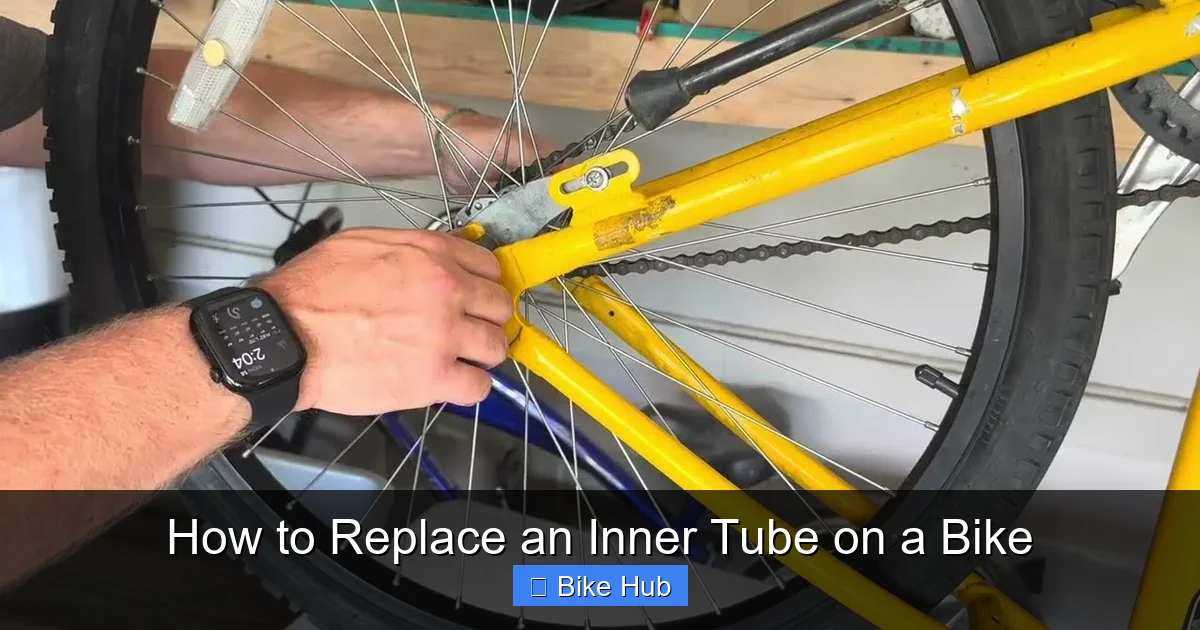
Start by shifting your chain onto the smallest rear cog (the hardest gear). This reduces tension and makes it easier to remove the wheel. If you have disc brakes, note that some models require extra care—avoid squeezing the brake lever while the wheel is off, as it can misalign the caliper.
Visual guide about How to Replace an Inner Tube on a Bike
Image source: i.ytimg.com
Open the quick-release lever or loosen the nuts with a wrench. Gently pull the wheel downward and backward to free it from the dropouts. Be careful not to damage the derailleur or brake rotor.
For the Front Wheel
Front wheels are simpler. Just open the quick-release or loosen the nuts, then lift the wheel straight out. No chain to worry about!
Safety note: Always place your bike upside down on the handlebars and seat (or lean it against a wall) to keep it stable while working.
Step 2: Deflate the Tire Completely
If there’s any air left in the tube, press down on the valve to release it fully. For Presta valves (common on road bikes), unscrew the tip first. For Schrader valves (like car tires), just press the pin in the center.
Once the tire is flat, squeeze the sides of the tire to loosen it from the rim. This makes it easier to insert the tire levers.
Step 3: Remove the Tire and Old Inner Tube
Use Tire Levers Wisely
Slide one tire lever under the bead of the tire and hook it to a spoke. Insert a second lever about 4–6 inches away and gently pry the tire over the rim. Once a section is loose, you can often run the lever around the rim to remove one entire side.
Important: Never use screwdrivers or sharp metal tools—they can puncture the tube or damage the rim tape.
Pull Out the Old Tube
Once one side of the tire is off, gently pull the inner tube out starting at the valve. Work your way around until the whole tube is free.
Step 4: Inspect the Tire and Rim
This step is crucial! A tiny piece of glass or a thorn left in the tire will instantly puncture your new tube.
- Run your fingers slowly along the inside of the tire, feeling for sharp objects.
- Check the rim tape (the strip covering the spoke holes)—if it’s worn or shifted, it can pinch the tube.
- Look for cracks, bulges, or excessive wear on the tire itself. If the tire is damaged, consider replacing it too.
Example: I once found a 3mm piece of wire embedded in my tire that I’d missed twice—causing two flats in one week. A thorough inspection saves time and frustration.
Step 5: Install the New Inner Tube
Pre-Inflate Slightly
Add just a little air to the new tube—enough to give it shape but not so much that it’s tight. This helps prevent pinching during installation.
Insert the Valve First
Push the valve through the rim hole from the inside. Make sure it’s straight and not bent. Then work the tube into the tire, tucking it evenly around the circumference.
Re-Seat the Tire
Starting opposite the valve, push the tire bead back onto the rim with your hands. Work your way toward the valve. If it gets tight near the end, use your thumbs—not levers—to avoid pinching the tube.
Tip: If you must use a lever for the last bit, do it slowly and watch the tube to ensure it’s not trapped under the bead.
Step 6: Inflate and Reinstall the Wheel
Inflate Gradually
Pump air into the tube slowly. Listen for hissing (a sign of a pinch flat) and check that the tire is seating evenly on both sides of the rim. The tire should bulge slightly outward—not inward.
Inflate to the recommended PSI, which is usually printed on the tire sidewall (e.g., 80–100 PSI for road bikes, 30–50 for mountain bikes).
Reattach the Wheel
For the rear wheel: Guide the chain back onto the smallest cog, then slide the wheel into the dropouts. Close the quick-release or tighten the nuts securely—but don’t over-tighten.
Spin the wheel to make sure it’s centered and doesn’t rub against the brakes or frame.
Troubleshooting Common Issues
- Tire won’t seat evenly: Deflate slightly, adjust the bead by hand, then reinflate. Sometimes a little soapy water on the bead helps it slide into place.
- New tube keeps going flat: Recheck the tire for hidden debris. Also inspect the valve core—it might be loose or damaged.
- Pinch flat after installation: You likely trapped the tube under the tire bead. Remove the tube, reseat the tire more carefully, and try again.
If you’re dealing with frequent flats, consider upgrading to puncture-resistant tires or using sealant—especially if you ride on rough terrain. For more on this, check out our guide on how to install tubeless bike tires, which can eliminate the need for inner tubes altogether.
When to Patch Instead of Replace
Not every flat requires a new tube. If the hole is small (under 1/8 inch) and caused by a puncture (not a tear), you can often patch the inner tube instead. Patching is cheaper, eco-friendly, and great for minor repairs. Save tube replacement for large cuts, valve damage, or when you’re out of patches.
Final Tips for Success
- Practice at home before you need to fix a flat on the road.
- Always carry a spare tube that matches your tire size.
- Learn how to use your pump efficiently—our guide on how to use a bike pump covers everything from CO2 to floor pumps.
- After fixing a flat, monitor the tire over the next few rides to ensure the repair holds.
With these steps, you’ll never fear a flat tire again. Replacing an inner tube is a simple, empowering skill that keeps you moving—whether you’re cruising city streets or exploring mountain trails.



