

Are you struggling to find the perfect setup for your road bike handlebars? You’re not alone.
Many cyclists overlook the importance of handlebar adjustment, but it’s crucial for comfort, efficiency, and safety. Imagine gliding down the open road, feeling at one with your bike, without the nagging discomfort in your wrists or back. Setting up your handlebars correctly can make this dream a reality.
In this guide, you’ll discover simple steps to adjust your handlebars for a more enjoyable ride. Let’s dive in and unlock a smoother, more comfortable biking experience for you.
Credit: www.bikeradar.com
Choosing The Right Handlebar Type
Choosing the right handlebar type is crucial for comfort and control on your road bike. Different handlebars offer unique benefits, influencing your riding style and efficiency.
Drop Bars
Drop bars are popular for road bikes. They offer multiple hand positions. Riders can switch for comfort and control. They help in fast riding. Drop bars are great for aerodynamics. They let riders bend low. This reduces wind resistance. Many cyclists prefer them for racing.
Flat Bars
Flat bars are straight and simple. They give a relaxed hand position. Good for beginners and city rides. They offer better control at low speeds. Riders can sit upright. This posture is more comfortable. Flat bars are easy to use and understand.
Aero Bars
Aero bars help in speed and long rides. They allow riders to lean forward. This reduces air drag. Aero bars are great for triathlons. They focus on speed and efficiency. Not ideal for beginners. Requires practice for proper use.
Tools Required For Setup
Tools Required for Setup Gather essential tools like an Allen wrench set, screwdriver, and tape measure for adjusting road bike handlebars. Ensure precise alignment and comfort for a smooth ride.
Allen Wrenches
Allen wrenches are important for adjusting handlebars. They fit into hex bolts on your bike. These bolts hold the handlebars in place. Make sure to have different sizes. They come in sets with many sizes. Check your bike for the right size needed. Using the wrong size can strip the bolt.
Torque Wrench
A torque wrench helps tighten bolts to the correct level. It prevents over-tightening or under-tightening. Over-tightening can damage parts. Under-tightening can cause handlebars to move. Set the wrench to the right torque level. Your bike’s manual will have this information. Always follow the manual for best results.
Adjusting Handlebar Height
Finding the right handlebar heightis important for comfort. It helps you ride smoothly. Adjusting the stem lengthis key. A short stem lets you sit upright. A long stem makes you lean forward. Choose what feels best for you.
Stem Length Considerations
Stem length affects how you ride. Short stemsare good for casual rides. They make steering easy. Long stemssuit fast rides. They give more speed. Think about where you ride most. Pick a stem that matches your style.
Finding The Optimal Height
- Test different heights on short rides.
- Check your back and neck comfort.
- Adjust until you find the best fit.
- Ensure easy reach to brakes and gears.
Comfort is key. Feel good on your bike.
Setting The Handlebar Angle
Finding the right handlebar angle is important. It affects how you ride. Too high or low can make you uncomfortable. Adjust the angle for a better grip. Keep your wrists straight. This helps reduce strain and pain. Use a wrench to adjust the handlebar easily. Make small changes and test them. This helps you find the perfect angle for your ride.
Evaluating Comfort
Comfort is key when riding a bike. Check if your shoulders feel relaxed. Your back should not hurt. Hands should not feel numb. Adjust the handlebars if you feel pain. A small change can make a big difference. Ride around and see how it feels. Listen to your body. It will tell you what’s right.
Performance Impact
The right handlebar angle improves performance. It helps you ride faster. You use less energy. A good angle gives better control. You can steer quickly and safely. It helps in long rides. You won’t tire easily. Test different angles. Find the one that works best for you.
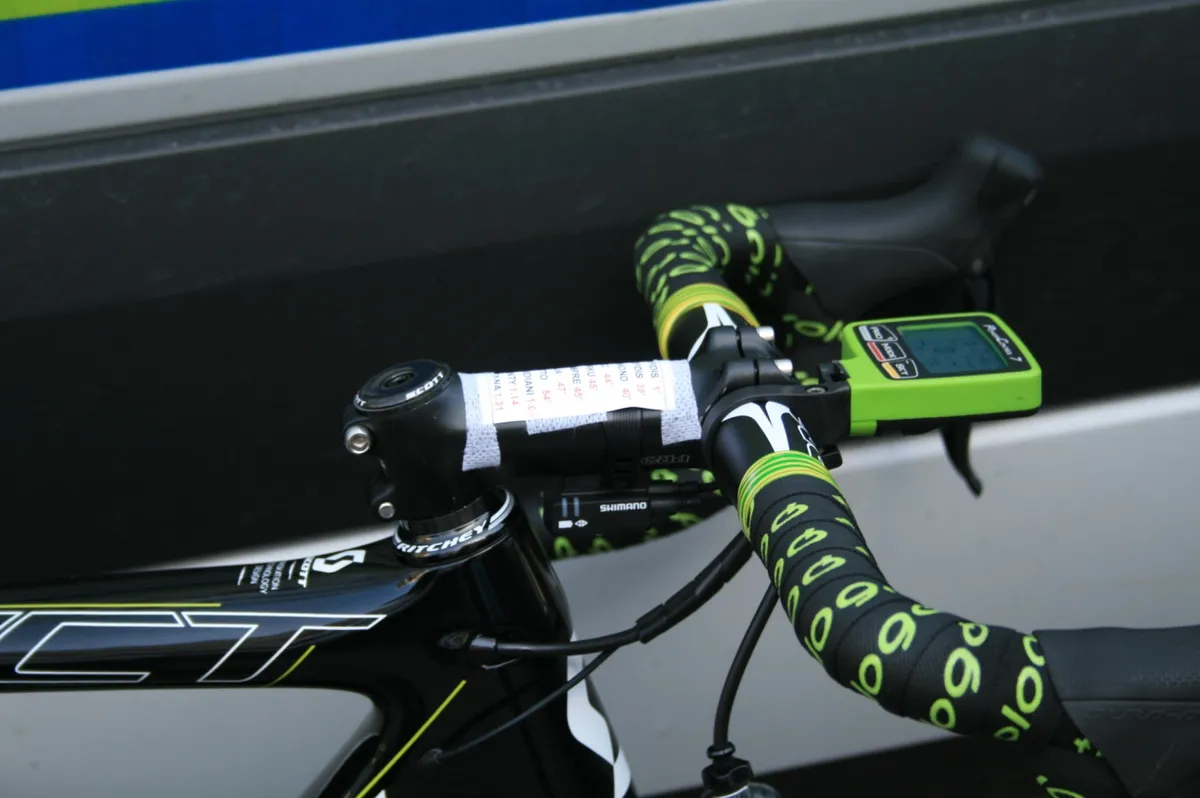
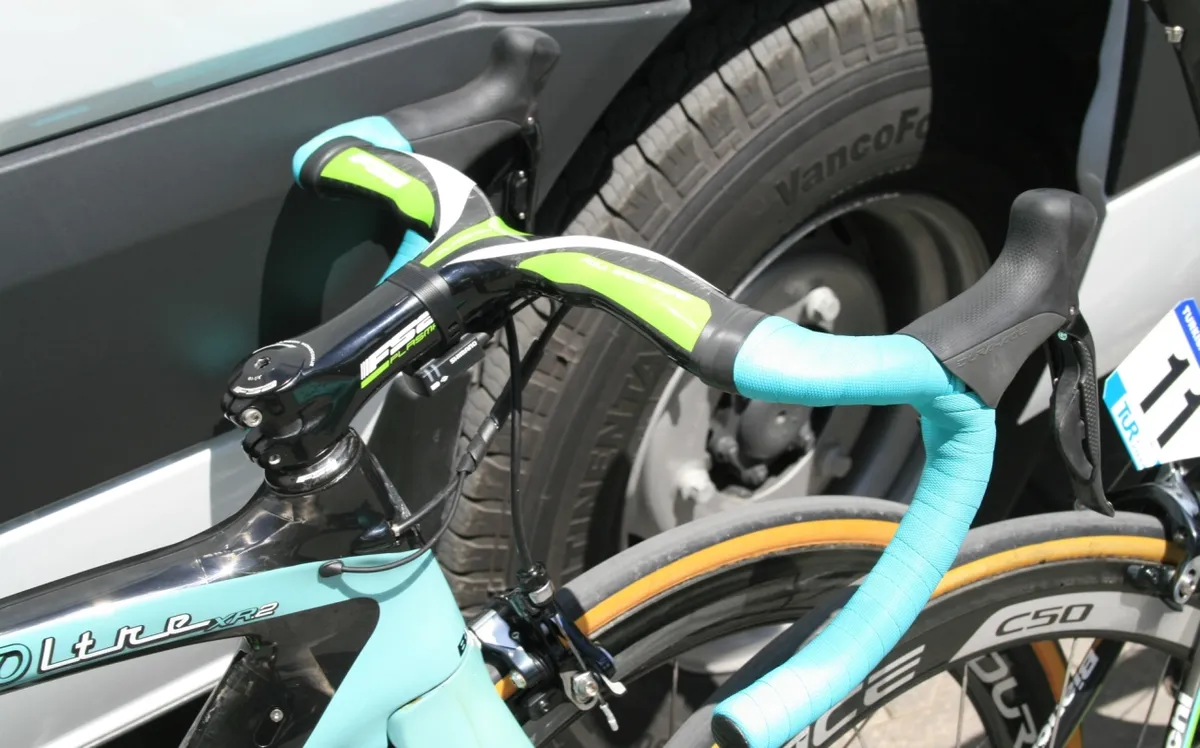
Positioning Brake Levers And Shifters
Position brake levers and shifters properly for comfort and control. Align them with your wrist angle for easy reach. Ensure they are secure but adjustable for optimal riding performance.
Lever Placement
Proper lever placement ensures comfort and control. Ensure levers are at a natural angle. Your fingers should easily reach them. Adjust the levers to fit your hand size. Too far and you lose control. Too close and it feels cramped. Aim for a middle ground. This helps in quick braking during sudden stops.
Shifter Accessibility
Shifters should be easy to reach. Your thumb or finger should touch them without strain. Make sure they don’t interfere with brake levers. Test by shifting while riding. If uncomfortable, adjust the angle slightly. Shifters should also be visible. You must see gear indicators while riding. This helps in choosing the right gear quickly.
Credit: www.bikeradar.com
Ensuring Proper Grip And Tape Application
Choosing the right grip materialis very important. Rubber grips offer a soft feel. Foam grips are light and absorb shock. Cork grips provide a natural feel. Each type has its own benefits. Consider the weather conditionsyou ride in. Rainy days need grips that stay firm when wet. Hands should not slip while riding. Test different grips to find the best fit. Comfort is key for long rides. Make sure the grips fit your handlebars well. Loose grips can cause control problems. Tight grips ensure safe rides.
Apply tape to your handlebars with care. Start from the bottom and work up. Overlap the tape by half each time. This helps keep it secure. Pull the tape tight but not too tight. Ensure there are no gaps or bumps. Smooth tape looks neat and feels good. Use finishing tape to secure the end. This keeps the tape in place. A well-taped handlebar is important for comfort. It also helps keep your bike looking tidy.
Checking Alignment And Symmetry
Ensure handlebars are aligned with the front wheel for smooth steering. Check symmetry by measuring equal distance from each grip to the bike frame. Adjust until both sides mirror each other perfectly.
Visual Inspection
Look at your handlebarsfrom the front. They should be straightand centered. If not, loosen the bolts. Adjust until the handlebarsalign with the front wheel. Tighten the bolts again. Ensure the brake leversare at the same height. This helps in comfortable and safe rides.
Test Ride
Take a short ride. Feel how the handlebarsrespond. Are they comfortable? If they feel off, readjust them. Make sure they don’t wobble or feel loose. Comfort is key for long rides. Check again if needed. Ride safely and enjoy!

Credit: www.reddit.com
Maintaining Handlebar Setup
Adjusting road bike handlebars is key for comfort and control. Find the right height and angle for your ride. Proper setup can enhance your biking experience.
Regular Checks
Always ensure your handlebars are secure. Loose handlebars can be dangerous. Check the bolts regularly. Make sure they are tight. Look for wear and tear. Inspect grips for damage. Replace worn grips immediately. Clean your handlebars often. Dirt can cause problems. Use a soft cloth for cleaning. Avoid harsh chemicals.
Adjustments Over Time
Your handlebars may need adjusting. Riding styles change over time. Adjust height for comfort. Make small changes. Test each adjustment. See what feels best. Ensure your posture is correct. Proper posture reduces strain. Keep your hands comfortable. Comfort is key for long rides. Check alignment regularly. Misalignment affects control. Adjust alignment as needed.
Frequently Asked Questions
How Should Road Bike Handlebars Be Positioned?
Position road bike handlebars slightly lower than saddle height. Ensure a comfortable reach and relaxed arm angle. Adjust rotation for optimal brake and shifter access. Set handlebars parallel to the front wheel for balance. Fine-tune based on personal preference and riding style.
How To Align Road Bike Handlebars?
To align road bike handlebars, loosen the stem bolts slightly. Adjust handlebars until they are centered and aligned with the front wheel. Ensure they are at a comfortable angle for riding. Tighten the stem bolts securely once correctly positioned. Double-check the alignment and make further adjustments if necessary.
What Is The Correct Handlebar Height For A Road Bike?
The correct handlebar height depends on personal comfort and riding style. Generally, it should align with or be slightly lower than the saddle for efficiency and aerodynamics. Adjust gradually to find the most comfortable position for your body and riding needs.
How Far Forward Should Bike Handlebars Be?
Position handlebars so they align with the front wheel axle or slightly forward. Ensure comfort and control. Adjust based on personal preference, riding style, and flexibility.
Conclusion
Setting up your road bike handlebars is crucial for comfort. A proper fit enhances your biking experience. Remember to adjust height and angle carefully. Check the brakes and gears for easy reach. Regularly inspect for any loose parts. Comfortable handlebars help prevent strain during rides.
Practice makes this setup easier over time. Enjoy smoother rides with a well-adjusted bike. Happy cycling!


