
Attaching a helmet to your Osprey backpack is crucial for safety and convenience during outdoor activities. This guide will walk you through the simple steps to properly secure your helmet, ensuring a secure fit and easy access when you need it.
Attaching a helmet to your Osprey backpack is an essential step for safe and convenient outdoor activities. Whether you’re hiking, biking, or engaging in other adventurous pursuits, having your helmet readily available can make all the difference. In this comprehensive guide, we’ll walk you through the simple process of securely attaching your helmet to your Osprey pack, ensuring it stays in place and is easily accessible when you need it.
Key Takeaways
- Proper attachment is essential for safety: Securely attaching your helmet to your Osprey pack helps prevent it from getting lost or damaged during your adventures.
- Accessibility is key: Learn how to position your helmet for easy on-and-off access when you need it.
- Compatibility with different helmet types: The guide covers attaching both hard-shell and soft-shell helmets to your Osprey pack.
- Adjustability for a snug fit: Discover how to adjust the attachment points for a customized and secure fit.
- Troubleshooting tips: Get guidance on resolving common issues like helmet movement or compatibility problems.
- Protect your investment: Properly attaching your helmet helps preserve its condition and extends its lifespan.
- Enhance your outdoor experience: A securely attached helmet allows you to focus on your adventure without worrying about your gear.
Preparing Your Helmet and Osprey Pack
Before you begin, ensure that your helmet is compatible with the attachment points on your Osprey pack. Osprey designs their packs to accommodate a wide range of helmet types, including both hard-shell and soft-shell varieties. Take a moment to familiarize yourself with the attachment points on your specific Osprey model.
Identifying Attachment Points
Osprey packs typically feature dedicated helmet attachment points, often located on the back or sides of the pack. These attachment points are usually in the form of loops, hooks, or straps, designed to securely hold your helmet in place. Locate these points on your Osprey pack and ensure they are in good condition, without any signs of wear or damage.
Adjusting the Helmet Fit
It’s important to ensure that your helmet fits snugly and comfortably on your head before attempting to attach it to your Osprey pack. Follow the manufacturer’s instructions to adjust the helmet’s straps and fit, ensuring a secure and stable position on your head.
Attaching the Helmet to Your Osprey Pack
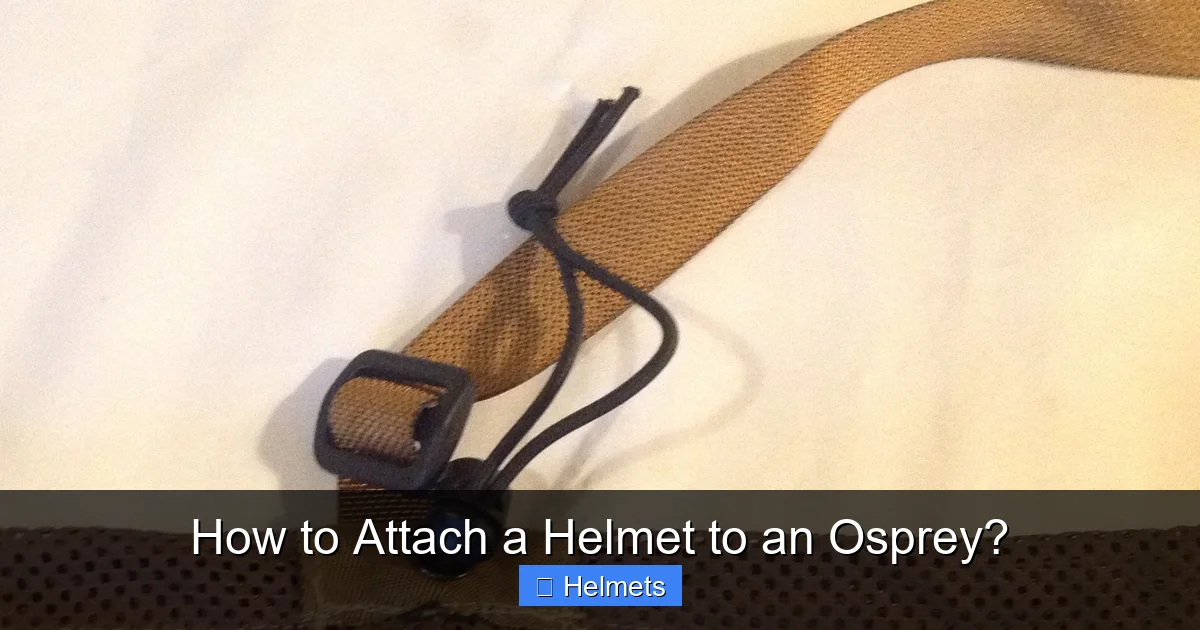
Visual guide about How to Attach a Helmet to an Osprey?
Image source: hatchfive.wordpress.com
Once you’ve prepared your helmet and identified the attachment points on your Osprey pack, it’s time to begin the attachment process. Follow these step-by-step instructions:
Securing the Helmet
1. Position the helmet on your Osprey pack in the desired location, typically on the back or side of the pack.
2. Identify the appropriate attachment points on your pack, such as loops, hooks, or straps.
3. Carefully thread the helmet’s straps or attachment points through the corresponding attachment points on your Osprey pack.
4. Adjust the straps or attachment points to ensure a snug and secure fit, without any excessive movement or looseness.
Adjusting the Helmet’s Position
1. Experiment with different positioning options to find the most convenient and accessible spot for your helmet.
2. Consider factors such as your reach, the pack’s weight distribution, and your intended activities to determine the optimal placement.
3. Adjust the attachment points as needed to achieve the desired position and ensure the helmet remains stable during your adventures.
Finalizing the Attachment
1. Double-check the helmet’s attachment to ensure it is securely in place and won’t come loose during your activities.
2. Tug gently on the helmet to test the stability of the attachment.
3. Make any final adjustments to the straps or attachment points to ensure a snug and secure fit.
Troubleshooting and Tips
As you begin using your Osprey pack with the helmet attached, you may encounter a few common issues. Here are some troubleshooting tips to help you address them:
Helmet Movement or Looseness
If you notice your helmet moving or feeling loose, try the following:
– Adjust the attachment points to tighten the fit.
– Ensure the helmet’s straps are properly threaded through the attachment points.
– Consider using additional straps or attachment accessories to further secure the helmet.
Compatibility Issues
If you’re having trouble attaching your specific helmet to your Osprey pack, check the following:
– Ensure your helmet is compatible with the attachment points on your Osprey pack.
– Consult the manufacturer’s instructions or reach out to Osprey’s customer support for guidance.
– Consider using third-party helmet attachment accessories designed to work with Osprey packs.
Protecting Your Helmet
To maintain the condition of your helmet and extend its lifespan, keep these tips in mind:
– Avoid exposing the helmet to excessive wear, abrasion, or impact while attached to your pack.
– Consider using a protective cover or case to shield the helmet during transport.
– Regularly inspect the attachment points and straps for any signs of wear or damage.
Conclusion
Properly attaching your helmet to your Osprey backpack is a crucial step in ensuring your safety and convenience during outdoor activities. By following the simple steps outlined in this guide, you can securely attach your helmet, keeping it readily available and protected. Remember to adjust the fit and positioning for optimal accessibility, and don’t hesitate to troubleshoot any issues that may arise. With a secure helmet attachment, you can focus on your adventure with peace of mind, knowing your gear is safe and secure.


