
Imagine a smoother, more efficient cycling experience, where punctures become a worry of the past. Setting up tubeless tires can transform your ride, offering enhanced performance and peace of mind.
If you’re tired of the hassle of fixing flats and want to enjoy a more reliable ride, you’re in the right place. In this guide, you’ll discover how to set up tubeless tires with ease. Whether you’re a seasoned cyclist or just starting out, this step-by-step process will empower you to make the switch confidently.
Say goodbye to inner tubes and hello to a new level of cycling enjoyment. Stay with us, and soon you’ll wonder how you ever rode without them.

Credit: www.youtube.com
Benefits Of Tubeless Tires
Tubeless tiresoffer many advantages over traditional tires. They help reduce the risk of punctures. This means fewer stops on your ride. Tubeless tires also provide a smoother ride. They absorb bumps better than regular tires. You can enjoy more comfort and control.
These tires are also lighter. This helps with speed and efficiency. Riders can move faster with less effort. Another benefit is better grip. Tubeless tires stick to the ground well. This makes them safer, especially on wet roads. Less slipping means more confidence while riding.
Finally, they are eco-friendly. Tubeless tires reduce waste by lasting longer. Fewer replacements mean less rubber in landfills. A simple choice for a greener planet.
Credit: ircbike.com
Essential Tools And Materials
Setting up tubeless tires is fun and easy. You need some tools and materials. Get a tubeless tire kit. It includes special tape, valves, and sealant. A tire lever helps remove old tires. You need a pump or an air compressor. A rag helps clean the rim. Use soapy water to help the tire slide on. Make sure to have safety gear like gloves and goggles. Organize all your materials. Check everything before starting. This makes the process easy and smooth. Always keep extra sealant. Tires may need more sealant later.
Preparing The Rim
Rims need to be clean before setting up tubeless tires. Dirt and grease can cause leaks. Use a clean cloth to wipe the rim. Water and mild soap help remove dirt. Ensure the rim is dry before the next step.
Rim tape seals holes inside the rim. It prevents air from escaping. Choose tape that fits your rim size. Start applying tape from one side. Wrap the tape smoothly around the rim. Make sure there are no bubbles or gaps. Press the tape firmly for a good seal.
Installing The Valve
Picking the right valve is important. Look for presta or schrader valves. Presta valves are slim and fit most bike wheels. Schrader valves are thick and used in car tires. Check your wheel’s hole size. If it’s small, use presta. If it’s wide, use schrader. Make sure the valve is long enough. It should reach the pump easily. This helps in easy air filling.
Valves need to be snug. First, push the valve into the wheel hole. Ensure it’s seated properly. Use the nut provided. Screw it onto the valve. Tighten it well. This keeps the valve from moving. Check if the valve is straight. It should not be bent. A straight valve works best. Test by pressing lightly. It should not wiggle. If it moves, tighten it more. A secure valve is key for no air leaks.
Mounting The Tire
Apply a small amount of lubricant to the tire bead. This helps the tire slide onto the rim easily. Use soapy water or specialized tire lubricant. It makes the process smoother. Ensure the bead is evenly coated. This prevents damage during mounting.
Start by aligning the tire with the rim. Press down on the tire to seat it properly. Use both hands to push evenly. Check if the bead is sitting correctly. It should be inside the rim’s edge. Inflate the tire slowly. Watch the bead as it seats itself. Listen for the popping sound. That means it’s seated well.
Adding Sealant
Choosing the right sealant is crucial. Sealants come in different types. Some are thicker, some are thinner. Thicker sealants seal larger holes. Thinner ones work faster. Check the weather too. Hot weather needs different sealant. Always read the instructions on the bottle. This helps in making the right choice.
First, remove the valve core. This helps to add sealant easily. Use a sealant injector for this task. It makes the job less messy. Inject the sealant through the valve. Turn the wheel to spread sealant inside. Reinstall the valve core once done. Pump air into the tire next.
Inflating The Tire
Using an air compressoris quick. Connect the compressor to the tire valve. Make sure it’s tight. Turn on the compressor. Air will fill the tire fast. Watch the pressure gauge. Stop once it reaches the desired level. Too much air can damage the tire. Release some air if needed.
Checking for air leaksis important. Spray soapy water on the tire. Look for bubbles. Bubbles mean there’s a leak. Fix any leaks before riding. Tighten the valve if it leaks. Check the tire again. Ensure there are no bubbles. A good seal keeps the air in.
Checking The Seal
Always check the bead of the tire. It should fit snugly. Look for any gaps between the bead and the rim. Gaps can cause air leaks. Press the bead with your fingers. Ensure it sits evenly all around. Rotate the tire slowly. Watch for any uneven spots. Fix these to prevent problems later.
Use a pressure gauge to check tire pressure. Keep it steady. Inflate the tire with a pump. Check the pressure again. It should be the same all over. Listen for air escaping. If you hear a hiss, there is a leak. Fix the leak by adjusting the bead. Check pressure again to ensure it holds.
Maintenance Tips
Setting up tubeless tires requires careful preparation and proper tools. Clean the rim thoroughly to ensure a secure seal. Apply tire sealant evenly inside the tire to prevent leaks and maintain pressure.
Regular Sealant Checks
Always check the sealant levelsin your tubeless tires. Low sealant can cause air leaks. Sealant dries up over time. It needs regular refills. A simple check keeps your tires sealed and safe. Use a dipstick or straw. Insert it into the tire. Pull it out to see the level. If it’s low, add more sealant. This helps maintain tire health.
Monitoring Tire Pressure
Keep an eye on the tire pressure. Low pressure can lead to flats. High pressure makes the ride bumpy. Use a gauge to check pressure. Check it before each ride. Adjust as needed. Proper pressure ensures a smooth ride. It also extends tire life. Regular checks prevent problems. Keep your tires in top shape.
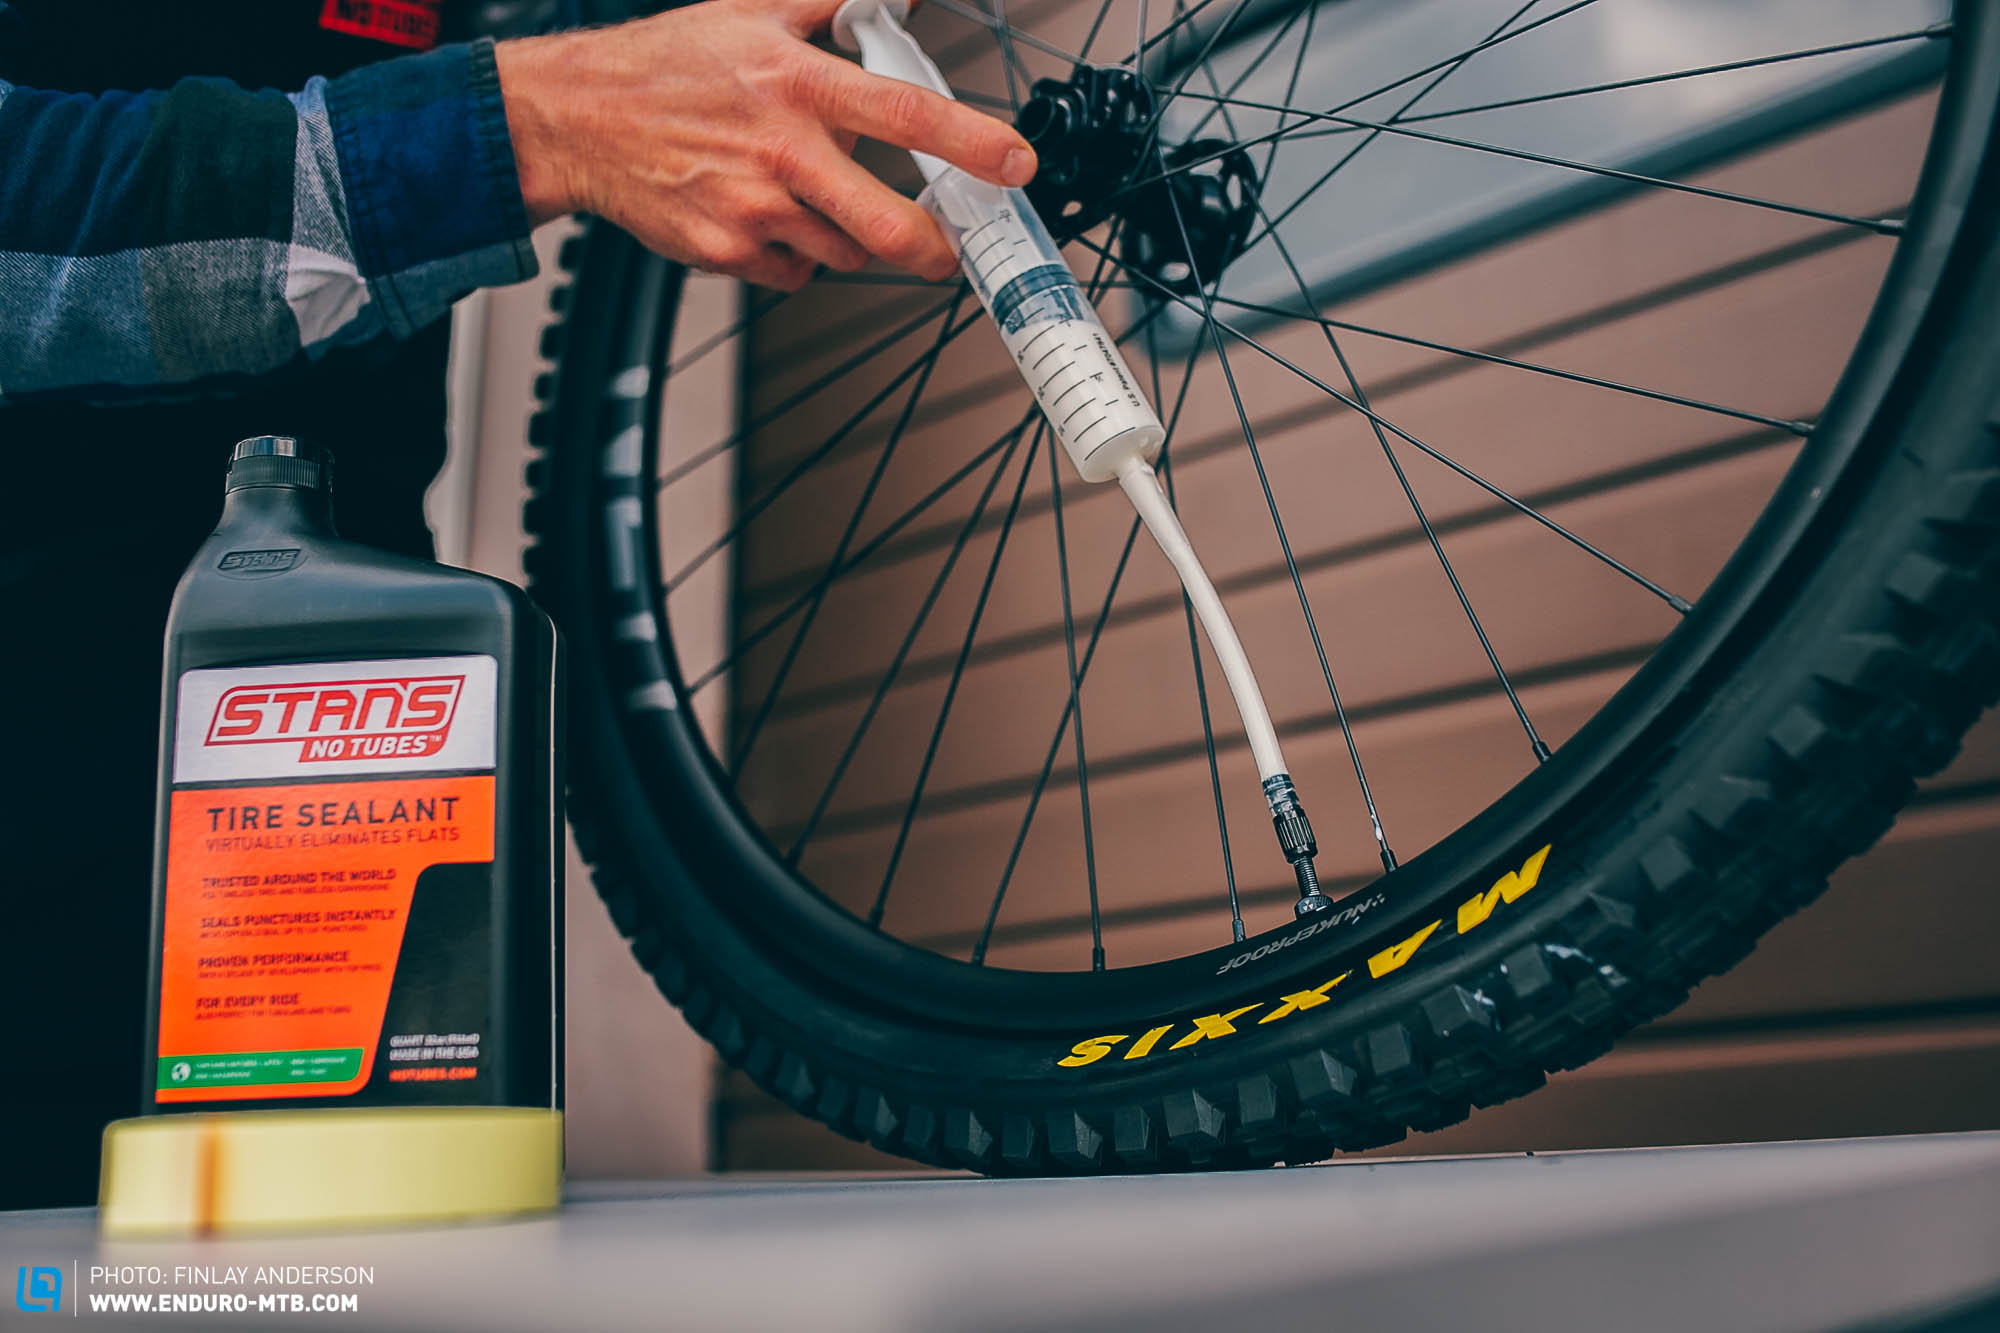
Credit: enduro-mtb.com
Frequently Asked Questions
How Do You Set Up Tubeless Tires?
Remove the tube and clean the rim. Install a tubeless valve and sealant. Mount the tire onto the rim. Inflate the tire until it seals and check for leaks. Adjust the pressure as needed for your ride.
How To Go From Tubed To Tubeless?
Remove the inner tube from the tire. Install a tubeless valve stem. Apply tubeless sealant inside the tire. Reinstall the tire on the rim. Inflate the tire to recommended pressure. Check for leaks and ensure proper sealing. Enjoy improved puncture resistance and ride quality with your new tubeless setup.
Is Sealant Required For Tubeless Tires?
Sealant is recommended for tubeless tires. It helps seal punctures and maintain air pressure. Using sealant enhances performance and extends tire life. Regularly check and replenish sealant for optimal results.
Is Setting Up Tubeless Tyres Easy?
Setting up tubeless tyres can be easy with the right tools and techniques. Clean the rim, apply sealant, and inflate the tyre properly. Ensure a proper fit to avoid leaks. Practice and patience are key for a smooth setup process.
Conclusion
Setting up tubeless tires can be easy. Follow the steps carefully. Remember to clean the rim properly. Choose the right sealant for your needs. Ensure a snug fit for the tire. Inflate slowly to check for leaks. Listen for the popping sound.
This means the tire is set. Check air pressure regularly. Adjust as needed. Tubeless tires offer a smoother ride. They also reduce the chance of flats. Enjoy the benefits of a well-prepared bike. Happy riding!


