
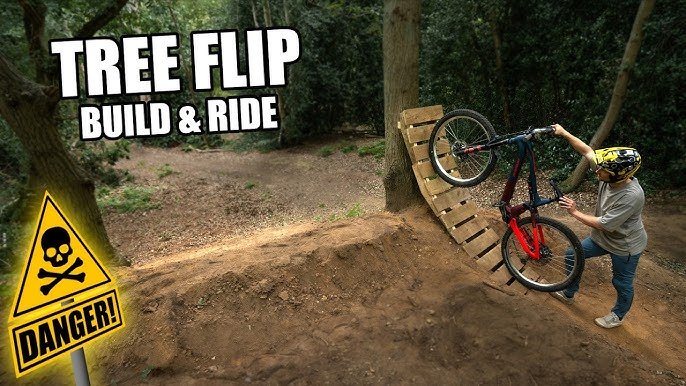
Are you ready to take your dirt jumping skills to the next level? Building your own dirt jump bike might seem tricky, but it’s easier than you think.
With the right steps, you’ll have a bike that’s perfectly set up for big air and smooth landings. In this guide, you’ll discover simple, clear instructions to assemble your bike quickly and confidently. Stick with me, and by the end, you’ll be ready to hit the dirt with a bike built just for you.
Let’s get started!
Gather Necessary Tools
Before you start assembling your dirt jump bike, gather all the tools you need. Having the right tools makes the process easier and faster.
Using the correct tools helps avoid damage to parts and ensures a safe build. Check your workspace for good lighting and space.
Allen Wrenches (hex Keys)
Allen wrenches are needed to tighten bolts on your bike frame and components. Most dirt jump bikes use metric sizes, so have a set ready.
- Common sizes: 4mm, 5mm, 6mm
- Use a good quality set for better grip
- Check bolts for correct tightness
Socket Wrench Or Spanner
A socket wrench or spanner helps tighten nuts and bolts on parts like the pedals and crank arms. Choose the right size for your bike.
- Common sizes: 15mm, 17mm
- Use a ratcheting socket wrench for speed
- Keep spanners handy for tight spots
Bike Pump With Pressure Gauge
You will need a bike pump to inflate the tires once the wheels are on. A pump with a pressure gauge helps set the right tire pressure.
- Check tire sidewall for recommended pressure
- Use a pump with a stable base for easy use
- Keep the valve adapter if your bike uses different valves
Grease And Lubricant
Grease and lubricant protect your bike parts from rust and wear. Apply grease on threads and moving parts during assembly.
- Use bike-specific grease for best results
- Lubricate the chain after assembly
- Wipe off excess grease to avoid dirt buildup
Tire Levers
Tire levers help you mount or remove tires from the rims. They make handling tires easier without damaging the tubes.
- Use plastic tire levers to avoid rim damage
- Have two or three levers ready
- Work slowly to prevent tube punctures
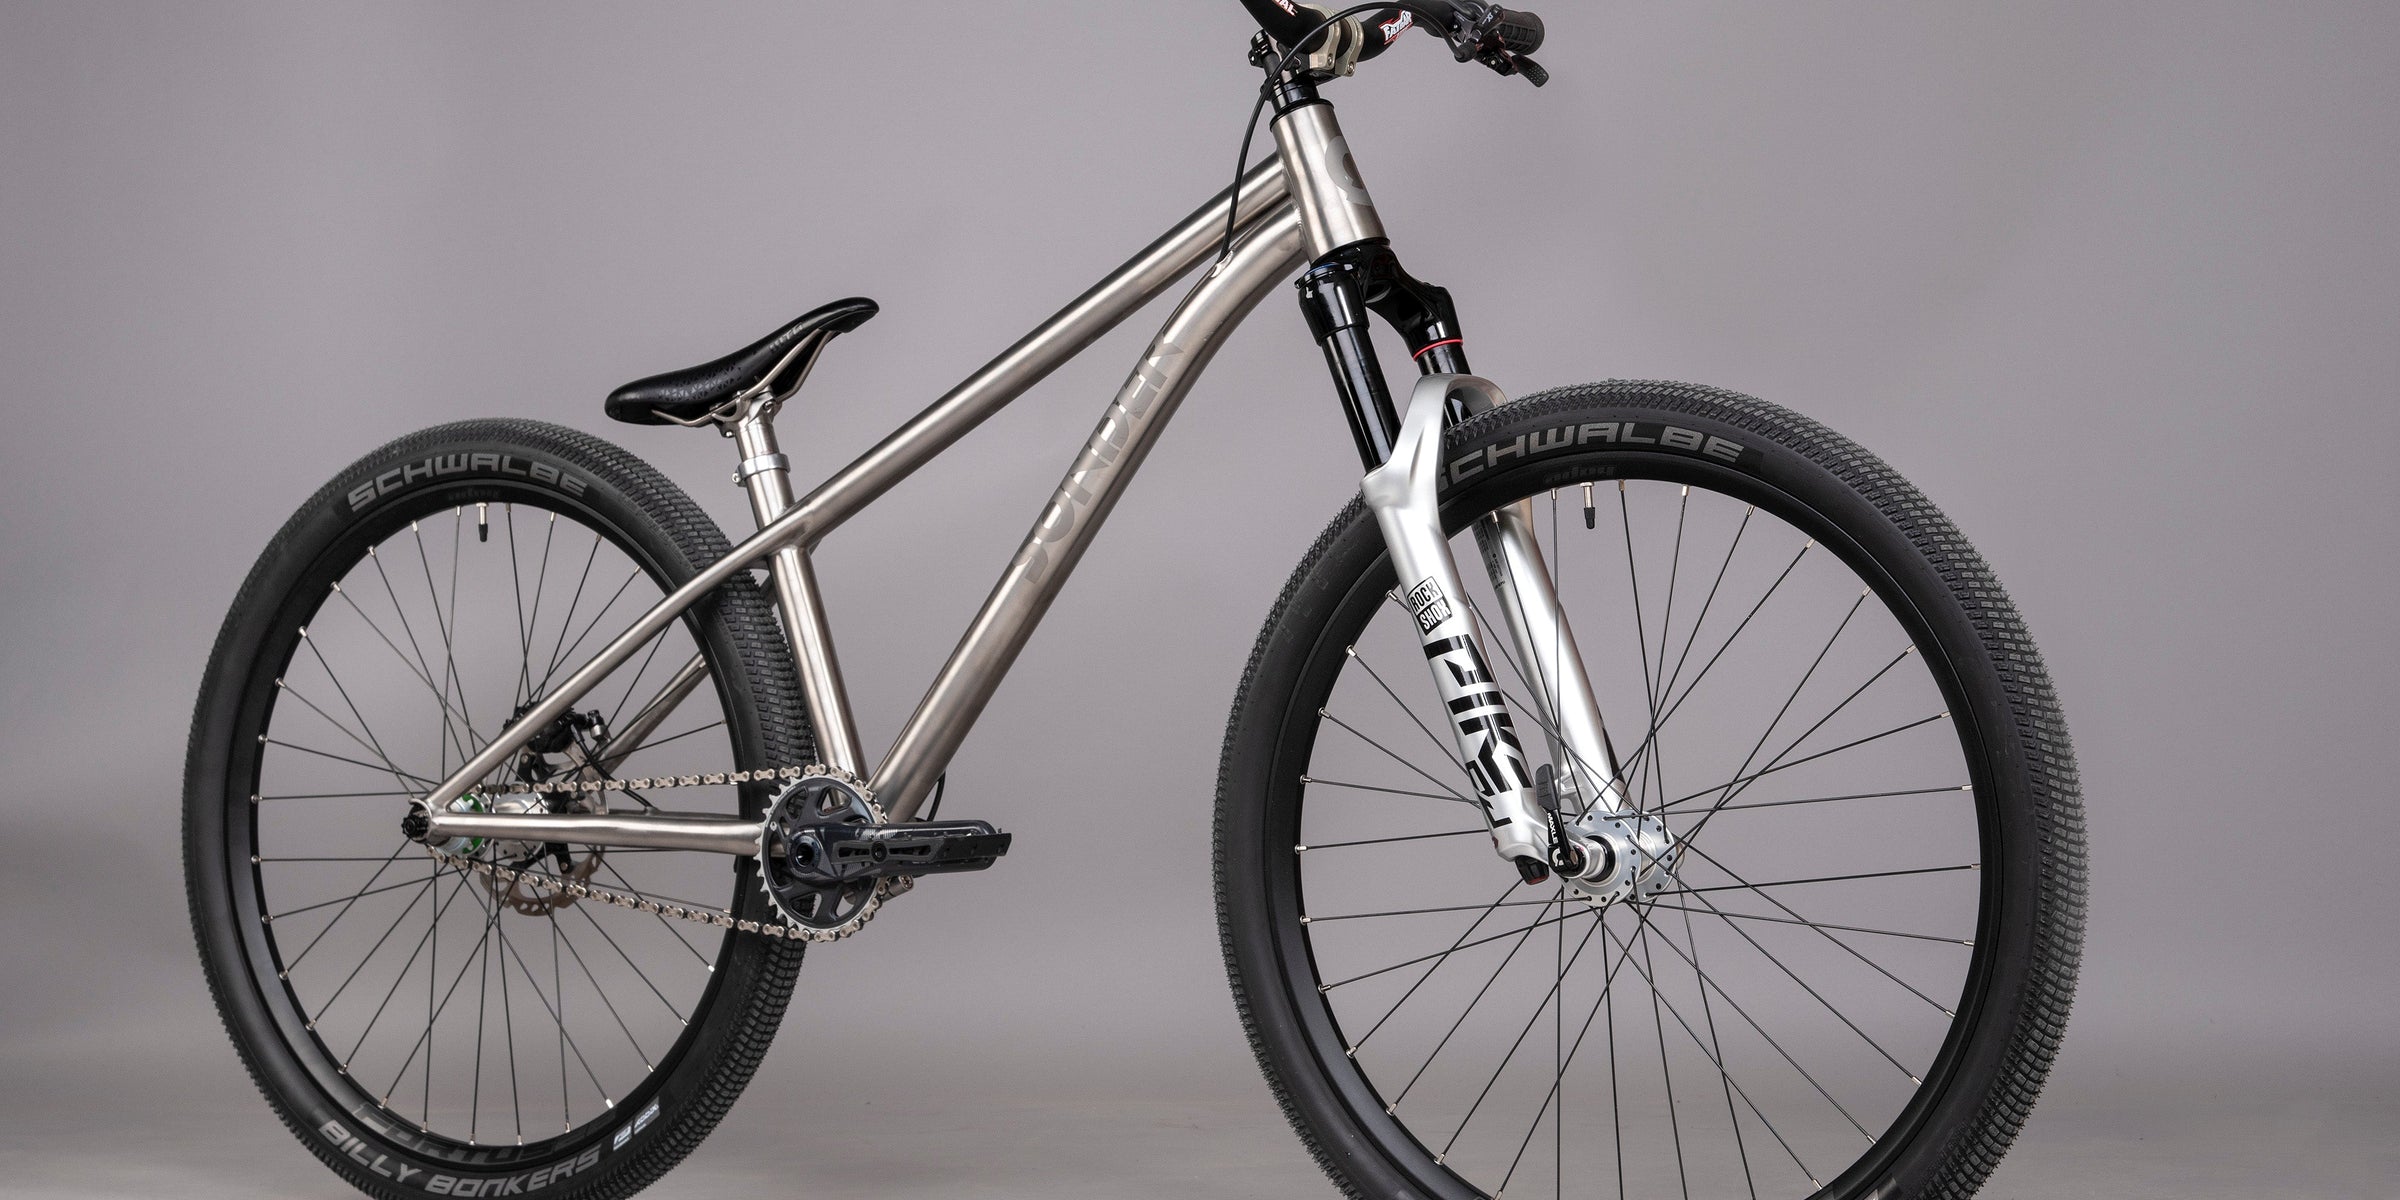
Credit: us.alpkit.com
Prepare The Frame
Preparing the frame is the first step to assemble a dirt jump bike. A clean and strong frame ensures safety and performance.
Check the frame carefully before adding parts. Fix any damage and clean it well.
Inspect The Frame For Damage
Look closely at the frame for cracks or dents. These can cause problems while riding.
If you find damage, do not use the frame. Replace it or get it repaired by a professional.
Clean The Frame Thoroughly
Remove dirt and grease from the frame with soap and water. Dry it completely before assembly.
Cleaning helps parts fit better and stops rust from forming later.
Apply Grease To Key Areas
Use grease on the headset and bottom bracket parts. This stops rust and makes assembly easier.
- Grease the headset cups and bearings
- Apply grease on the bottom bracket shell
- Grease seat post and other moving parts
Check Frame Alignment
Make sure the frame is straight and true. Misaligned frames cause handling problems.
Use a straight edge or take it to a bike shop for checking alignment.
Install The Fork And Handlebars
Installing the fork and handlebars is a key part of building your dirt jump bike. These parts control your steering and balance.
Take your time and make sure each piece fits tightly. Loose parts can cause accidents or poor bike handling.
Attach The Fork
Start by sliding the fork’s steerer tube into the bike frame’s head tube. The steerer tube must fit snugly inside.
Next, place the headset bearings and spacers on top of the fork. These help the fork turn smoothly.
- Insert the fork steerer tube into the head tube
- Install headset bearings and spacers
- Slide the stem onto the steerer tube
- Tighten the top cap bolt to remove play
- Secure the stem bolts firmly but avoid over-tightening
Mount The Handlebars
Place the handlebars into the stem clamp area. Center the handlebars before tightening the bolts.
Adjust the angle of the handlebars to your comfort. Tighten the bolts evenly to keep the bars steady.
- Insert handlebars into the stem clamp
- Center handlebars and choose the right angle
- Start tightening bolts evenly in a cross pattern
- Check for secure fit and no movement
Assemble The Wheels
Assembling the wheels is a key part of building your dirt jump bike. Proper wheels help you ride safely and smoothly.
This section covers installing tires and tubes, then attaching the wheels to the bike frame.
Install Tires And Tubes
Start by placing the tire onto the rim. Make sure the tire bead sits evenly all around the rim.
Next, insert the inner tube inside the tire. Inflate it slightly to give it shape. Carefully fit the tube valve through the rim hole.
- Check that the tube is not twisted or pinched.
- Push the tire bead fully onto the rim edge.
- Inflate the tire to the recommended pressure.
- Inspect the tire for any bulges or uneven spots.
Attach Wheels To Frame
Place the wheel into the bike frame dropouts. Align the axle with the slots or holes.
Tighten the axle nuts or quick-release levers securely. Make sure the wheel spins freely without wobbling.
- Check that the brake rotor or rim is centered in the brake caliper.
- Tighten all bolts to the correct torque.
- Spin the wheel to ensure smooth rotation.
- Repeat the process for both front and rear wheels.
Install The Drivetrain
The drivetrain moves power from the pedals to the bike wheels. Installing it correctly helps your dirt jump bike work smoothly. Pay attention to each part to avoid problems later.
This guide covers how to mount the crankset, attach the chain, and set up the pedals. Follow these steps carefully for a strong drivetrain setup.
Mount The Crankset
The crankset holds the pedals and turns the chainrings. First, slide the crank arms onto the bottom bracket spindle. Align the crank arms opposite each other at 180 degrees.
Use a torque wrench to tighten the crank bolts. Check the manufacturer’s torque settings. Tight bolts keep the crankset secure and prevent damage.
Attach The Chain
Choose the right chain length for your dirt jump bike. Wrap the chain around the chainring and rear cog. Make sure it fits without being too tight or loose.
Use a chain tool to join the chain links. Push the pin or use a quick link, depending on your chain type. Check that the chain moves freely and smoothly.
- Wrap chain around chainring and cog
- Adjust chain length for smooth movement
- Connect links with chain tool or quick link
- Test chain for smooth rotation
Set Up The Pedals
Pedals screw into the crank arms. Identify the right and left pedals. The right pedal screws clockwise; the left pedal screws counterclockwise.
Apply grease to the pedal threads to prevent them from sticking. Tighten pedals firmly with a pedal wrench or Allen key. Check that they spin smoothly without wobbling.
- Identify right and left pedals
- Apply grease on threads
- Screw pedals into crank arms (right clockwise, left counterclockwise)
- Tighten pedals firmly
- Check pedals spin smoothly
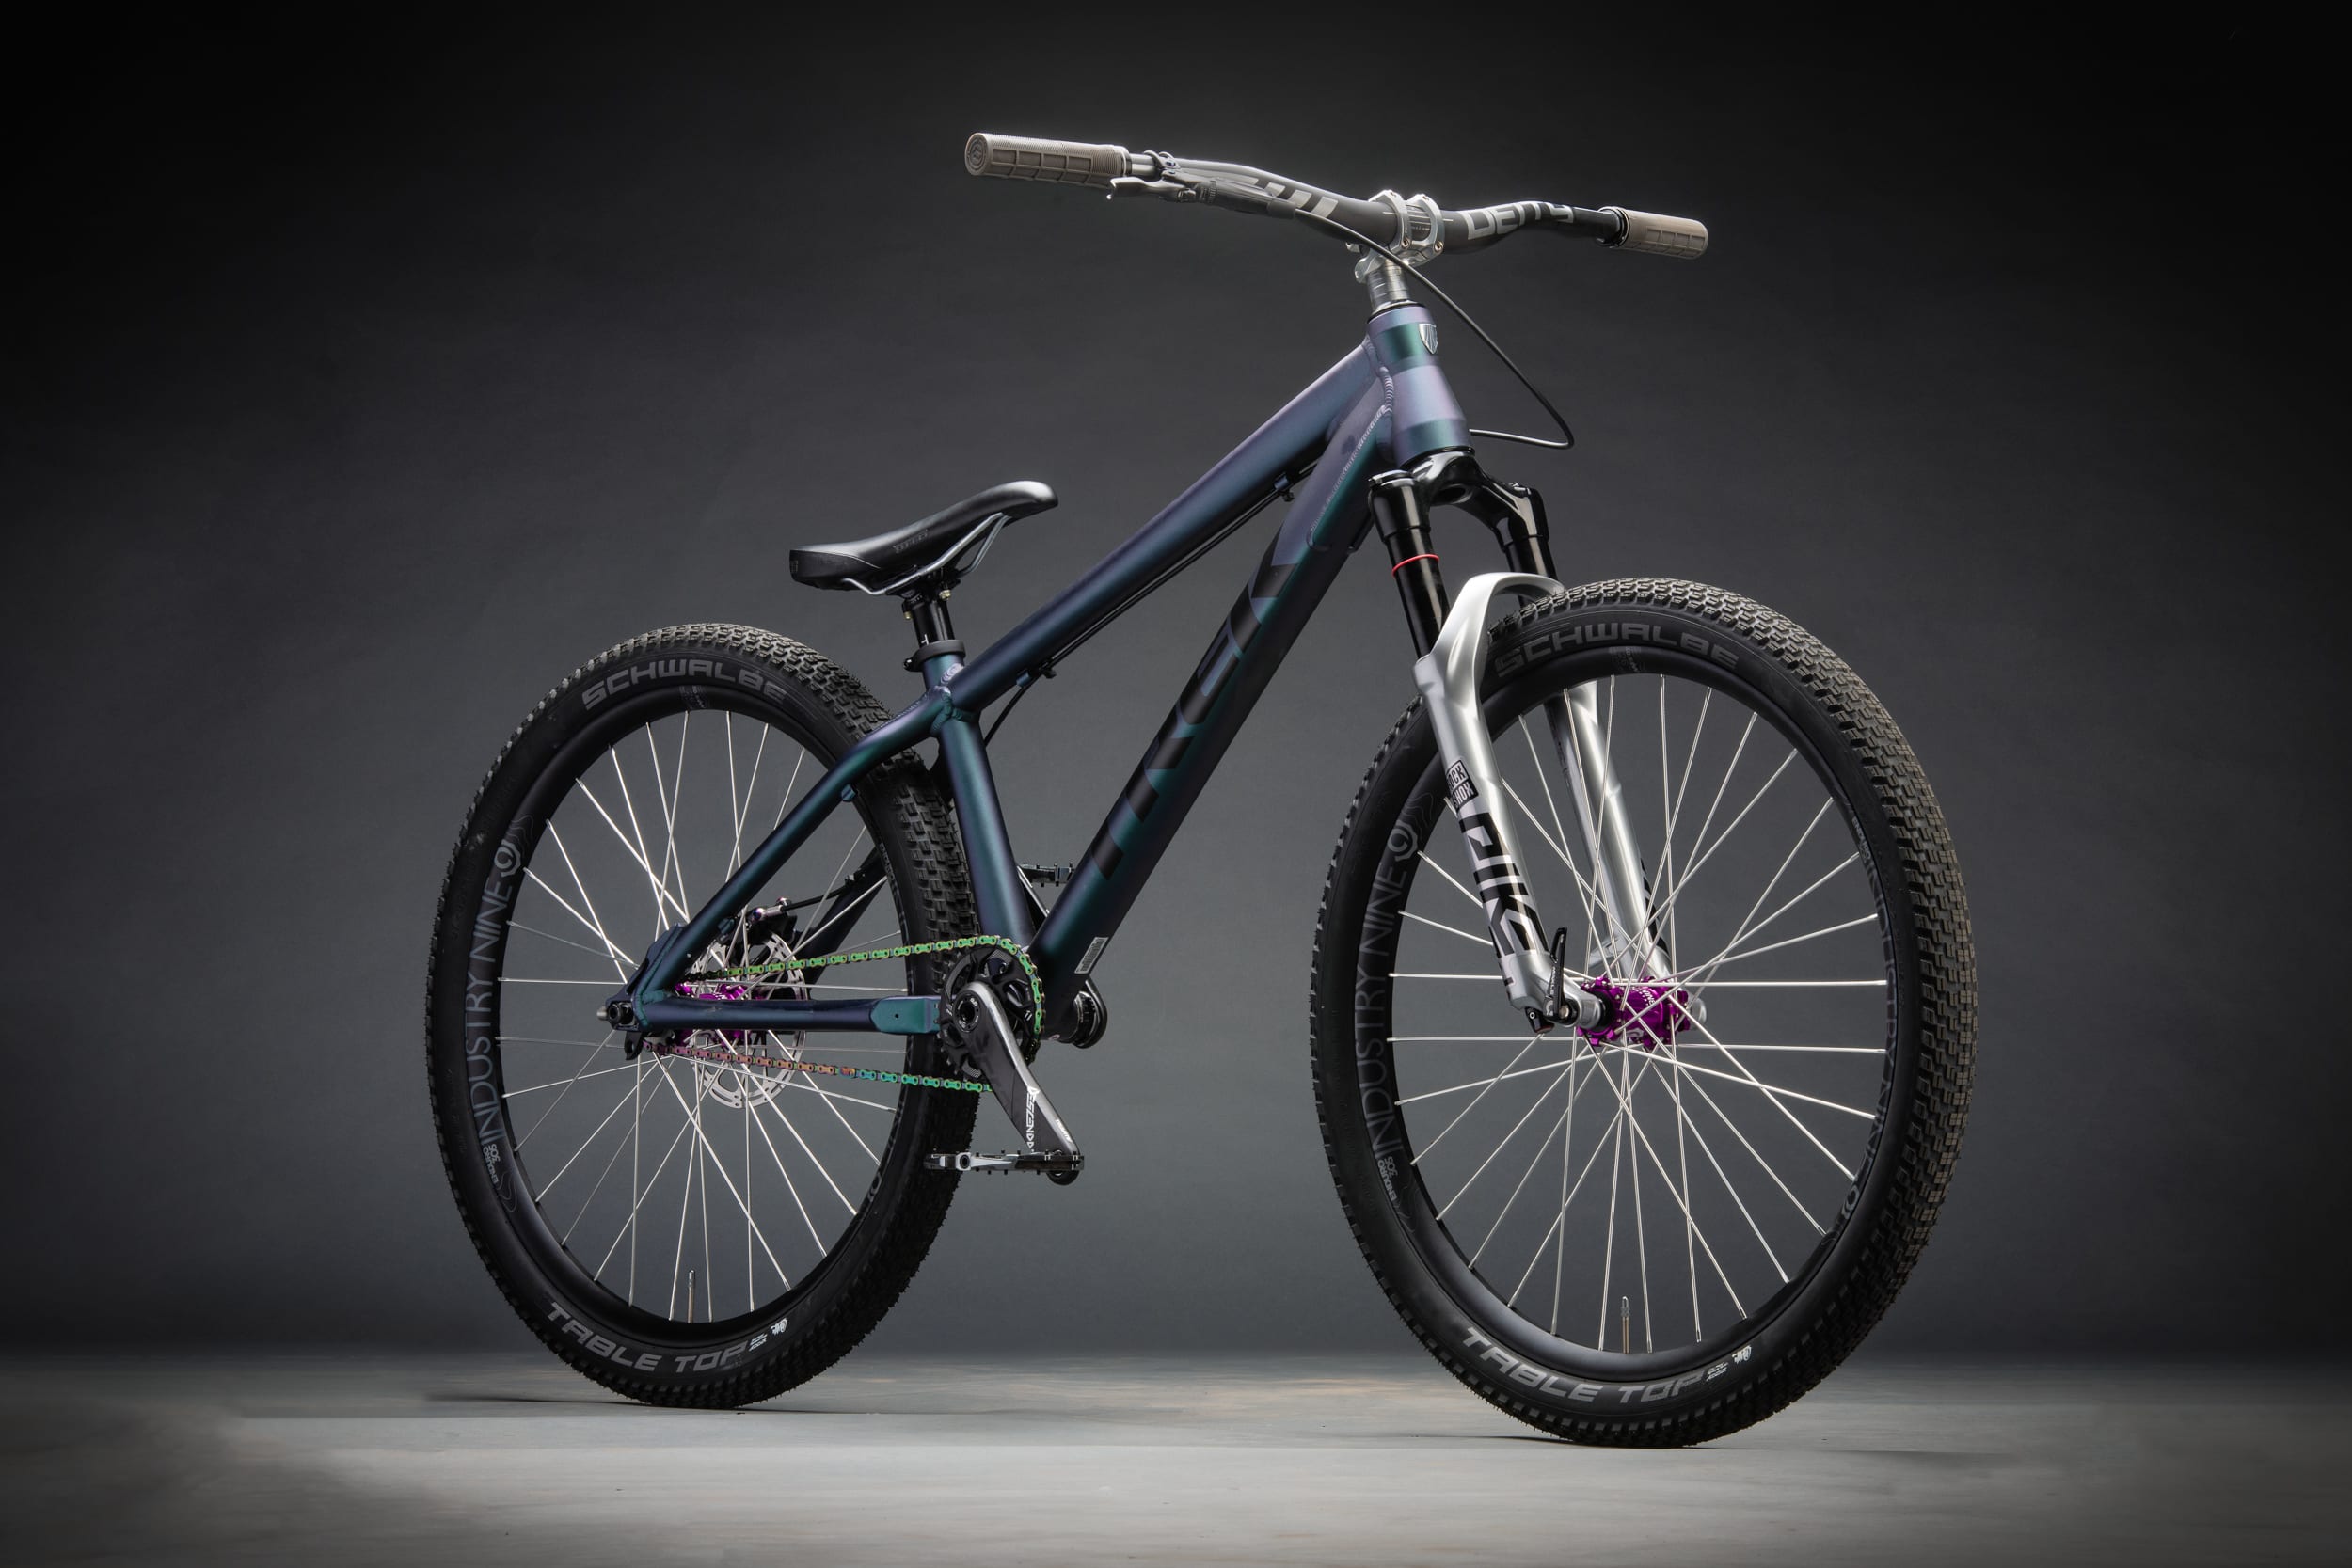
Credit: www.bikemag.com
Attach The Seat And Seatpost
Attaching the seat and seatpost is important for a comfortable ride. This step ensures you sit correctly on your dirt jump bike.
Follow simple steps to fix the seat and seatpost firmly. Check the fit before riding.
Insert The Seatpost Into The Frame
Start by sliding the seatpost into the bike frame’s seat tube. Make sure it fits smoothly without force.
Adjust the height to match your comfort level. The seat should be at a height where your leg is almost straight when pedaling.
- Clean the seat tube before inserting the seatpost
- Apply grease or carbon paste if needed
- Do not push the seatpost past the minimum insertion mark
Tighten The Seatpost Clamp
After setting the seatpost height, tighten the seatpost clamp to hold it in place. Use the correct tool for a secure fit.
Do not overtighten the clamp. It can damage the frame or seatpost. Tighten just enough to prevent movement.
- Use a torque wrench if possible
- Check the clamp for any cracks or damage
- Test by moving the seatpost up and down
Attach The Seat To The Seatpost
Place the seat rails into the seatpost clamp. Align the seat so it is level and centered.
Adjust the angle of the seat for comfort. Most riders prefer a slightly nose-up or flat position.
- Loosen the seatpost clamp bolts first
- Position the seat rails evenly in the clamp
- Tighten the bolts securely but avoid overtightening
Check And Adjust The Seat Position
Sit on the bike and check how the seat feels. Adjust height, angle, or position as needed.
Make small adjustments and test ride. Proper seat position helps with control and comfort on dirt jumps.
- Ensure the seat does not slide or tilt during riding
- Keep bolts tight after adjustments
- Recheck seat position regularly
Set Up The Brakes
Setting up the brakes on your dirt jump bike is very important. Good brakes keep you safe and help control your bike.
This guide will help you install brake calipers, connect the brake levers and cables, and adjust the brake tension.
Install Brake Calipers
Start by mounting the brake calipers on the bike frame near the wheels. Make sure they fit the brake mounts properly.
Use the right bolts and tighten them firmly. The calipers must be secure but not too tight to avoid damage.
- Check the alignment with the brake rotor or rim.
- Adjust calipers so pads sit evenly on both sides.
- Ensure no rubbing occurs when brakes are not applied.
Connect Brake Levers And Cables
Attach the brake levers to the handlebars. Position them where you can reach easily with your fingers.
Run the brake cables from the levers to the calipers. Make sure cables are not twisted or bent sharply.
- Insert the cable into the lever’s cable holder.
- Route the cable through the bike frame guides.
- Attach the cable end to the caliper anchor bolt.
Adjust Brake Tension
Check the brake lever feel by squeezing it. The brakes should start working before the lever hits the handlebar.
Adjust cable tension using the barrel adjuster on the lever or caliper. Tighten or loosen until the brakes respond well.
- Turn the barrel adjuster counterclockwise to tighten cable.
- Turn clockwise to loosen cable.
- Test brake feel after each adjustment.

Credit: www.youtube.com
Adjust Suspension And Settings
Adjusting the suspension and settings on your dirt jump bike improves control and comfort. Proper setup helps you land safely and ride smoothly.
Focus on suspension travel, air pressure, and rebound settings. These affect how your bike handles jumps and rough ground.
Set Suspension Travel
Check the recommended suspension travel for your bike model. Adjust the fork and rear shock to match your weight and riding style.
Too much travel can make your bike feel unstable. Too little can cause harsh landings.
Adjust Air Pressure
Use a shock pump to set the air pressure in your suspension. The right pressure balances comfort and control.
- Lower pressure offers softer cushioning
- Higher pressure gives firmer support
- Check your bike manual for pressure ranges
- Adjust based on your weight and jump size
Tune Rebound Settings
Rebound controls how fast the suspension returns after compression. Set it to avoid bouncing or sluggish response.
| Rebound Setting | Effect |
| Fast rebound | Suspension returns quickly, may feel bouncy |
| Slow rebound | Suspension returns slowly, can feel stiff |
| Medium rebound | Balanced return speed for control and comfort |
Check Other Settings
Look at other bike settings for the best ride:
- Brake adjustment for quick stops
- Tire pressure for grip and shock absorption
- Seat height for control and balance
Perform Safety Checks
Safety checks help keep your dirt jump bike ready to ride. These checks prevent accidents and bike damage.
Always inspect your bike before each ride. Focus on bolts, brakes, and gears to ensure everything works well.
Check Tightness Of Bolts
Loose bolts can cause parts to move or fall off. Use the right tools to check every bolt on your bike.
- Check bolts on the handlebars and stem
- Tighten bolts on the seat post and saddle
- Inspect bolts on the wheels and axles
- Ensure the pedals are securely fastened
- Tighten bolts on the brakes and brake levers
Test Brakes And Gears
Brakes must stop the bike safely. Gears should shift smoothly without slipping.
| Check | What to Do |
|---|---|
| Brakes | Squeeze brake levers and feel for firm resistance. Spin wheels to see if brakes stop them quickly. |
| Gears | Shift through all gears while pedaling. Listen for skipping or grinding sounds. |
| Adjustments | Make small adjustments to brake cables or derailleur if brakes or gears do not work properly. |
Final Ride Preparation
Before you take your dirt jump bike out for a ride, check a few important things. Proper setup helps you ride safely and enjoy the jumps.
Pay close attention to tire pressure and your riding position. These affect how well your bike performs.
Inflate Tires To Proper Pressure
Check the sidewall of your tires for the recommended pressure range. Use a reliable pump with a pressure gauge to inflate the tires.
Proper tire pressure improves grip and absorbs shocks better on dirt jumps. Avoid under or over-inflating your tires.
- Use lower pressure for more grip on loose dirt
- Use higher pressure for faster rolling on hard surfaces
- Check pressure before every ride
Adjust Riding Position
Set your seat height so you can pedal comfortably and move easily on the bike. Your knees should bend slightly when the pedals are level.
Adjust the handlebars so you can reach them without stretching. Keep your back straight and arms relaxed.
- Seat height: about hip level when standing
- Handlebars: level with or slightly below seat height
- Check that brakes and controls are easy to reach
Frequently Asked Questions
How Long Does It Take To Assemble A Dirt Jump Bike?
Assembling a dirt jump bike typically takes 1 to 2 hours. This depends on your experience and the tools available. Following step-by-step instructions speeds up the process. Taking time ensures proper alignment and safety.
What Essential Tools Are Needed For Bike Assembly?
You need Allen wrenches, screwdrivers, a torque wrench, and bike grease. A bike pump and chain tool are helpful too. These tools ensure proper fitting and smooth operation of all parts.
How Do I Properly Install The Bike’s Suspension Fork?
First, insert the fork into the head tube carefully. Tighten the headset and stem bolts to manufacturer torque specs. Check alignment and smooth movement before riding.
How To Adjust The Brakes On A Dirt Jump Bike?
Align the brake pads with the rim or rotor. Tighten the brake cable and test the lever feel. Adjust for firm stopping power without drag.
Conclusion
Assembling a dirt jump bike takes time and care. Follow each step slowly and check your work. Use the right tools for a safe build. Test the bike before your first jump. Keep practicing to improve your skills. Enjoy the ride and stay safe on trails.
Dirt jumping is fun with the right setup. Now you are ready to start your adventure!



