
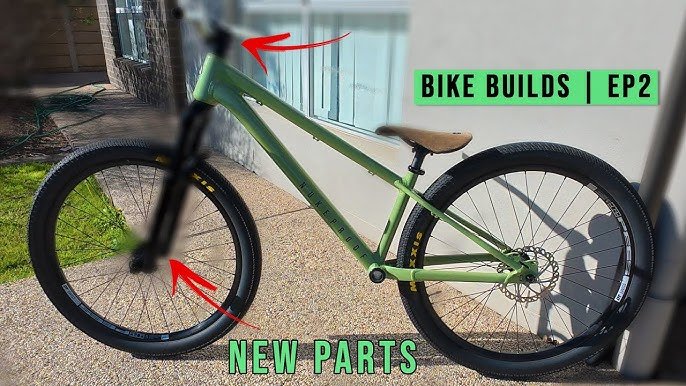
Are you ready to take your dirt jumping skills to the next level? The secret often lies in your bike’s fork setup.
Getting it right can make your jumps smoother, landings softer, and your rides safer. But if your fork isn’t set up properly, you might feel every bump or even risk losing control mid-air. In this guide, you’ll discover simple steps to adjust your dirt jump bike fork so it works perfectly for you.
Stick with me, and you’ll soon enjoy more confidence and better performance on every jump.
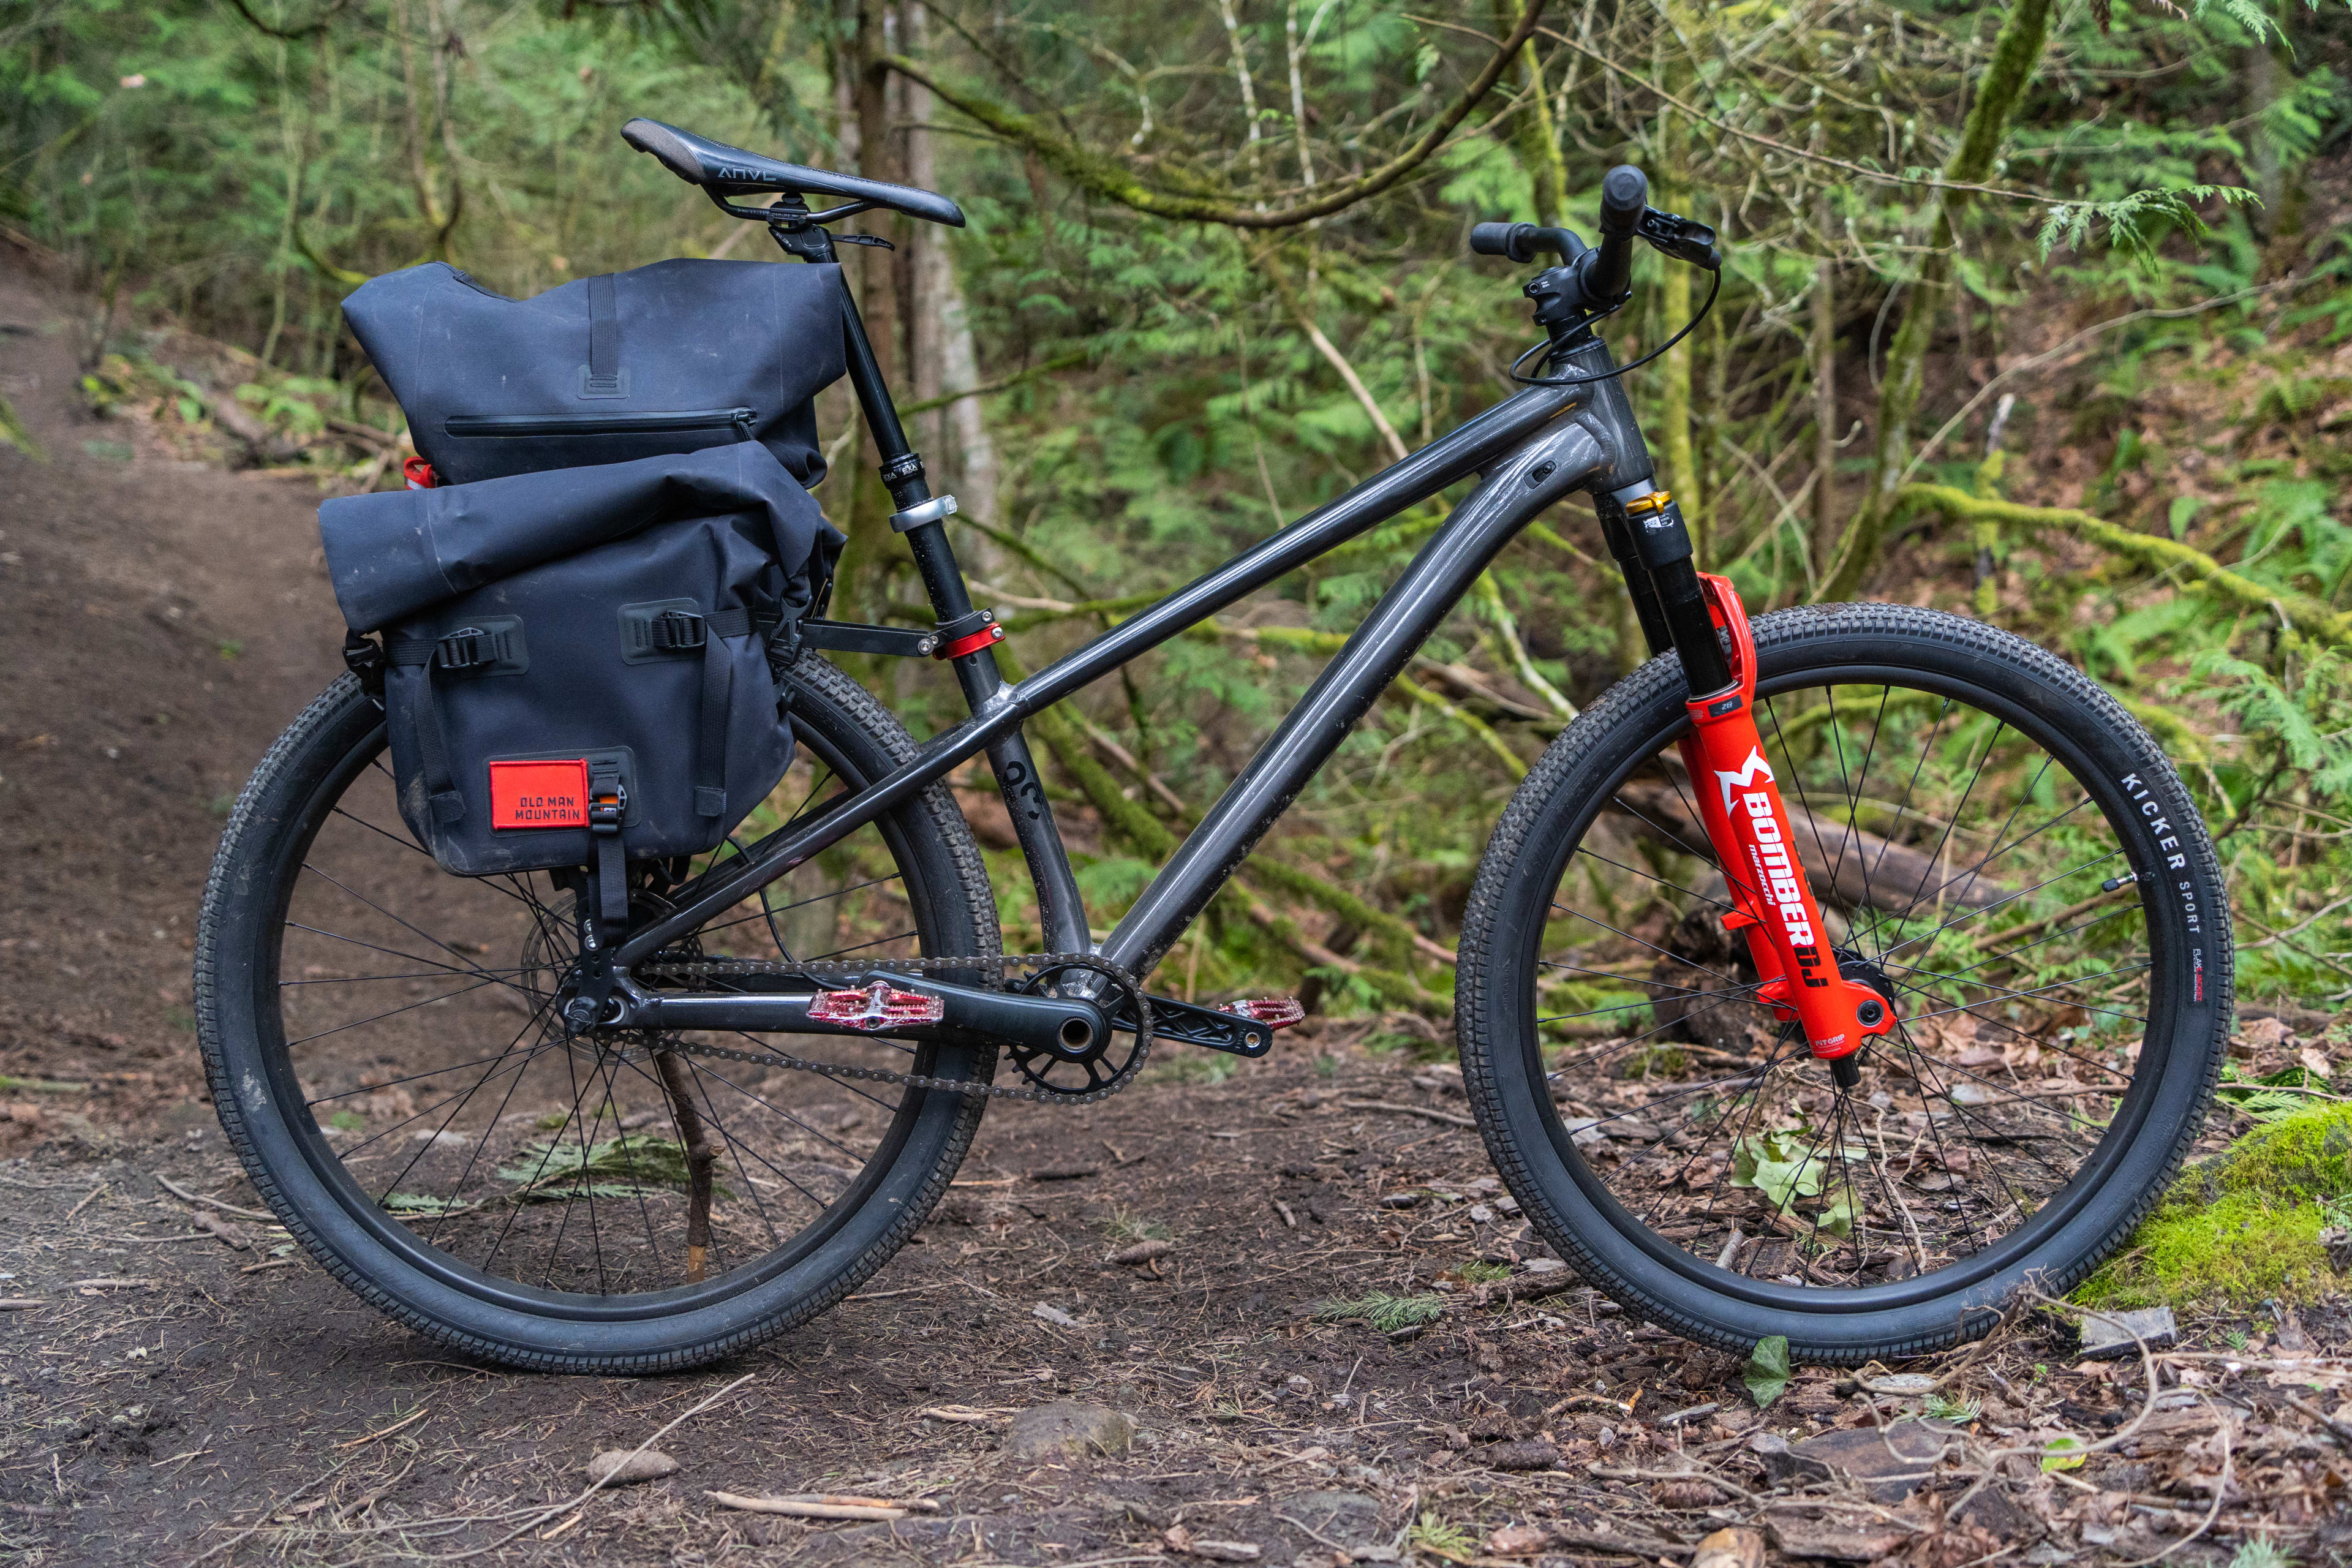
Credit: www.bikemag.com
Choosing The Right Fork
Picking the right fork is important for your dirt jump bike. It affects your control and comfort while riding.
A good fork helps you land safely and enjoy your jumps more. Let’s look at key factors to consider.
Fork Travel And Size
Fork travel means how much the fork can move up and down. For dirt jumping, shorter travel is better.
Most dirt jump forks have 80 to 100 mm of travel. This keeps the bike stable on jumps.
- 80-100 mm travel suits dirt jumping well
- Longer travel can make the bike less stable
- Choose fork size that fits your bike frame
Material And Weight
Forks come in different materials like aluminum and steel. Material affects the weight and strength.
Lighter forks help you jump higher and control the bike better. Strong forks last longer and handle impacts well.
- Aluminum is light and strong
- Steel is heavier but very durable
- Carbon forks are light but cost more
Recommended Brands
Some brands are known for making quality dirt jump forks. Choosing a trusted brand ensures good performance.
- RockShox offers reliable and popular forks
- Manitou makes durable and lightweight options
- SR Suntour provides affordable forks for beginners
- Fox is known for high-end performance forks
Essential Tools And Gear
Setting up your dirt jump bike fork correctly is important. It helps you ride smoothly and safely. To do this right, you need the proper tools and gear.
This guide covers the essential tools you will need and the protective equipment to keep you safe during setup and riding.
Tools Needed
You need specific tools to adjust and maintain your dirt jump bike fork. Having the right tools makes the process easier and more precise.
- Allen wrenches (various sizes)
- Torque wrench for correct tightness
- Shock pump to set air pressure
- Grease and lubricant for smooth parts
- Clean rags to wipe dirt and oil
- Rubber mallet for gentle tapping
- Measuring tape or ruler to check fork travel
Protective Equipment
Protective gear keeps you safe while adjusting your bike and riding. Always wear the right equipment to avoid injuries.
| Gear | Purpose |
| Helmet | Protects your head from impact |
| Gloves | Protects hands and improves grip |
| Eye protection | Shields eyes from dust and debris |
| Knee pads | Protects knees from falls |
| Elbow pads | Guards elbows during crashes |
Setting Sag For Dirt Jumping
Setting sag on your dirt jump bike fork helps you ride better. Sag is how much the fork compresses under your weight. Proper sag keeps the bike stable and ready to absorb landings.
This guide shows you how to set sag for dirt jumping. You will learn what sag is, how to measure it, and how to adjust your fork correctly.
What Is Sag?
Sag is the amount your fork sinks when you sit on the bike. It shows how much the suspension works before you start riding. Too little sag makes the ride stiff. Too much sag makes it soft and hard to control.
For dirt jumping, sag helps absorb shocks from jumps and landings. It keeps the bike balanced and smooth on rough ground.
Measuring Sag
To measure sag, first wear your full riding gear. This adds weight like when you jump. Stand next to your bike and mark the fork’s position.
Then, sit on the bike in a normal riding position. Ask a friend to mark the new position of the fork. The difference between marks is the sag distance.
- Wear full gear
- Mark fork position while standing
- Sit on bike normally
- Mark fork position again
- Measure distance between marks
Adjusting Air Pressure Or Springs
Adjust sag by changing the air pressure or spring tension in your fork. Increasing air pressure or spring force reduces sag. Lowering them increases sag.
Use the fork’s manual to find the right way to adjust it. Make small changes and check sag again. Repeat until you get the sag recommended for dirt jumping, usually around 25-30% of travel.
- Check your fork’s recommended sag range
- Increase pressure or spring tension if sag is too high
- Decrease pressure or spring tension if sag is too low
- Test sag after each adjustment
- Keep sag near 25-30% of the fork travel
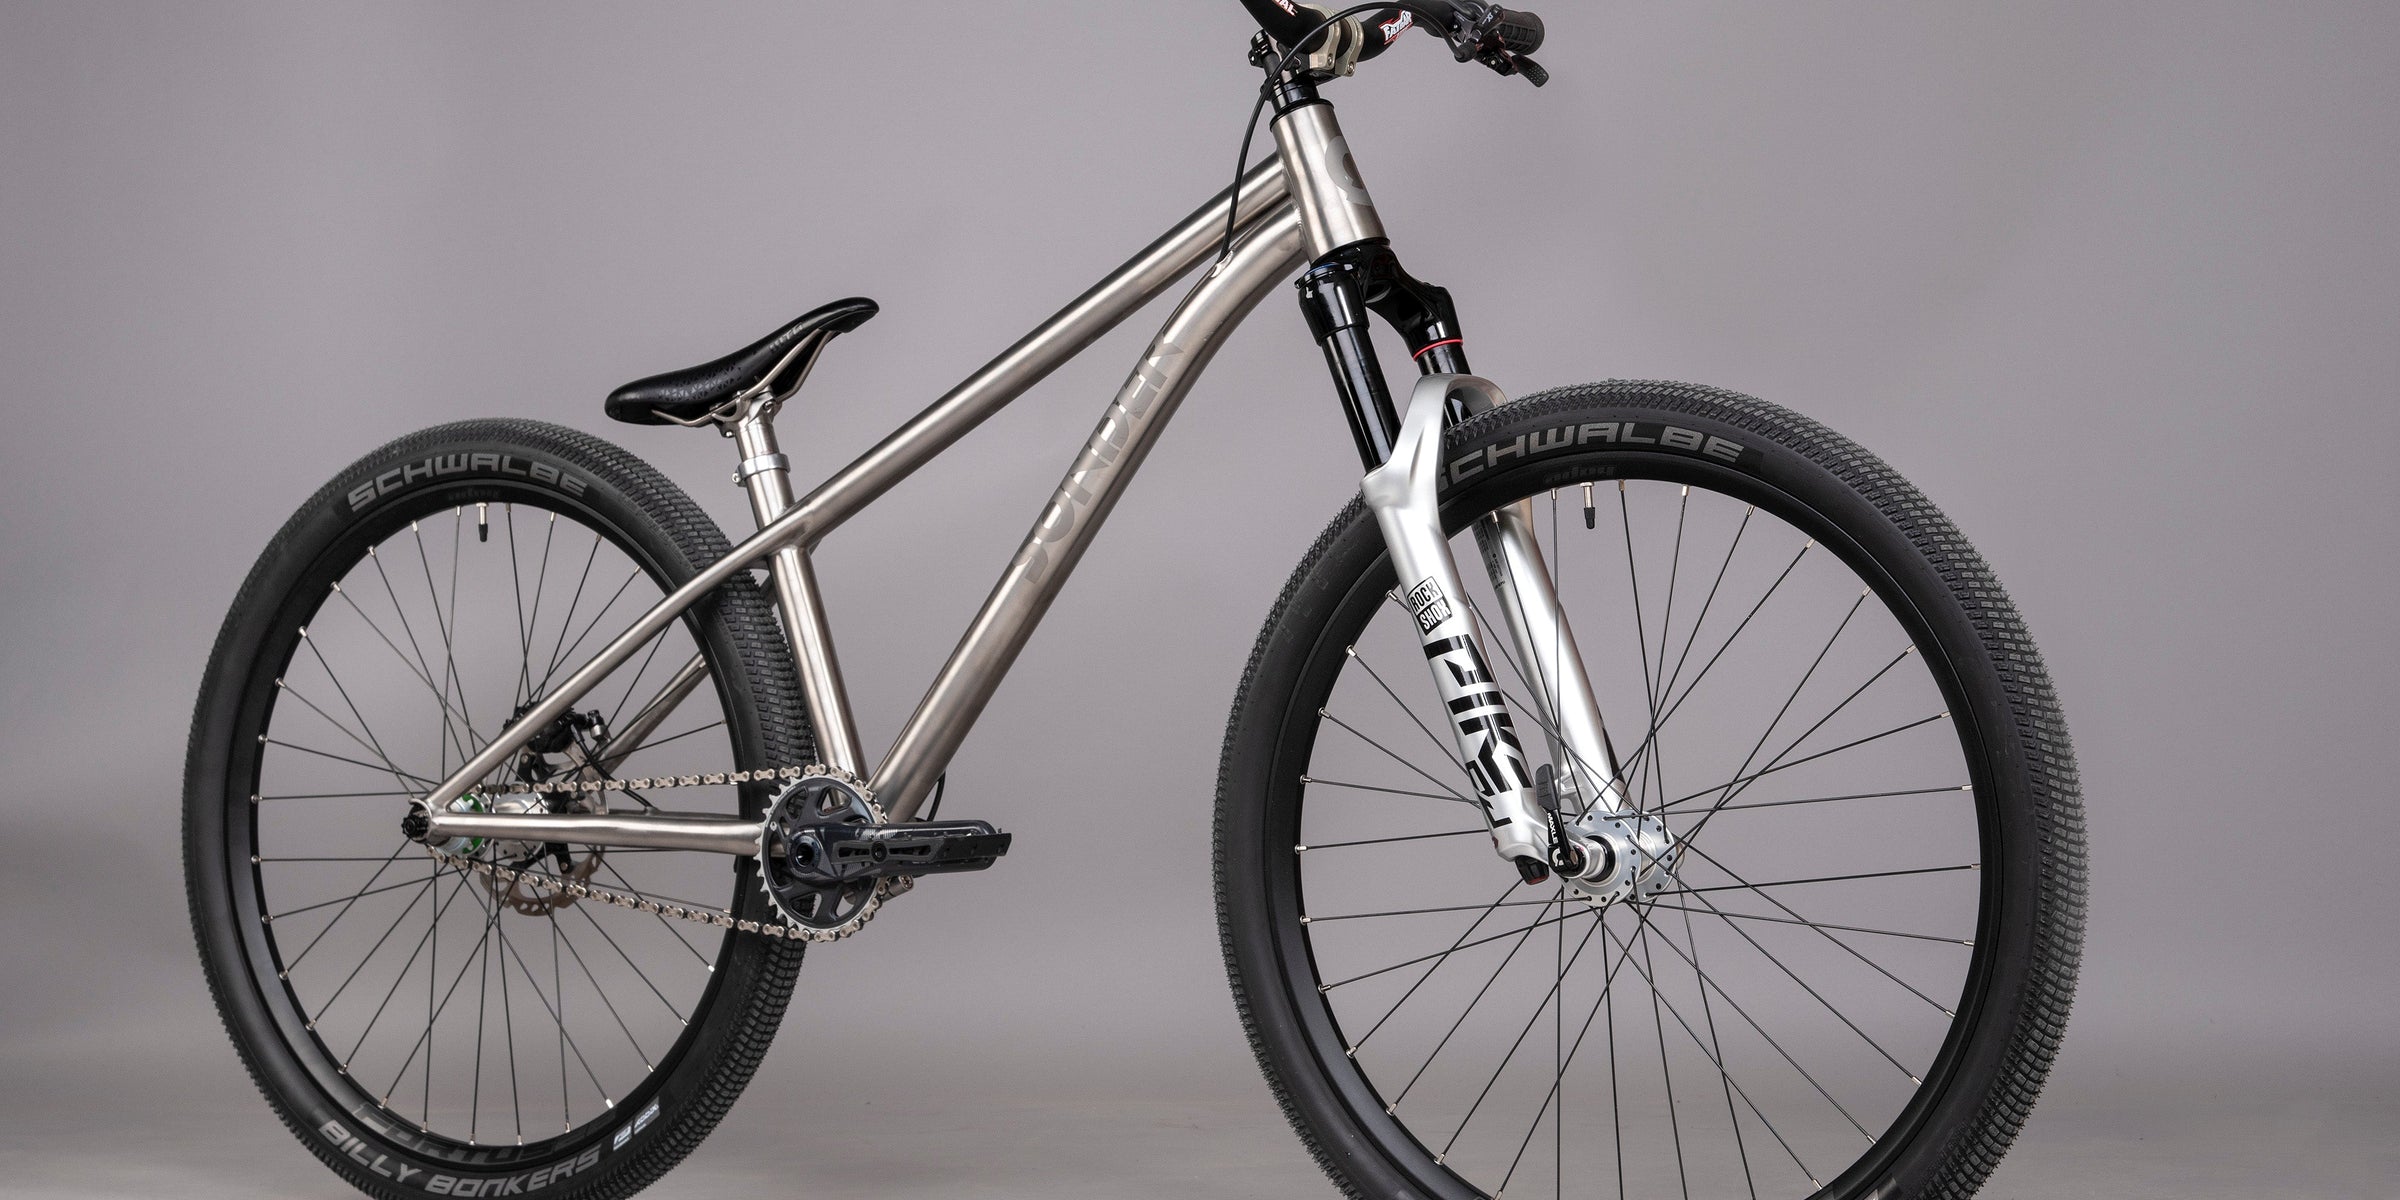
Credit: us.alpkit.com
Tuning Compression And Rebound
Setting up your dirt jump bike fork right is key for smooth rides. Compression and rebound affect how your fork handles jumps and landings.
Proper tuning helps absorb impact and keeps control. Let’s explore how to adjust these settings well.
Compression Settings Explained
Compression controls how fast the fork compresses when hitting a bump. It affects how soft or firm your ride feels.
- Low compression makes the fork compress easily for small bumps.
- High compression firms up the fork for big jumps and hard landings.
- Adjust compression to avoid bottoming out or feeling too stiff.
Rebound Adjustment Tips
Rebound controls how fast the fork returns after compression. Setting it right keeps the bike stable after landing.
| Rebound Setting | Effect |
| Fast Rebound | Fork returns quickly, but may feel bouncy. |
| Slow Rebound | Fork returns slowly, avoiding bouncing but may pack down. |
| Medium Rebound | Balanced return speed for control and comfort. |
Finding The Right Balance
Good fork setup needs both compression and rebound working together. Too much or too little of either hurts your ride.
- Start with middle settings for both compression and rebound.
- Test your bike on small jumps and feel the response.
- Adjust compression if you bottom out or feel too stiff.
- Change rebound if the fork bounces or feels sluggish.
- Repeat tuning until the fork feels smooth and controlled.
Adjusting Fork Travel
Setting the right fork travel is key for dirt jump bikes. It helps you land smoothly and control the bike better. Adjusting fork travel can improve your jumps and overall ride feel.
Fork travel is how much the fork moves up and down. It affects shock absorption and bike handling. Knowing how to set it right makes your ride safer and more fun.
Recommended Travel Length
Dirt jump forks usually have less travel than trail or downhill forks. This keeps the bike stiff and responsive. Too much travel can make the bike feel slow and soft.
The common travel length for dirt jump forks is between 80mm and 100mm. This range offers a good balance of control and comfort on jumps.
- 80mm travel for quick, stiff rides
- 90mm travel for balanced control
- 100mm travel for extra shock absorption
How To Adjust Travel
First, check your fork manual to know the adjustment options. Some forks have spacers inside that change travel length. Others use external dials or air pressure.
To reduce travel, remove or add spacers inside the fork lowers. To increase travel, remove spacers or add air pressure. Always use tools carefully and follow safety steps.
- Remove the fork lowers for spacer access
- Add or remove travel spacers as needed
- Adjust air pressure to fine-tune feel
- Test ride after each change
Effects On Performance
Lower travel gives a stiffer, more responsive ride. This helps with quick jumps and tricks. It also makes the bike easier to control on flat landings.
Higher travel absorbs bigger impacts better. It protects your arms and bike from hard landings. But too much travel can slow your bike’s response.
- Less travel: faster, more control, less shock absorption
- More travel: smoother landings, less control, heavier feel
- Find travel length that fits your jump style and terrain
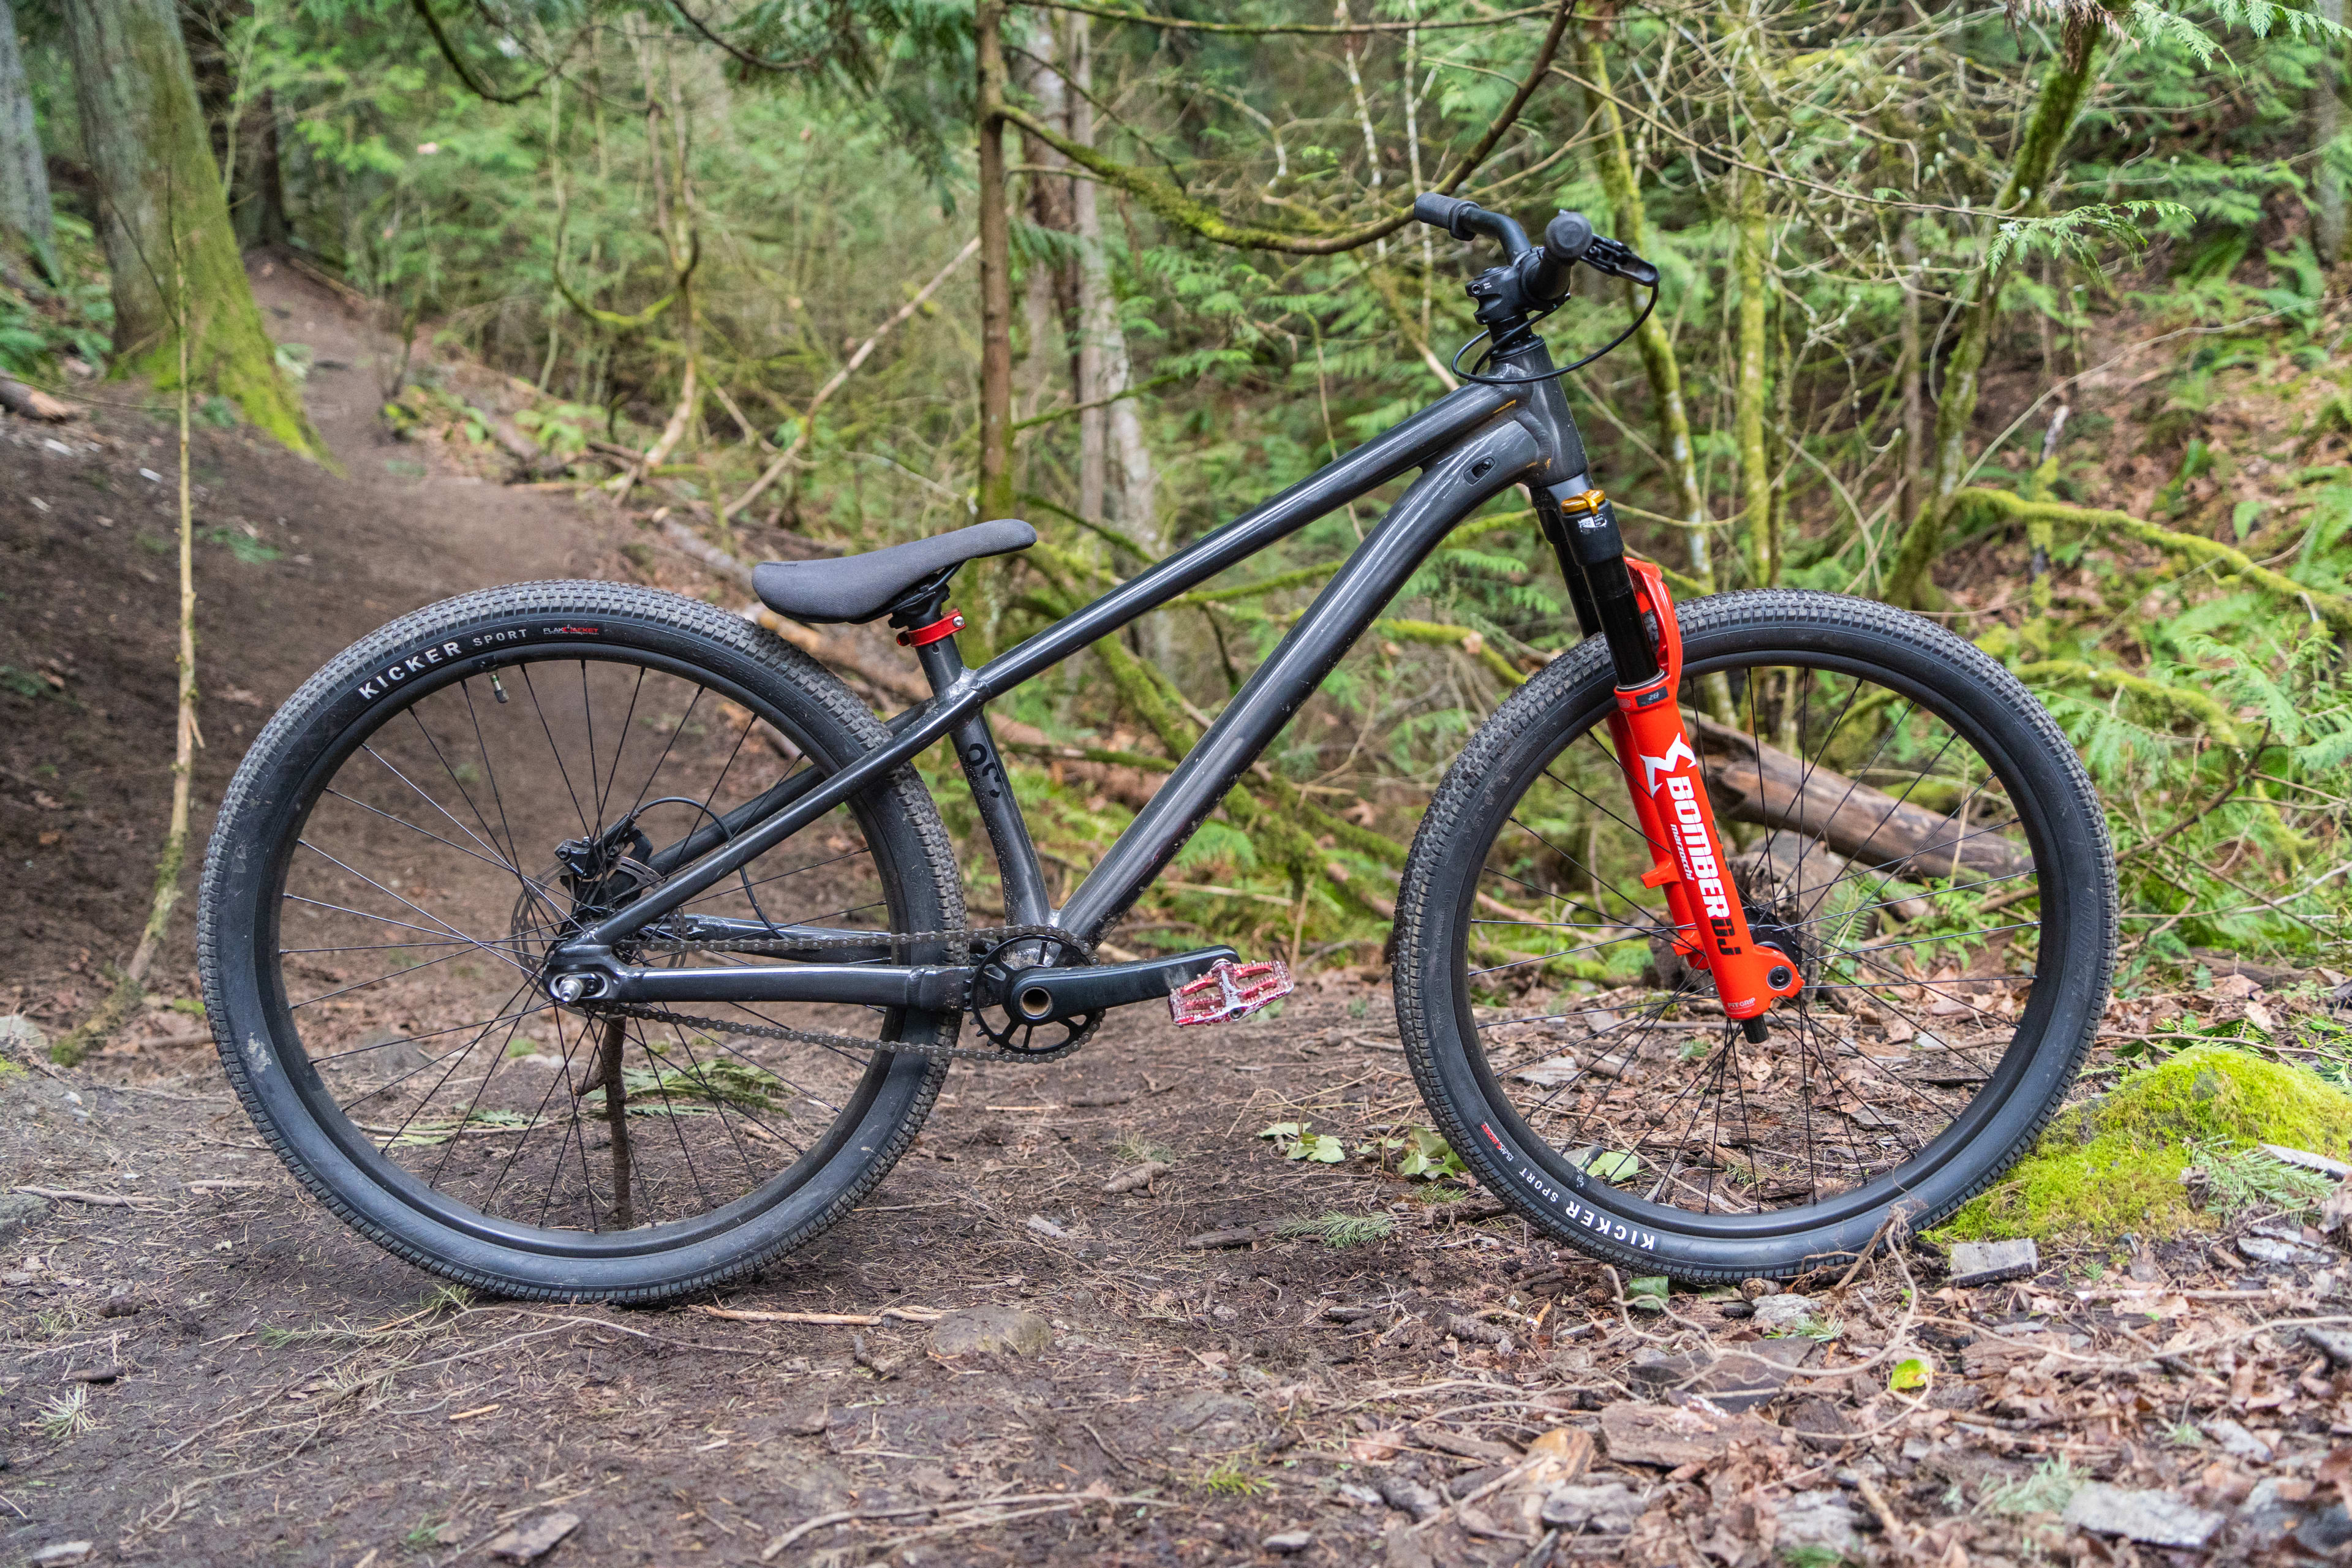
Credit: www.bikemag.com
Maintenance For Optimal Performance
Keeping your dirt jump bike fork in good shape helps you ride safely and smoothly. Regular maintenance stops damage and keeps the fork working well.
Focus on cleaning, checking for damage, and knowing when to service or replace parts. These steps keep your bike ready for every jump.
Cleaning And Lubrication
Clean your bike fork after every ride to remove dirt and dust. Use a soft brush and mild soap with water. Avoid high-pressure water that can harm seals.
- Wipe the fork stanchions with a clean cloth.
- Apply fork-specific lubricant to the seals and moving parts.
- Do not over-lubricate, as this can attract more dirt.
- Dry the fork completely before the next ride.
Inspecting For Wear And Damage
Check your fork regularly for signs of wear or damage. Look closely at the stanchions, seals, and any bolts or mounts.
| Part | What to Check | Signs of Damage |
| Stanchions | Scratches or dents | Visible marks, rough feel |
| Seals | Leaks or cracks | Oil leaks, torn rubber |
| Bolts and mounts | Loose or rusted | Wobble, rust spots |
When To Service Or Replace Parts
Service your fork based on use and condition. Replace parts that show damage or wear to keep safety and performance high.
- Service the fork every 50 hours of riding or yearly.
- Replace seals if oil leaks or dirt gets inside.
- Change fork oil according to manufacturer advice.
- Replace stanchions if scratched deeply or bent.
- Tighten or replace bolts if loose or rusted.
Common Mistakes To Avoid
Setting up your dirt jump bike fork correctly is key for safety and performance.
Many riders make simple errors that reduce their riding experience and damage their forks.
Overloading The Fork
Putting too much weight or pressure on the fork can cause damage and poor handling.
- Don’t exceed the fork’s weight limit.
- Avoid carrying heavy loads on the handlebars.
- Check the fork specs before adding accessories.
Ignoring Sag Settings
Sag is how much the fork compresses under your weight. Wrong sag causes bad control.
| Common Sag Mistakes | Effect on Ride |
| Too little sag | Harsh landings and poor shock absorption |
| Too much sag | Fork bottoms out too easily, losing control |
| Not adjusting sag | Unstable ride and quick fork wear |
Neglecting Regular Maintenance
Skipping maintenance leads to fork damage and unsafe riding conditions.
Important maintenance tasks include:
- Cleaning the fork after every ride
- Checking and changing fork oil regularly
- Inspecting seals and replacing if worn
- Tightening all bolts to the correct torque
Testing Your Setup
After setting up your dirt jump bike fork, testing is key. It helps you see if the fork works well on jumps and landings.
Testing shows if you need to adjust the fork for better control and comfort.
Ride And Adjust
Take your bike to a dirt jump track or a safe area with small jumps. Ride at a normal speed and feel how the fork reacts.
If the fork feels too stiff or too soft, adjust the air pressure or rebound settings. Small changes make a big difference.
- Start with recommended air pressure from the fork manual.
- Adjust pressure up or down for comfort and control.
- Test rebound by compressing the fork and watching it return.
- Make small adjustments and test again.
Signs Of Proper Setup
A well-set fork feels smooth over bumps and absorbs landings well. It keeps the front wheel in control without bouncing too much.
You should feel steady and confident on jumps. The fork should not bottom out hard or feel too harsh.
- Fork compresses smoothly on impact.
- Landings feel controlled and soft.
- No harsh bottom-outs on big jumps.
- Bike stays balanced and stable.
- Rebound returns fork smoothly without bouncing.
Troubleshooting Issues
If the fork feels too hard, check the air pressure. It may be too high. Lower it slightly for more comfort.
If the fork bottoms out too often, increase air pressure or add volume spacers if possible. Check rebound speed to avoid bouncing.
- Fork feels harsh: reduce air pressure or check oil levels.
- Fork bottoms out: increase air pressure or add spacers.
- Fork bounces after landing: slow rebound setting.
- Fork feels slow to compress: check for damaged seals or dirt.
- Uneven fork movement: inspect for mechanical damage.
Frequently Asked Questions
How Do I Set The Correct Air Pressure For Dirt Jump Forks?
To set air pressure, start with the manufacturer’s recommended psi. Adjust based on your weight and riding style. Higher pressure suits lighter riders or smooth trails. Lower pressure offers better absorption for heavier riders or rough terrain.
What Is The Ideal Rebound Setting For Dirt Jump Forks?
Set rebound to medium-fast for dirt jumping. This controls fork extension speed after compression. Too slow slows your recovery; too fast causes instability. Adjust until the fork feels responsive without bouncing back aggressively.
How Do I Adjust Compression On A Dirt Jump Bike Fork?
Compression controls fork firmness during impact. For dirt jumping, use moderate compression to absorb big hits. Increase it for smoother landings and decrease for better small bump sensitivity. Fine-tune to balance control and comfort.
How Often Should I Service My Dirt Jump Bike Fork?
Service your fork every 50-100 hours of riding or annually. Regular maintenance keeps seals and oil fresh, ensuring smooth performance. Clean and inspect the fork after muddy or wet rides to prolong lifespan.
Conclusion
Setting up your dirt jump bike fork right improves your ride and safety. Adjust the air pressure to match your weight and style. Check rebound and compression to control how the fork reacts. Test your bike on small jumps first.
Make small changes to find what feels best. Keep your fork clean and well-maintained for longer life. A good setup helps you jump higher and land smoother. Enjoy your rides and keep practicing!



