
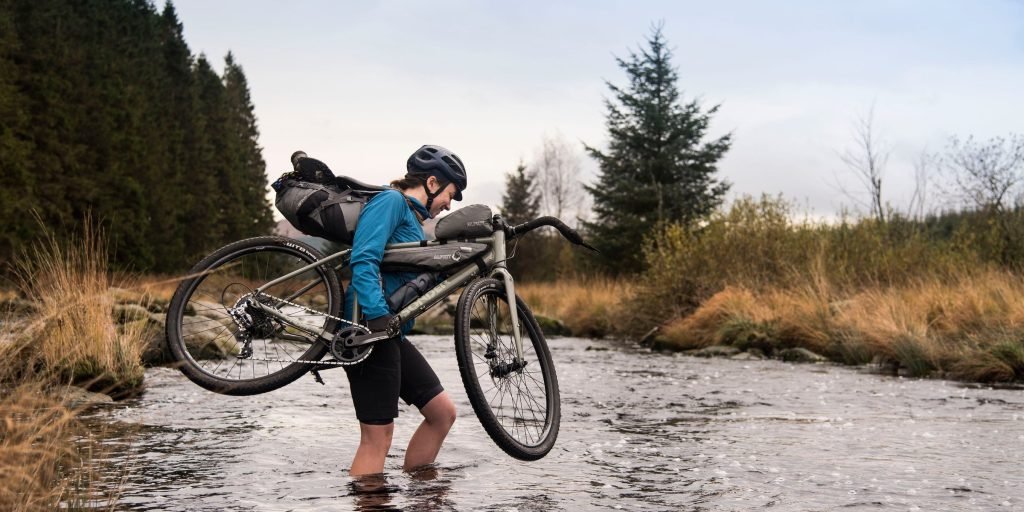
You know that feeling when the wind rushes past and the road stretches ahead, full of promise? Your bikepacking adventure is more than just a ride—it’s a story waiting to be told through your photos.
But capturing those perfect moments on the move can be tricky. What if you could freeze those memories with ease, showing the thrill, beauty, and freedom of your journey? In this guide, you’ll discover simple, practical tips to take stunning photos while bikepacking, so your pictures speak louder than words and inspire others to ride along with you.
Ready to make every shot count? Let’s dive in.
Choosing The Right Gear
Capturing great photos on bikepacking trips needs the right gear. The right tools help you take sharp and clear images. They also make carrying and using your camera easier while riding.
This guide covers cameras suited for bikepacking, essential accessories, and ways to protect your equipment. Each part helps you prepare better for your adventure.
Cameras For Bikepacking
Choosing a camera for bikepacking means balancing quality and weight. You want a camera that fits your pack and can handle rough conditions. Compact mirrorless or action cameras work well.
- Lightweight mirrorless cameras offer good image quality.
- Action cameras are small and rugged for tough trails.
- Smartphones can be handy for quick snaps and sharing.
- Consider battery life and ease of use while riding.
Essential Accessories
Accessories make your photography easier and protect your gear. Think about what will help you shoot steady and keep equipment safe.
| Accessory | Purpose | Notes |
| Tripod or mini tripod | Stabilizes camera for clear shots | Choose lightweight models |
| Extra batteries | Ensures longer shooting time | Keep them charged and dry |
| Memory cards | Stores more photos | Carry spares for long trips |
| Camera strap | Keeps camera secure while riding | Look for padded and adjustable options |
Protecting Your Equipment
Bikepacking can be tough on gear. Protecting your camera and accessories helps avoid damage from weather and falls. Use covers and cases designed for outdoor use.
- Use waterproof bags or dry sacks for cameras.
- Wrap gear in soft cloths to avoid scratches.
- Secure equipment inside bike bags to prevent movement.
- Clean your gear after dusty or rainy rides.
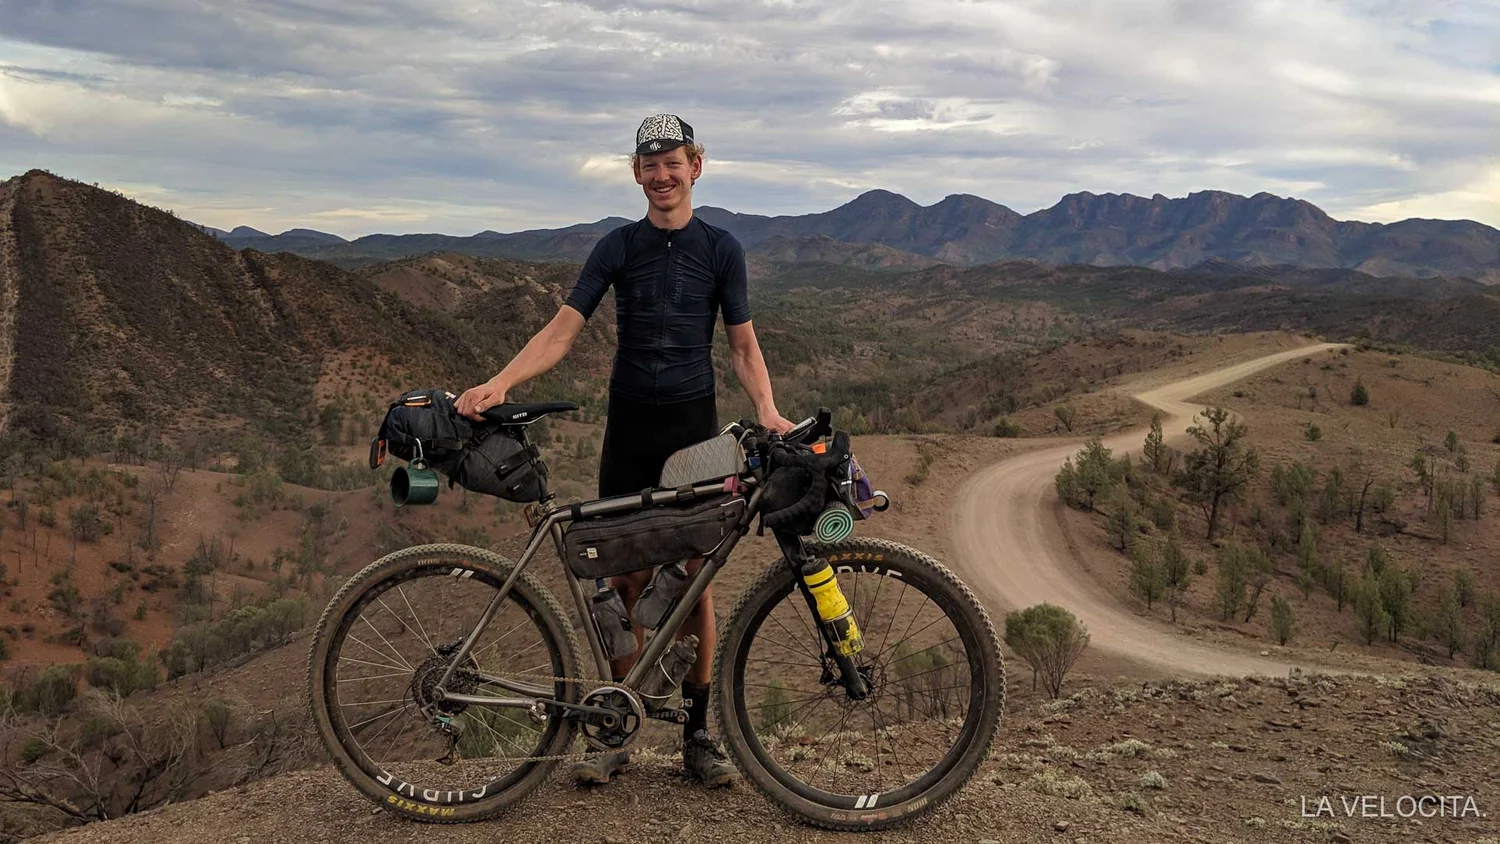
Credit: www.lavelocita.cc
Planning Your Shots
Capturing photos during bikepacking takes some planning. It helps you get great images that show your adventure well.
Thinking ahead about where and when to shoot makes your photos more interesting and clear. Here are some tips.
Scouting Locations
Look for spots that tell a story about your journey. Find places with good backgrounds and safe areas to stop.
Check maps and online photos before your trip. This helps you pick locations that match your bikepacking route.
- Choose places with natural beauty or interesting features
- Avoid busy or unsafe areas
- Note spots where light looks good
- Plan breaks at scenic locations
Timing For Best Light
Light changes how your photos look. Shoot during early morning or late afternoon for soft, warm light.
Avoid midday sun because it creates harsh shadows. Overcast days can also give even lighting for your shots.
- Shoot during golden hours: sunrise and sunset
- Use cloudy days for softer light
- Avoid harsh midday sunlight
- Plan your ride to reach locations at good light times
Composing Dynamic Frames
Arrange elements in your photo to make it interesting. Use the bike, landscape, and rider to create a strong image.
Try different angles and perspectives. Include movement or lines that lead the viewer’s eyes through the photo.
- Place the bike off-center for balance
- Use natural lines like trails or rivers
- Show action, like riding or setting up camp
- Include foreground and background for depth
Capturing Action Shots
Taking photos during bikepacking trips brings your adventures to life. Action shots show the speed and energy of the ride.
Good action photos need planning and skill. Use the right techniques to freeze motion and keep images sharp.
Techniques For Movement
To capture movement, try panning your camera. Follow the cyclist smoothly while taking the picture. This keeps the rider sharp and blurs the background.
- Use a slower shutter speed to create motion blur.
- Keep the bike in the center of your frame.
- Practice steady hand movements while tracking the subject.
Using Burst Mode
Burst mode takes many photos quickly. This helps catch the perfect moment in fast action.
| Benefit | Description |
| More chances | Many photos increase the chance of a great shot. |
| Capture details | Small actions like wheel spins become clear. |
| Choose best | Pick the sharpest or most exciting photo later. |
Balancing Speed And Clarity
Fast shutter speeds freeze motion but need more light. Slower speeds blur movement but add energy to photos.
Try adjusting settings like these:
- Shutter speed: 1/500 to 1/1000 second for sharp action.
- Aperture: Use a wide aperture (small f-number) to let in light.
- ISO: Increase ISO if the light is low, but watch for noise.
Utilizing Natural Light
Natural light makes bikepacking photos look real and beautiful. It helps show the colors and details of your adventure.
Using sunlight well can improve your photos without extra gear. Knowing when and how to use light is very helpful.
Golden Hour Advantages
The golden hour happens just after sunrise and before sunset. The light is soft and warm, making photos glow nicely.
During golden hour, shadows are gentle. This helps show shapes and textures without harsh contrasts.
- Colors look richer and warmer
- Soft light reduces glare on shiny objects
- Long shadows add depth to your photos
Dealing With Harsh Sunlight
Midday sun can be very bright and create strong shadows. This makes some parts too bright and others too dark.
To handle harsh sunlight, find shade or use natural objects to block direct sun. This softens the light on your subject.
- Shoot under trees or near rocks for shade
- Use your bike or gear to create shade
- Avoid facing the sun directly to prevent squinting
Using Shadows Creatively
Shadows add interest and shape to your bikepacking photos. They can highlight your subject or create patterns.
Try to use shadows to tell a story or show movement. Shadows can also add a sense of time and place.
- Capture your bike’s shadow on the ground
- Use shadows of trees or mountains to frame your photo
- Look for patterns of light and shadow on trails
Managing Camera Settings
Taking photos while bikepacking needs quick thinking and good camera control.
Knowing how to set your camera helps you get clear and bright pictures on the trail.
Optimal Iso And Shutter Speed
ISO controls the camera sensor’s sensitivity to light. Low ISO means less grain and better quality.
Shutter speed controls how long the camera opens to take a photo. Fast speeds freeze action, slow speeds show motion blur.
- Use ISO 100-400 for bright daylight.
- Increase ISO to 800 or more in low light but watch for noise.
- Choose shutter speed above 1/500 second to freeze fast bike movement.
- Try slower speeds like 1/30 second for creative blur but use a steady hand.
Focus Modes For Motion
Focus mode tells your camera how to lock focus on moving subjects.
| Focus Mode | Use Case | Notes |
| Single Autofocus (AF-S) | Still subjects | Focus locks after half-press |
| Continuous Autofocus (AF-C) | Moving subjects | Camera tracks moving bike or rider |
| Manual Focus | Low light or tricky focus | Adjust focus by hand, needs practice |
Adjusting White Balance Outdoors
White balance fixes colors so photos look natural under different lights.
- Use “Daylight” setting on sunny days.
- Choose “Cloudy” for shaded or overcast conditions to warm colors.
- Try “Shade” for cooler light under trees or in valleys.
- Set custom white balance if your camera allows for best color accuracy.
Creative Perspectives
Taking photos during bikepacking is a fun way to share your journey. Using creative perspectives can make your images stand out.
Try different angles and include unique views to capture the adventure better. This helps show the environment and the bike in new ways.
Low-angle Shots
Low-angle shots are taken from near the ground looking up. This makes subjects look bigger and more powerful.
Try lying down or placing your camera close to the ground to get this effect. It can highlight the bike or the landscape behind it.
Wide-angle Lenses
Wide-angle lenses capture more of the scene in one photo. They show the bike, rider, and wide views all together.
These lenses help tell a story by showing the vastness of the trail or the beauty of nature around you.
Incorporating The Bike In Frame
Including your bike in photos adds context to your adventure. It shows your gear and your journey’s progress.
Place the bike near the edge or use it as a foreground element to add depth to your shots.
Keeping Your Shots Safe
Bikepacking trips offer many chances to take great photos. It is important to keep these photos safe during your adventure.
Photos can be lost due to accidents, bad weather, or device failures. Use smart habits to protect your memories.
Backing Up Photos On The Trail
Backing up photos often is key to avoid losing them. Carry portable storage devices to save copies of your images.
Use a small external hard drive or a fast USB stick. If you have internet, upload photos to cloud storage.
- Copy photos to external drives every day
- Use a reliable memory card reader
- Upload important shots to cloud services when possible
- Keep backup devices in a safe, dry place
Organizing Files Efficiently
Organize photos in folders by date or location. This makes finding pictures easier later on.
Use clear names for folders and files. Avoid long names or special characters that may cause errors.
- Create folders for each day of your trip
- Name files with date and subject (e.g., 2024-06-01_MountainView.jpg)
- Delete blurry or duplicate photos to save space
- Use photo management apps if possible
Preventing Data Loss
Protect your devices and memory cards from damage. Keep them dry and avoid dropping them.
Carry extra memory cards and batteries. Use cases that protect against dust and water.
- Use waterproof cases or bags for cameras and drives
- Handle memory cards carefully and keep them in cases
- Turn off devices when not in use to save power
- Have spare batteries or power banks ready

Credit: www.reddit.com

Credit: www.reddit.com
Frequently Asked Questions
How Do I Prepare My Camera For Bikepacking Trips?
Clean your camera and check battery life before the trip. Use a weatherproof case to protect it from dust and rain. Carry extra batteries and memory cards to avoid running out of storage.
What Camera Settings Work Best For Bikepacking Photos?
Use a fast shutter speed to capture motion clearly. Set your ISO low in bright light and higher in low light. Shoot in RAW format for better editing flexibility later.
How Can I Keep My Camera Safe During Bikepacking?
Use padded camera bags or cases attached securely to your bike. Avoid exposing the camera to extreme weather. Carry it in a backpack when riding rough terrain.
What Are The Best Times To Photograph Bikepacking Adventures?
Early mornings and late afternoons offer soft, golden light ideal for photos. Avoid harsh midday sun which creates strong shadows. Capture sunrise or sunset to add dramatic colors.
Conclusion
Capturing photos during bikepacking enhances your adventure memories. Keep your camera ready at all times. Focus on unique angles to make your shots interesting. Use natural light to enhance photo quality. Experiment with different settings on your camera. Remember, practice improves your photography skills.
Sharing your journey inspires others to explore. Enjoy the process and stay creative. Every photo tells a story. Let your images speak about your adventures. Keep documenting and sharing your experiences. Your bikepacking memories will last a lifetime.



