
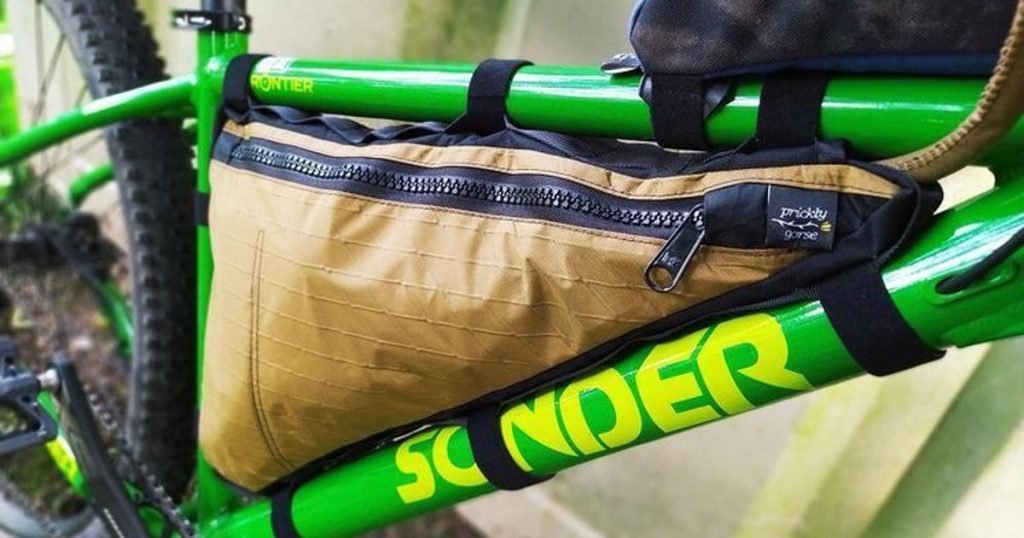
Are you ready to make your bikepacking trips more organized and efficient? Installing frame bags on your bike can be a game-changer, giving you easy access to your gear without weighing you down.
But if you’re not sure where to start or how to get a perfect fit, this guide is for you. You’ll learn simple, step-by-step tips to install your bikepacking frame bags quickly and securely. By the end, you’ll feel confident and ready to hit the trail with everything you need right on your bike.
Let’s get your setup just right!

Credit: www.prioritybicycles.com
Choosing The Right Frame Bag
Choosing the right frame bag is important for bikepacking trips. The right bag fits well and holds your gear safely. This guide helps you pick the best frame bag for your bike.
Look at your bike and your needs before buying. Consider the bag’s size, material, and how it attaches to your bike frame.
Types Of Frame Bags
Frame bags come in different shapes and uses. Some fit inside the main triangle of the bike frame. Others attach on the top tube or down tube.
- Full triangle bags fill the whole frame space
- Top tube bags are smaller and easy to reach while riding
- Down tube bags usually carry heavier items
- Custom bags match unusual frame shapes
Sizing And Compatibility
Measure your bike frame carefully before buying a bag. Check the length, height, and width of the frame triangle.
| Frame Part | Measurement Needed |
| Top tube length | From head tube to seat tube |
| Seat tube length | From bottom bracket to seat post |
| Down tube length | From head tube to bottom bracket |
| Frame triangle height | Distance between top tube and down tube |
Check if the bag fits your bike’s shape. Some bags work better with road bikes, others with mountain bikes.
Material And Durability
Frame bags must be strong and water-resistant. Look for materials that protect your gear from rain and dirt.
- Heavy-duty nylon is tough and lasts long
- Waterproof zippers keep water out
- Sealed seams prevent leaks
- Reinforced edges stop wear and tear
Preparing Your Bike
Installing bikepacking frame bags starts with preparing your bike. A clean and ready frame makes installation easier.
Check your bike carefully before attaching the bags. This helps prevent damage and ensures a secure fit.
Cleaning The Frame
Clean the bike frame to remove dirt and dust. A clean surface helps the bags attach better.
Use a soft cloth and mild soap to wipe the frame. Avoid harsh chemicals that can damage the paint.
- Wipe off mud and grease
- Dry the frame completely
- Check for scratches or damage
Checking Mounting Points
Look for places to attach the frame bag. These points must be strong and easy to reach.
Common mounting points include the top tube, down tube, and seat tube. Make sure these areas are free from damage.
- Inspect welds and joints
- Check for frame dents or cracks
- Note where straps or Velcro will go
Gathering Necessary Tools
Prepare the tools needed for installation. Having tools ready saves time and effort.
Common tools include scissors, a cleaning cloth, and extra straps. Some bags come with their own attachments.
- Scissors or a knife for trimming straps
- Soft cloth for cleaning
- Extra Velcro or zip ties if needed
- Optional: gloves to protect your hands
Positioning The Frame Bag
Installing a bikepacking frame bag correctly helps you carry gear safely. Positioning the bag well keeps your bike stable and comfortable.
Focus on fitting the bag to your bike’s frame shape. Balance the weight and avoid blocking parts that move or need access.
Aligning With The Frame Geometry
Match the frame bag shape with the triangle of your bike frame. The bag should fit snugly without gaps or bulges. Check the top tube, down tube, and seat tube angles.
- Place the bag inside the main triangle
- Make sure it follows the frame tubes closely
- Adjust straps to avoid sagging or twisting
- Use smaller bags for tight frame shapes
Balancing Weight Distribution
Keep the heaviest items near the bike’s center. This improves control and reduces strain. Avoid putting too much weight on one side.
| Bag Section | Recommended Items |
| Near Bottom Bracket | Tools, heavy gear |
| Top Tube Area | Light items, snacks |
| Seat Tube Area | Clothing, sleeping gear |
Avoiding Interference With Components
Check that the bag does not block the brakes, cables, or pedals. Keep clearance for the front wheel and crank arms. Loose parts can cause accidents.
- Test pedal rotation with the bag attached
- Check brake lever and cable movement
- Adjust bag straps to prevent rubbing
- Keep bottle cage access clear

Credit: www.reddit.com
Attaching The Frame Bag
Attaching a bikepacking frame bag properly keeps your gear safe and balanced. It also makes your ride more comfortable.
Follow simple steps to secure the bag to your bike frame. Focus on straps, buckles, and fit for best results.
Securing With Straps
Most frame bags come with straps to hold them in place. Wrap the straps around the bike frame tubes firmly.
Use the straps on the top tube, down tube, and seat tube for even support. Tighten each strap so the bag does not move.
- Start with the longest strap on the top tube.
- Secure the down tube strap next.
- Finish with the seat tube strap.
- Make sure all straps are snug but not too tight.
Using Buckles And Clips
Buckles and clips help fasten the frame bag securely. They allow quick attachment and removal of the bag.
Snap each buckle or clip firmly in place. Check that they lock well and do not slide loose during the ride.
- Align buckles before clipping them together.
- Press clips until you hear a click.
- Test each buckle by pulling gently.
- Adjust strap length through buckles as needed.
Ensuring A Tight Fit
A tight fit prevents the bag from bouncing or shifting on rough roads. It also protects your gear.
After fastening straps and buckles, push the bag against the frame. Adjust straps to remove any loose areas.
- Check for gaps between bag and frame.
- Tighten loose straps slowly to avoid damage.
- Make sure the bag does not touch the pedals or wheels.
- Ride briefly and stop to recheck the fit.
Final Adjustments And Tips
Installing bikepacking frame bags is only the start. You need to make final adjustments for safety and comfort. These tips help you get the best fit.
Checking your setup regularly keeps your ride smooth. Small changes can improve your experience a lot.
Checking For Movement
After securing the frame bags, check if they move when you ride. Bags that shift can cause balance problems.
Look for loose straps or parts that rub against your bike frame. Tighten any loose areas to stop unwanted movement.
- Push the bag from different angles to test stability
- Ride on a rough path to feel if the bag shifts
- Make sure no parts hit your knees or pedals
- Adjust straps for a snug, but not tight, fit
Adjusting For Comfort
Comfort matters on long rides. Position the bags so they do not interfere with your pedaling or steering.
Check that the bags do not block cables or brake lines. Adjust the height or angle if needed to avoid strain.
- Place heavier items low and centered in the frame
- Keep cables clear and free from bag straps
- Make small strap adjustments to avoid pinching or pressure
- Test ride and fine-tune the bag position for best comfort
Maintenance And Care
Keep your bikepacking bags clean and in good shape. Dirt and moisture can damage the material over time.
Check straps and buckles regularly. Replace or repair any worn parts to keep the bags secure.
- Wipe bags with a damp cloth after rides
- Air bags out before storing to prevent mold
- Inspect stitching and seams for wear
- Store bags in a cool, dry place
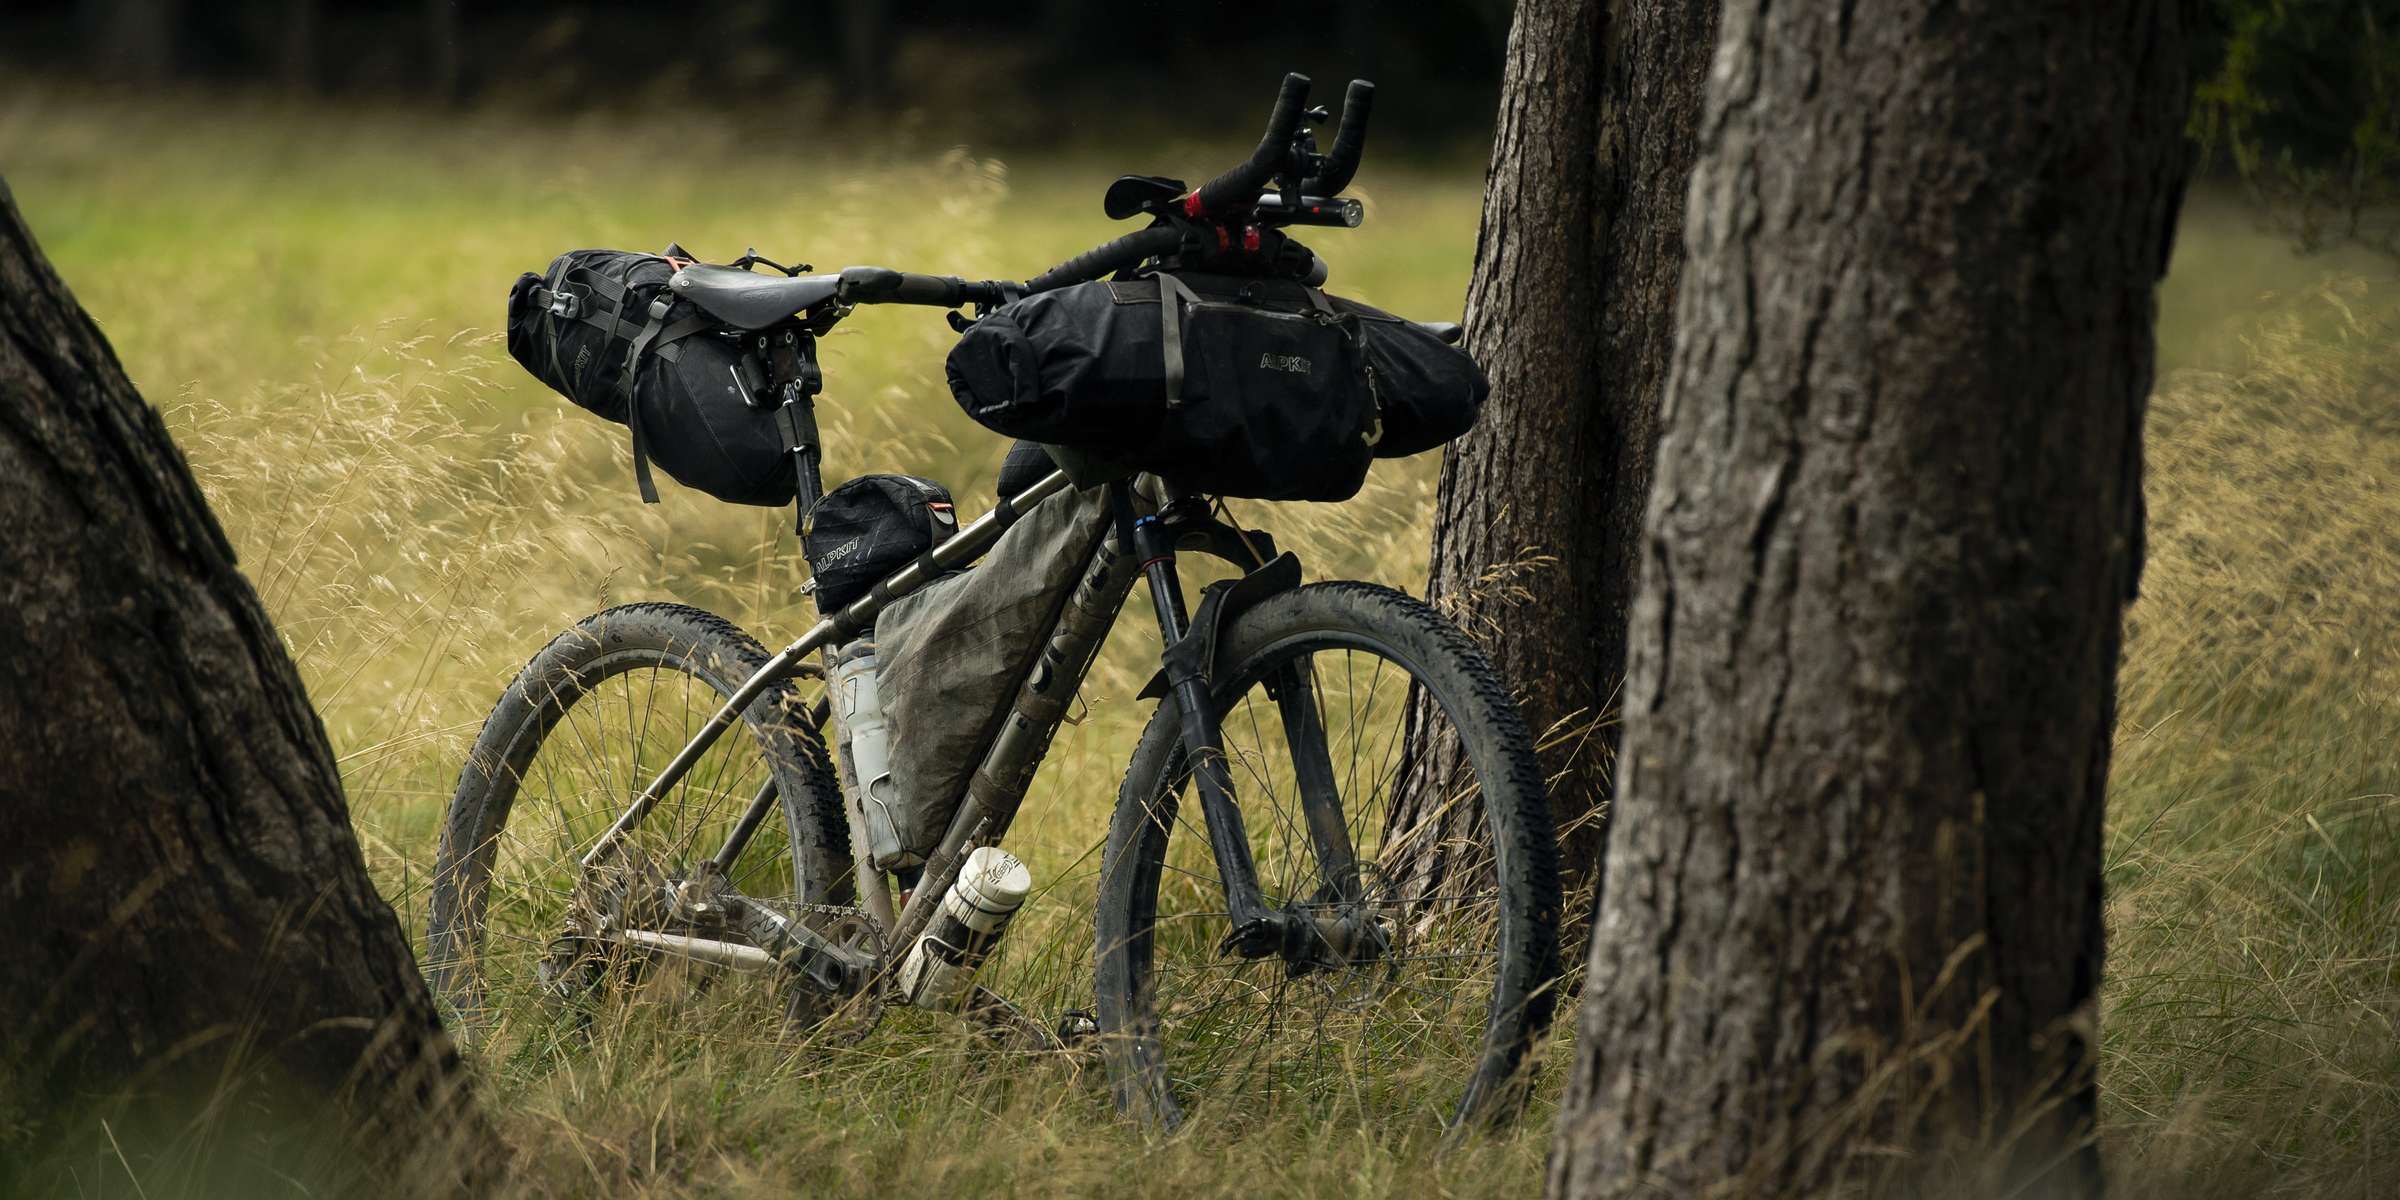
Credit: eu.alpkit.com
Frequently Asked Questions
How Do I Choose The Right Bikepacking Frame Bag Size?
Select a frame bag that fits your bike’s frame geometry. Measure the triangle space and compare it with bag dimensions. Ensure there’s enough clearance for pedals and cables. A well-fitted bag improves riding balance and storage efficiency.
What Tools Are Needed To Install Frame Bags?
No special tools are usually required. Most frame bags use Velcro straps for attachment. Ensure straps are secure and do not interfere with bike components. Basic adjustments can be made by hand for a snug fit.
How Do I Secure The Frame Bag Properly?
Attach the Velcro straps tightly around the frame tubes. Check that the bag doesn’t move during rides. Avoid over-tightening to prevent frame damage. Proper securing prevents noise and improves riding comfort.
Can I Install Frame Bags On Any Bike Frame?
Frame bags fit best on standard diamond frame bikes. Irregular or small frames may have limited compatibility. Check the bag’s specifications and your frame shape before purchasing. Custom or flexible bags suit unique frame designs.
Conclusion
Installing bikepacking frame bags is simple and rewarding. Follow the steps carefully. Ensure the straps fit snugly. Secure all attachments properly. Double-check for any loose parts. A well-installed bag enhances your biking adventure. It provides easy access to essentials. Keeps your gear safe and organized.
Enjoy your ride without worries. Remember to adjust the bags occasionally. This keeps them in place during your journey. Whether a short trip or a long expedition, a well-fitted bag makes a difference. Happy biking!



