
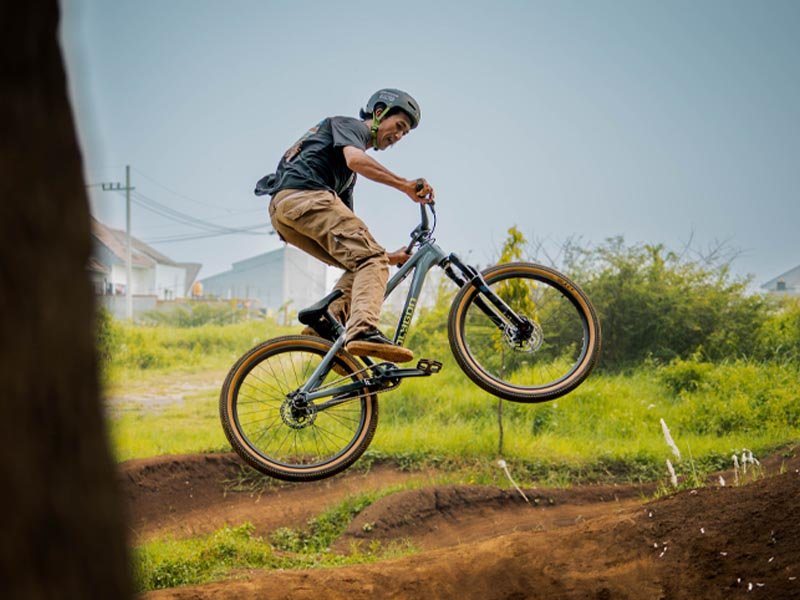
If you want to get the most out of your dirt jump bike, setting up your suspension right is a game changer. The right suspension setup makes your jumps smoother, your landings softer, and your ride more controlled.
But how do you find that perfect balance? This guide will walk you through simple steps to tune your suspension exactly to your style and terrain. Keep reading, and you’ll soon feel the difference every time you hit the dirt jump track.
Credit: www.polygonbikes.com
Choosing The Right Suspension
Setting up your dirt jump bike suspension correctly helps you land smoothly. It also protects your bike from damage. Choosing the right suspension depends on the type of jumps and your riding style.
This guide covers the main suspension types and the key features you should consider for dirt jumping.
Types Of Suspension For Dirt Jumping
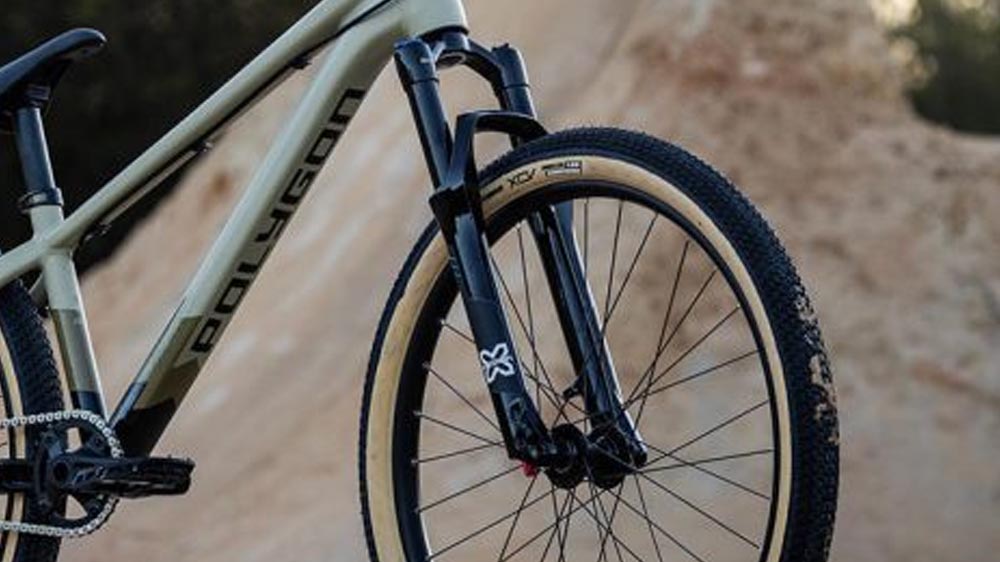
Dirt jump bikes mostly use two types of suspension: front suspension forks and rear suspension. Each has unique benefits and suits different riders.
- Front Suspension Forks:These absorb impacts on the front wheel and improve control on landings.
- Rear Suspension:Some dirt jump bikes have rear shocks to soften big drops and rough landings.
- Hardtail Bikes:These have only front suspension or no suspension at all, offering better pedaling efficiency.
Key Suspension Features To Consider
Look at these features when choosing your suspension setup. They affect comfort, control, and bike handling during jumps.
| Feature | Description | Why It Matters |
| Travel | Amount of suspension movement in millimeters | Too much travel can slow you; too little may not absorb impacts well |
| Spring Type | Air or coil springs | Air springs are lighter; coil springs are more consistent |
| Damping | Controls how fast suspension compresses and rebounds | Good damping keeps the bike stable on landings |
| Adjustability | Ability to change settings like preload and rebound | Helps tune suspension for different jump sizes and rider weight |
Credit: www.polygonbikes.com
Setting Sag For Dirt Jumping
Setting sag on your dirt jump bike suspension helps control how the bike handles jumps. Sag is the amount the suspension compresses under your weight.
Proper sag ensures better balance and smoother landings. It keeps your bike ready for big drops and quick moves.
Measuring And Adjusting Sag
To measure sag, sit on the bike with full gear and get someone to mark the suspension position. Then, measure the difference between the fully extended suspension and the compressed point.
- Find the fully extended length of your suspension.
- Put on your full riding gear.
- Sit on the bike in your normal riding position.
- Have a helper mark the new suspension position.
- Measure the difference between extended and compressed lengths.
- Adjust the air pressure or preload to reach the desired sag.
Optimal Sag Percentages
Different suspension types need different sag percentages. Use these guidelines to set the right sag for dirt jumping.
| Suspension Type | Recommended Sag |
| Rear Shock | 25% to 30% |
| Front Fork | 15% to 20% |
Adjusting Compression Settings
Compression settings control how your bike’s suspension absorbs bumps. Adjusting these settings helps with smooth landings and better control.
There are two main types of compression tuning: low-speed and high-speed. Each affects your ride in different ways.
Low-speed Compression Tuning
Low-speed compression adjusts how the suspension reacts to slow movements. This includes pedaling, braking, and small bumps.
- Turn the low-speed compression dial clockwise to make the suspension firmer.
- Turn it counterclockwise to make the suspension softer.
- A firmer setting helps with better pedaling efficiency.
- Softer settings improve comfort over small bumps.
- Test your bike on flat and slightly rough terrain to find the best feel.
High-speed Compression Tuning
High-speed compression controls the suspension’s reaction to fast impacts. This includes hard landings and big jumps.
| Setting | Effect |
| More Compression | Reduces bottoming out on big jumps |
| Less Compression | Allows smoother absorption of sharp hits |
| Balanced | Good for mixed terrain riding |
Adjust this setting to control how your bike handles heavy impacts. Start with a medium setting and adjust after testing jumps.
Tuning Rebound For Control
Setting the rebound on your dirt jump bike suspension helps control the bike after landing. It controls how fast the suspension returns to its normal position.
Good rebound settings improve your control and make jumps feel smoother. Too fast or too slow rebound can cause instability.
Rebound Speed Basics
Rebound speed means how quickly the suspension extends after compressing. If rebound is too fast, the bike may bounce back hard.
If rebound is too slow, the suspension may stay compressed too long. This can make the bike feel stuck or slow to respond.
- Fast rebound: Suspension extends quickly
- Slow rebound: Suspension extends slowly
- Balance rebound for smooth control
Adjusting For Different Jump Types
Different jumps need different rebound settings. Smaller jumps need faster rebound for quick recovery.
Larger jumps require slower rebound to absorb bigger impacts. Adjust rebound to match the size and style of your jumps.
- Small jumps: Faster rebound for quick reset
- Big jumps: Slower rebound for better absorption
- Gap jumps: Medium rebound for control and smoothness
Air Pressure And Volume Spacers
Dirt jump bike suspension needs the right air pressure for smooth rides. Air pressure affects how your bike absorbs bumps and jumps.
Volume spacers change the space inside the suspension. They help control how the suspension feels during big jumps and landings.
Setting Air Pressure Correctly
Check your rider weight and bike specifications. Set air pressure that matches your weight for better control and comfort.
- Use a shock pump to measure air pressure.
- Sit on the bike in your normal riding position.
- Check the sag percentage recommended by the manufacturer.
- Add or release air to reach the correct sag.
- Test ride and adjust if needed.
Using Volume Spacers For Progression
Volume spacers make the suspension stiffer near the end of its travel. This prevents bottoming out on big drops and jumps.
| Volume Spacer Size | Effect on Suspension |
| Small | Slightly firmer feel at end of travel |
| Medium | Noticeable progression and less bottom out |
| Large | Strong progression, very firm at end of travel |
Fine-tuning For Rider Weight And Style
Setting up your dirt jump bike suspension correctly helps you ride better. Adjusting it to your weight and style makes jumps smoother and safer.
This guide explains how to fine-tune your suspension for your body weight and riding habits. Getting these settings right improves control and comfort.
Adjusting For Rider Weight
Your weight affects how your suspension reacts on landings and jumps. Heavier riders need firmer settings, while lighter riders benefit from softer suspension.
| Rider Weight | Recommended Sag % | Spring Rate |
| Under 140 lbs (63 kg) | 25% – 30% | Softer spring |
| 140 – 180 lbs (63 – 82 kg) | 30% – 35% | Medium spring |
| Over 180 lbs (82 kg) | 35% – 40% | Stiffer spring |
Measure sag by sitting on the bike and checking how much the suspension compresses. Adjust air pressure or spring preload to reach the recommended sag.
Tailoring Setup To Riding Style
Riding style changes how your suspension should be set. Smooth jumpers want a different feel than aggressive riders.
- Smooth Riders:Use softer rebound to absorb small bumps better.
- Aggressive Riders:Increase compression damping for firm landings.
- Freestyle Riders:Balance between firm and soft to handle tricks and drops.
- Speed Focused Riders:Tune for fast rebound to keep wheels on the ground.
Try small changes and test your bike on the trail. Adjust settings until the bike feels stable and responsive to your style.
Maintenance Tips For Suspension Longevity
Keeping your dirt jump bike suspension in good shape helps it last longer. Proper care improves performance and safety.
Regular checks and timely service prevent costly repairs. Follow simple steps to maintain your suspension well.
Regular Inspection And Cleaning
Check your suspension parts often for dirt, damage, and wear. Clean the fork and shock after every ride using a soft cloth.
- Remove mud and dust from stanchions and seals
- Look for scratches, oil leaks, or dents
- Lubricate the seals lightly with suspension oil
- Check bolts for tightness
- Avoid using high-pressure water near seals
When To Service Or Replace Components
Suspension parts wear out over time. Service or replace parts based on hours ridden and symptoms.
| Component | Service Interval | Signs to Replace |
| Fork Oil | Every 50 hours | Sticky or noisy action |
| Shock Seals | Every 100 hours | Oil leaks or reduced damping |
| Bushings | Every 100-150 hours | Excessive play or knocking |
| Springs | Check yearly | Sagging or broken coils |
Credit: www.polygonbikes.com
Frequently Asked Questions
How Do I Set The Sag On A Dirt Jump Bike Suspension?
Set sag by sitting on the bike in full gear. Adjust air pressure or preload until suspension compresses 20-30% of total travel. This ensures optimal shock absorption and control during jumps.
What Is The Ideal Rebound Setting For Dirt Jump Bikes?
Rebound should be fast enough to recover before landing but not too fast to cause bounce. Start with medium rebound and fine-tune based on ride feel and terrain.
How Much Suspension Travel Is Best For Dirt Jumping?
Dirt jump bikes typically use 80-100mm of suspension travel. This range offers a balance between control and responsiveness for smooth landings and precise handling.
Should I Adjust Suspension For Different Jump Sizes?
Yes, increase firmness for bigger jumps to prevent bottoming out. Soften settings for smaller jumps to absorb impact better and maintain comfort.
Conclusion
Setting up dirt jump bike suspension is crucial for smooth rides. A well-tuned suspension enhances control and boosts confidence on jumps. Start by adjusting the air pressure to match your weight. Next, fine-tune the rebound for better landings. Don’t forget to check your compression settings regularly.
These adjustments can make your rides more enjoyable. Practice regularly to feel the difference. Stay consistent with maintenance for optimal performance. Keep experimenting with settings until you find your sweet spot. Remember, every rider is different. What works for one might not work for another.
Enjoy the ride!



