
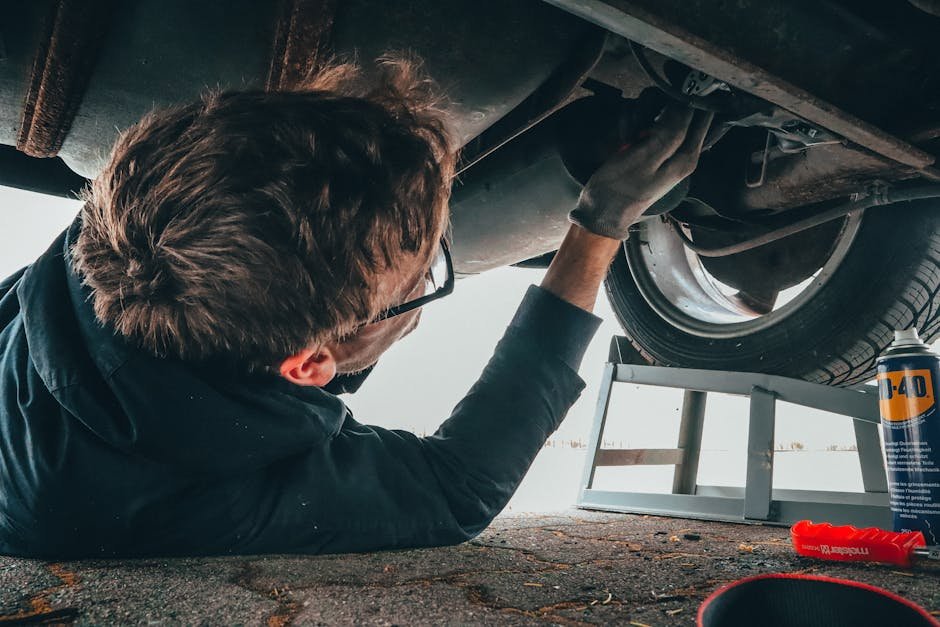
Imagine you’re miles away from help, your bike suddenly making strange noises or worse, refusing to move. What do you do?
Dealing with mechanical issues while bikepacking can be frustrating and even dangerous if you’re not prepared. But don’t worry—knowing how to handle common bike problems on the trail can save your trip and keep you moving forward. You’ll learn simple, practical tips to fix your bike quickly and get back on track with confidence.
Keep reading, because being ready for the unexpected can turn a potential disaster into just another part of your adventure.
Essential Bike Tools To Carry
Bikepacking trips can take you far from help. Carrying the right tools keeps you riding. This guide covers essential tools you should pack.
Focus on lightweight and compact gear that fixes common problems. Always be ready for mechanical issues on the trail.
Compact Multi-tools
Multi-tools combine many functions in one small device. They save space and weight in your pack. You can tighten bolts, adjust brakes, and fix derailleurs.
- Include Allen keys in various sizes
- Carry a chain breaker tool
- Have screwdrivers for different screws
- Look for tools with a spoke wrench
Spare Tubes And Patch Kits
Flat tires are common on long rides. Carry spare tubes that match your tire size. A patch kit helps fix small punctures on the trail.
| Item | Purpose | Tip |
| Spare Tube | Replace flat inner tube | Carry at least one |
| Patch Kit | Repair punctures | Includes patches and glue |
| Rim Tape | Protects tube from spoke holes | Carry an extra strip |
Tire Levers And Pumps
Tire levers help remove tires without damage. Pumps let you inflate tires after repair. Both are light and easy to carry.
- Use plastic tire levers to avoid rim scratches
- Choose a pump that fits your valve type
- Consider a mini pump or CO2 inflator
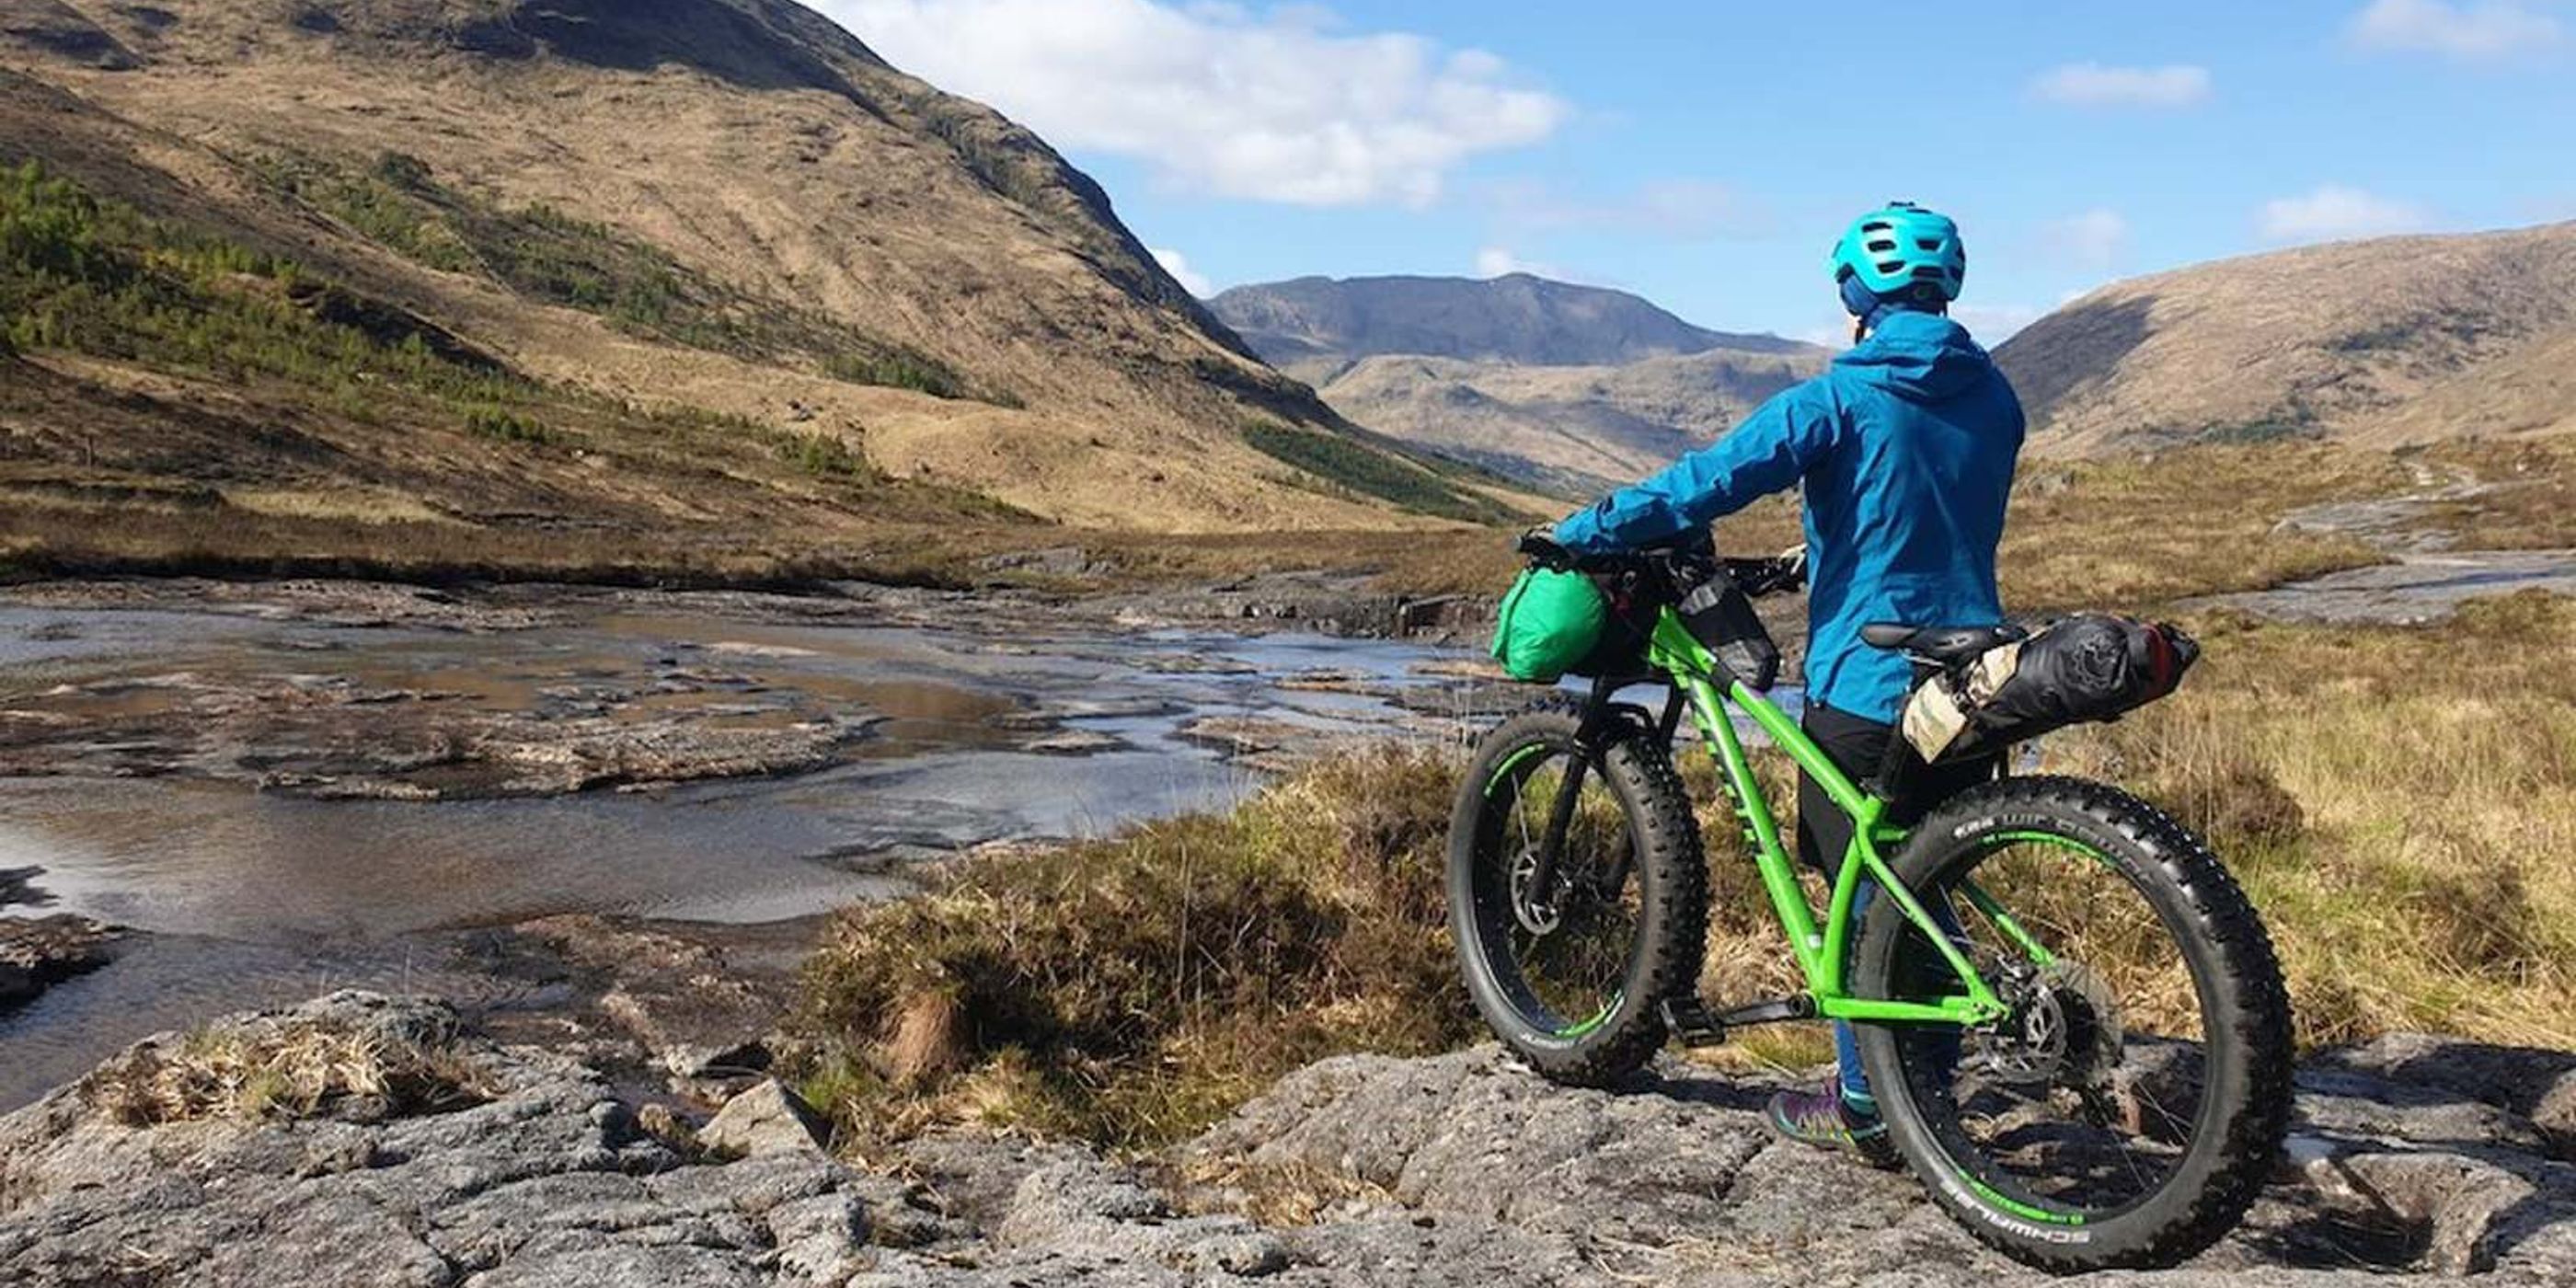
Credit: www.calltoadventure.uk
Common Mechanical Issues On Trail
Bikepacking trips can bring many challenges. Mechanical problems on the trail can slow you down. Knowing common issues helps you stay prepared.
This guide covers the most frequent problems you may face. You will learn how to spot and handle flat tires, chain breaks, gear issues, and brake malfunctions.
Flat Tires
Flat tires are the most common problem on any ride. They happen due to sharp objects or worn-out tires. Carrying a repair kit is essential.
- Carry spare tubes and tire levers
- Use a portable pump or CO2 inflator
- Check tire pressure often
- Inspect tires for cuts or thorns
Chain Breaks
A broken chain stops you from pedaling. Chains can break from wear or sudden force. Fixing it requires a chain tool and quick links.
- Carry a chain tool and spare quick links
- Know how to remove and rejoin chain links
- Keep the chain clean and lubricated
- Check chain for stiffness or damage before rides
Gear Shifting Problems
Gear issues make pedaling harder or noisy. They come from misaligned derailleurs or worn cables. Simple adjustments can fix most problems.
| Problem | Cause | Fix |
| Chain slips | Worn cassette | Replace cassette |
| Gears don’t change | Loose cable | Tighten cable |
| Chain drops | Misaligned derailleur | Adjust derailleur |
| Noise when shifting | Dirty chain | Clean and lubricate |
Brake Malfunctions
Brakes must work well for safety. Problems include squeaking, weak stopping, or stuck pads. Regular checks and small fixes keep brakes reliable.
Common brake fixes:
- Check brake pads for wear and replace if thin
- Adjust cable tension to improve brake power
- Clean rotor or rim to remove dirt and oil
- Bleed hydraulic brakes if spongy feeling occurs
Quick Fixes For Flats And Punctures
Bikepacking trips can be tough on your tires. Flats and punctures happen often on the trail. Knowing how to fix these quickly can save your ride.
This guide covers simple ways to repair flats and keep riding without delay. Keep your tools ready and follow these tips to handle issues fast.
Using Patch Kits Effectively
Patch kits are a must-have for small punctures. Clean the puncture area well. Roughen the tube surface with sandpaper before applying glue.
- Dry the tube completely before patching.
- Apply glue evenly around the hole.
- Press the patch firmly for several minutes.
- Check the patch for leaks after fixing.
Installing Spare Tubes
Sometimes a patch won’t hold or the damage is too large. Carrying spare tubes helps you get back on the trail fast. Remove the damaged tube carefully.
- Release tire beads from the rim with tire levers.
- Pull out the old tube and check the tire for sharp objects.
- Partially inflate the new tube to avoid pinching.
- Insert the new tube into the tire carefully.
- Push the tire bead back onto the rim all around.
- Inflate the tube to the recommended pressure.
Preventing Future Flats
| Tip | How It Helps |
| Check tire pressure before riding | Reduces pinch flats and improves ride |
| Use tire liners or sealant | Stops small sharp objects from puncturing |
| Choose durable tires for rough trails | Less chance of cuts and tears |
| Inspect tires for debris regularly | Removes objects before damage occurs |
Chain Repair And Maintenance
Bikepacking trips can be tough on your bike chain. Keeping it in good shape helps you ride longer and smoother. Learn simple ways to fix and care for your chain on the trail.
Knowing how to handle chain problems can save time and effort during your adventure. Focus on fixing broken chains, proper lubrication, and chain tension adjustments.
Fixing A Broken Chain
A broken chain can stop your ride. Carry a chain tool and spare links to fix it quickly. Find the broken link and remove it with the tool.
Use the chain tool to push out the pin holding the broken link. Connect the chain again with a new pin or quick link. Check that the chain moves freely before riding.
- Carry a chain tool and spare links
- Remove the broken link carefully
- Rejoin the chain using a new pin or quick link
- Test the chain for smooth movement
Lubrication Tips On The Trail
Keep your chain lubricated to prevent rust and wear. Clean the chain if it is dirty before adding lubricant. Use a small amount to avoid attracting dust.
Apply lubricant to the inside of the chain while turning the pedals backward. Let it soak for a few minutes, then wipe off excess oil with a cloth or rag.
- Clean dirt off the chain before lubrication
- Use chain lubricant, not general oil
- Apply lubricant inside the chain links
- Wipe off extra lubricant to reduce dirt
Adjusting Chain Tension
Proper chain tension helps your bike run smoothly. Too loose or too tight chains can cause slipping or damage. Check your chain tension often on the trail.
To adjust, loosen the rear wheel bolts. Pull the wheel back to tighten the chain or push forward to loosen it. Make sure the chain has about half an inch of movement.
- Loosen rear wheel bolts before adjusting
- Tighten chain by pulling rear wheel back
- Loosen chain by pushing rear wheel forward
- Check for about 0.5 inch chain slack
- Tighten bolts securely after adjustment
Gear And Brake Adjustments
Bikepacking trips often take you far from help. Fixing gear and brakes on the trail keeps you safe. Simple adjustments can stop bigger problems.
Learn how to realign derailleurs, adjust brake pads, and tighten cables. These skills help you ride smoothly and safely.
Realigning Derailleurs
Derailleurs move the chain between gears. They can get bent or misaligned on rough trails. Fix this by gently bending the derailleur hanger back. Use a tool or your hands carefully. Check if the chain moves smoothly on all gears.
If the chain skips, adjust the limit screws. These screws stop the chain from falling off. Turn them slightly to fix the problem. Test the shifting after each tweak.
Adjusting Brake Pads
Brake pads wear down or move out of place. Proper pad position ensures strong braking. Look at how the pads touch the rim or rotor. They should hit flat and not rub when brakes are off.
- Loosen the pad mounting bolt
- Align the pad with the braking surface
- Keep a small gap from the rim or rotor
- Tighten the bolt and test the brake
- Repeat if the brake rubs or feels weak
Cable Tightening Techniques
Cables control gears and brakes. They stretch or loosen with use. Tighten cables to keep controls responsive. Use barrel adjusters on shifters or brake levers.
| Action | Result |
| Turn barrel adjuster out (counterclockwise) | Tightens cable, improves shifting or braking |
| Turn barrel adjuster in (clockwise) | Loosens cable, reduces brake drag |
| Tighten cable bolt with a wrench | Secures cable after adjustment |
| Check cable for frays | Replace if damaged to avoid failure |

Credit: alpkit.com
Preventive Measures For Mechanical Reliability
Bikepacking trips test your bike’s strength and your skills. Mechanical problems can stop your ride. Taking steps before and during your trip helps avoid many issues.
Simple checks and good habits keep your bike running smoothly. Being ready for emergencies saves time and stress on the trail.
Pre-ride Bike Inspection
Check your bike before every ride. Look for loose bolts, worn tires, and brake function. Tighten or fix anything that looks off. A careful look helps find small problems early.
- Inspect tires for cuts, cracks, and proper pressure
- Test brakes for quick, firm stopping power
- Check the chain and gears for smooth shifting
- Look for loose or missing bolts and screws
- Ensure wheels spin freely without wobble
Regular Maintenance Routines
Keep your bike in shape with regular care. Clean and lubricate the chain often. Replace worn parts before they fail. This keeps your ride safe and reliable.
| Maintenance Task | Frequency |
| Clean and lubricate chain | Every 100 miles or after wet rides |
| Check tire pressure | Before every ride |
| Inspect brakes and pads | Monthly or after rough terrain |
| Check bolts and frame | Monthly |
| Replace worn tires or tubes | As needed |
Packing Smart For Emergencies
Bring tools and parts to fix common problems. Carry a small pump, patch kit, and multi-tool. Pack spare tubes and a chain link. Good packing saves time and keeps you moving.
- Mini pump or CO₂ inflator
- Patch kit and spare tubes
- Multi-tool with Allen keys and screwdrivers
- Chain quick link and small chain tool
- Tire levers and a small rag
When To Seek Professional Help
Bikepacking is fun but mechanical problems can happen. Some issues are easy to fix on the trail. Others need a bike expert’s help.
Knowing when to get professional help keeps you safe. It also stops small problems from getting bigger.
Identifying Unfixable Issues
Some bike problems are too hard to fix with trail tools. You might not have the right parts or skills. Trying to fix them may cause more damage.
Look for these signs that need pro help:
- Broken frame or bent parts
- Shattered spokes or broken wheel rims
- Severe brake damage or failure
- Complex gear system problems
- Cracked or damaged suspension
Finding Bike Shops On The Trail
Bike shops can fix serious issues quickly. Before your trip, research shops along your route. Save their locations and phone numbers.
If you don’t have internet, use maps or ask locals. Some shops offer mobile repair services. Know where to find them in case of emergency.
- Use apps or offline maps to mark bike shops
- Ask at hostels or campgrounds for nearby shops
- Call ahead to check shop hours and services
- Carry a list of emergency contacts and shop locations
Emergency Communication Tips
Sometimes you need to call for help fast. Carry a charged phone or satellite device. Know how to reach emergency services or a bike shop.
Tell someone your location if you have a problem. Share your planned route with a friend or family member before leaving.
- Keep phone numbers of bike shops and emergency services
- Use GPS or location-sharing apps to send your position
- Bring a portable charger for your devices
- Have a whistle or signal device to attract attention
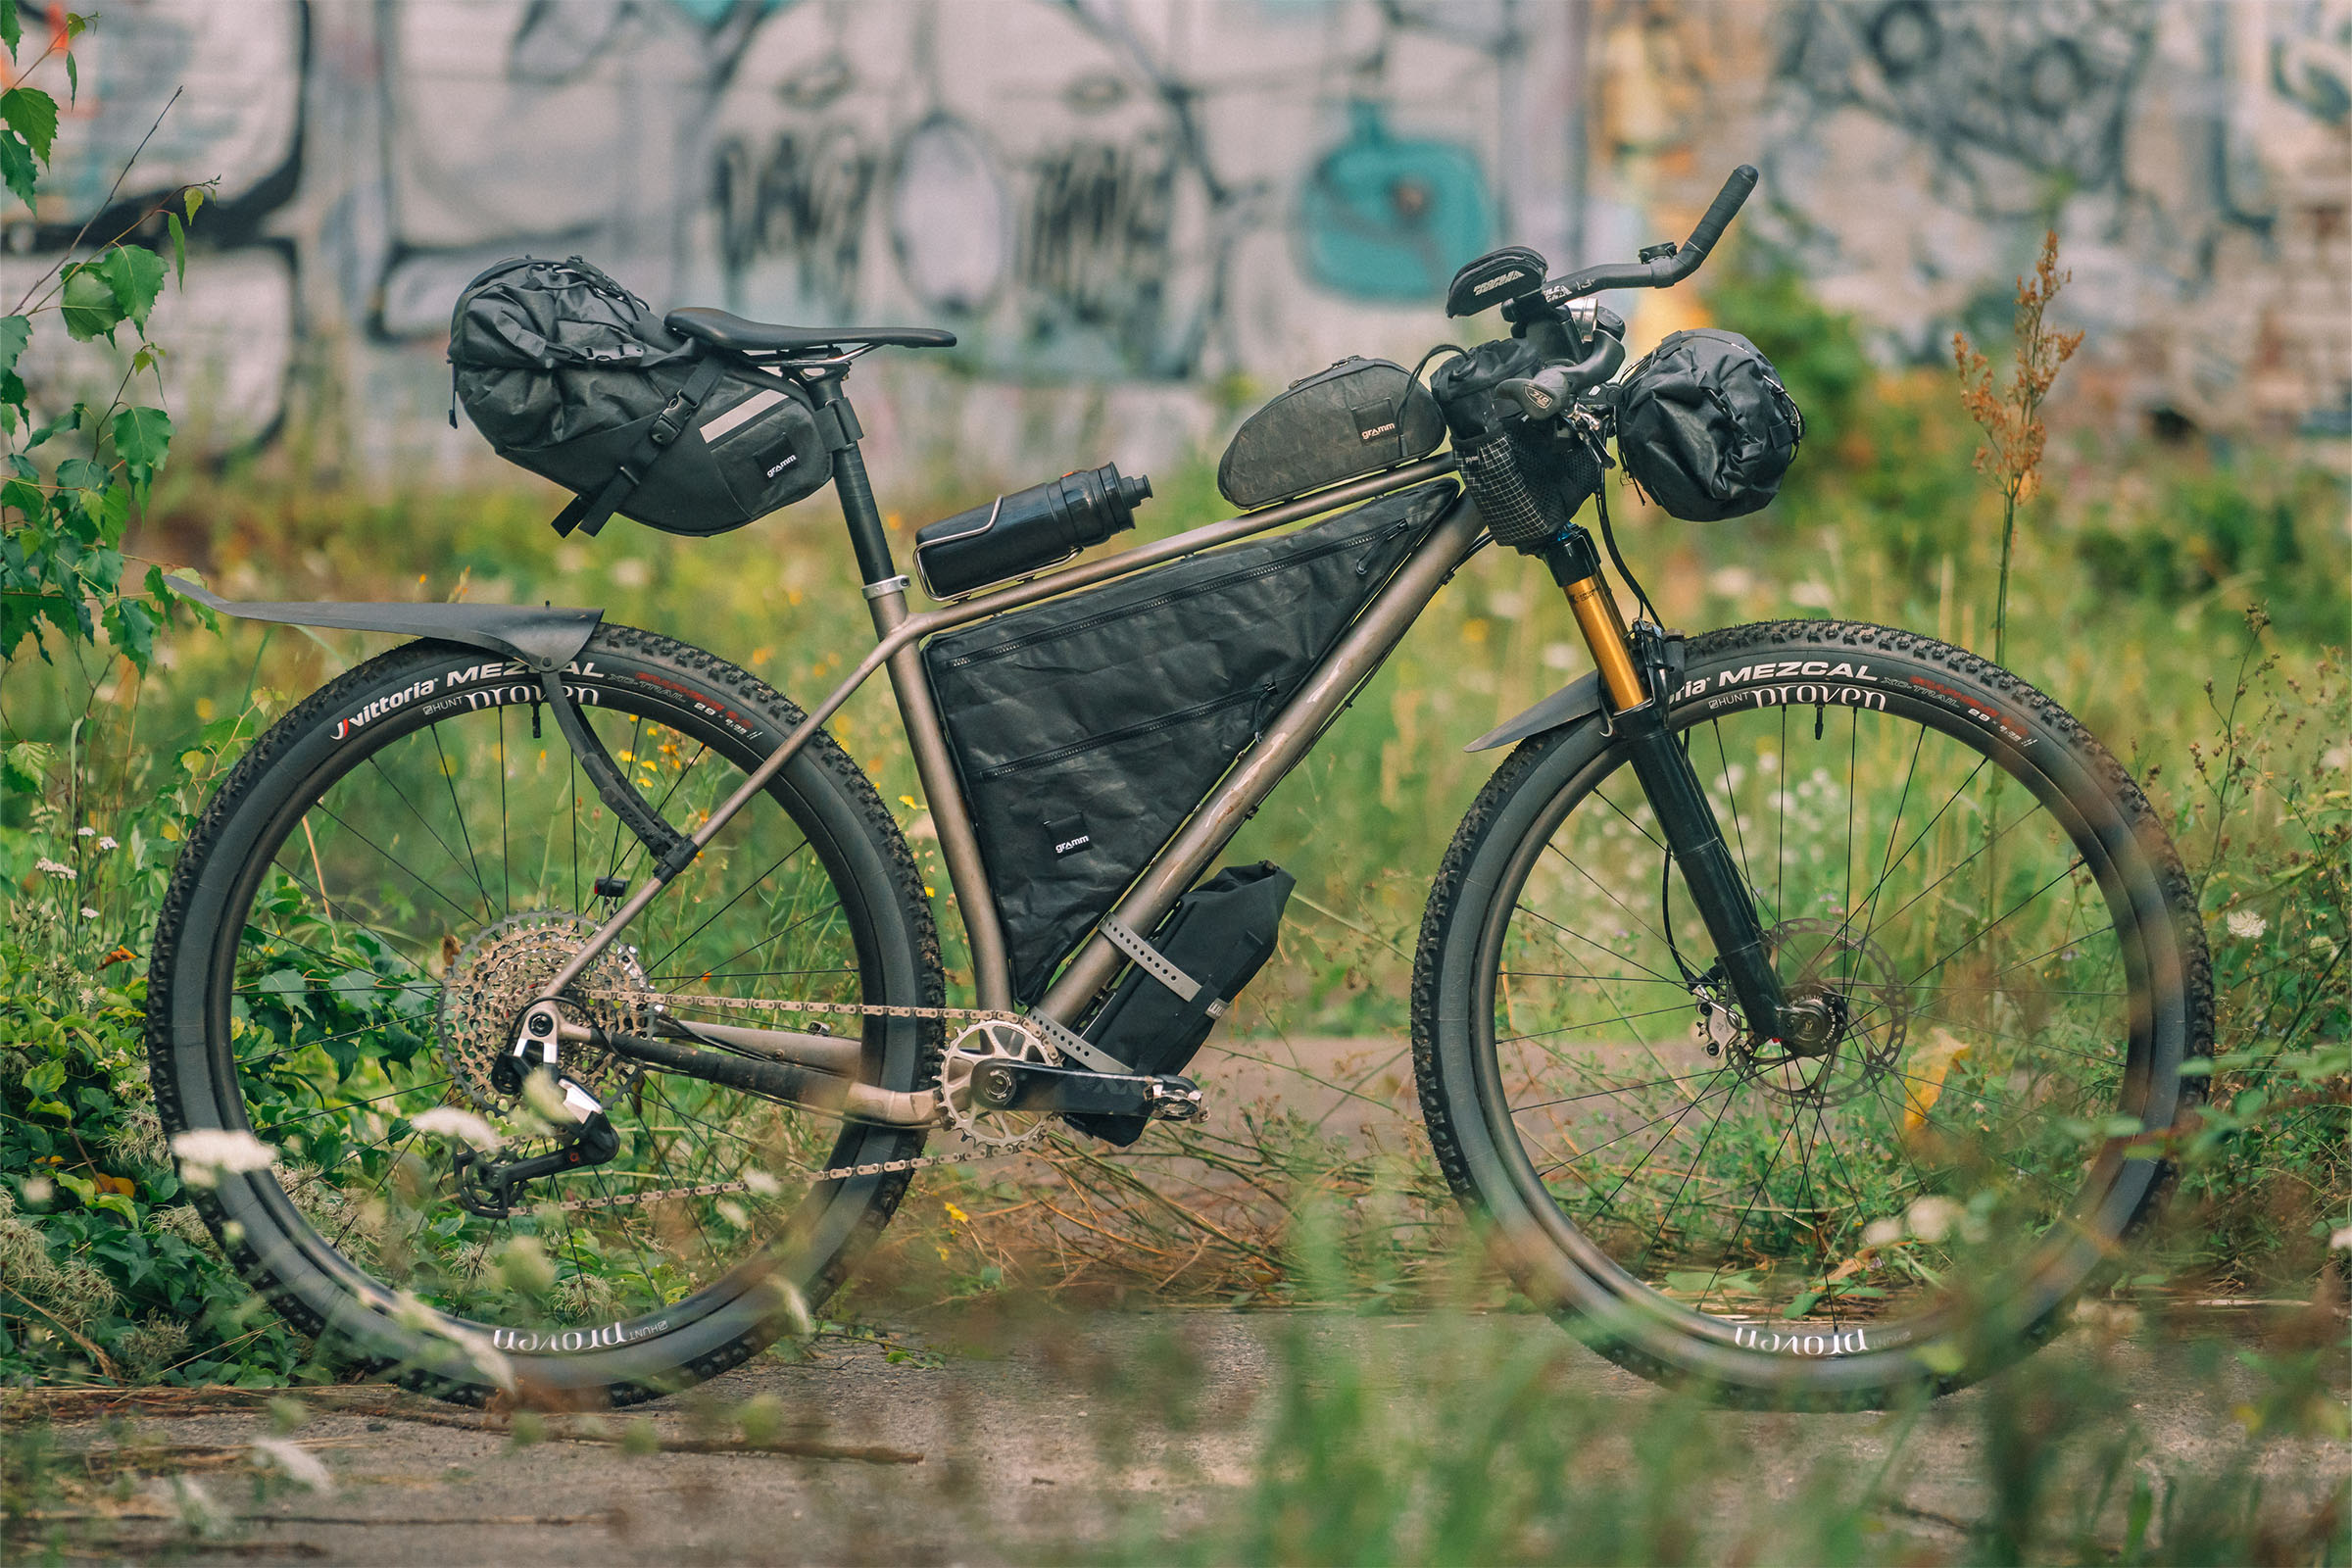
Credit: bikepacking.com
Frequently Asked Questions
How To Prepare For Bikepacking Mechanical Issues?
Carry essential tools like a multi-tool, spare tubes, and patch kits. Learn basic repairs before your trip. Regularly check your bike’s condition to prevent issues.
What Are Common Bikepacking Mechanical Problems?
Flat tires, chain breaks, and brake failures are frequent. Loose bolts and gear malfunctions also occur. Knowing how to fix these saves time on trail.
How To Fix A Flat Tire On Trail?
Remove the wheel, patch or replace the tube, and reassemble. Use tire levers and a pump for efficiency. Practice this repair before bikepacking.
Can I Repair A Broken Chain On The Trail?
Yes, use a chain tool or quick link to fix a chain. Carry spare links for emergencies. Ensure proper chain tension after repair.
Conclusion
Facing bikepacking mechanical issues can be daunting. But preparation eases the journey. Always carry essential tools and spare parts. Know the basics of bike repair. Practice these skills before hitting the trail. Stay calm during unexpected breakdowns. Adapt to challenges with a positive mindset.
Enjoy the adventure despite obstacles. Bikepacking offers freedom and connection with nature. Remember, every ride teaches new lessons. Embrace them. Happy trails!



