
When you’re planning a snowy bikepacking trip, choosing the right tires can make all the difference. Fat tires aren’t just bigger—they give you the grip and control you need on icy trails and deep snow.
But with so many options out there, how do you pick the best ones for your adventure? This guide will help you understand exactly what to look for, so your ride stays smooth and safe no matter how tough the conditions get.
Keep reading to find out how to select fat tires that will keep you rolling confidently through winter’s toughest terrain.
Benefits Of Fat Tires In Snow
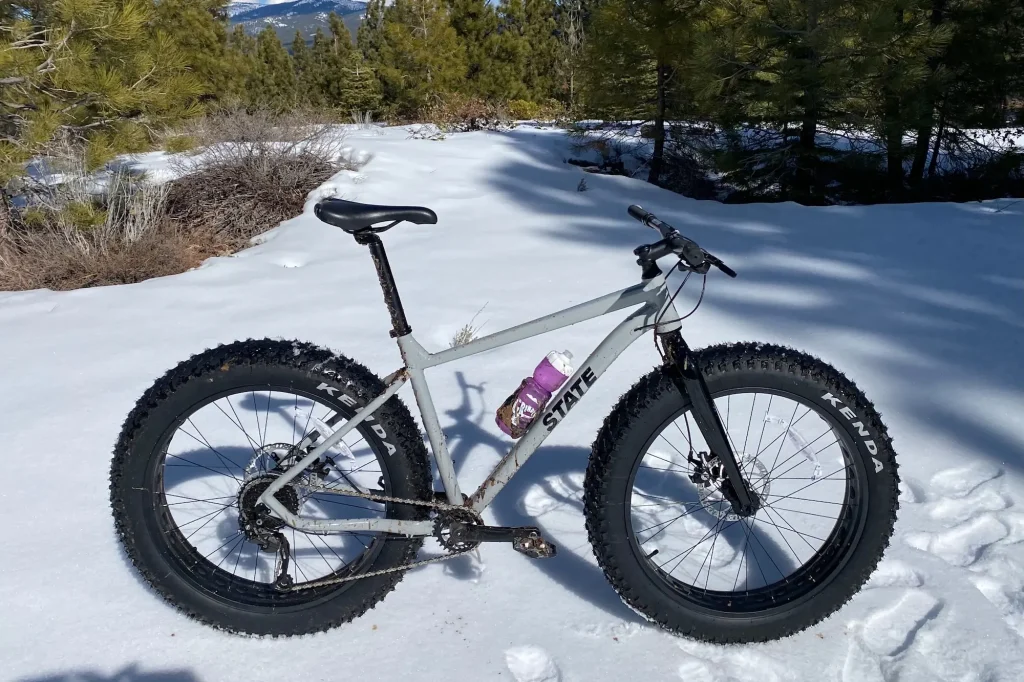
Fat tires are wider than regular bike tires. They help riders move safely on snow.
Using fat tires improves your bikepacking experience in cold and snowy conditions.
Improved Traction
Fat tires have a larger surface area. This spreads your weight and prevents slipping.
- Wide tires grip snow better than thin tires
- Soft snow is easier to ride on with fat tires
- Tread patterns on fat tires improve grip on icy spots
Enhanced Stability
Fat tires give your bike more balance on uneven snow trails. This reduces falls.
| Feature | Benefit |
| Wide tire base | Better balance on snow |
| Lower tire pressure | More ground contact |
| Increased floatation | Bike stays on top of snow |
Better Shock Absorption
Fat tires absorb bumps and rough snow easily. This makes your ride smoother.
Benefits of shock absorption:
- Less stress on your arms and shoulders
- Improved comfort on long rides
- Protects bike frame from damage
Key Features To Look For
Choosing the right fat tires is important for snowy bikepacking trips. Good tires help you ride safely and comfortably on snow.
Look at features like tire size, tread, rubber type, and resistance to punctures. These affect how well your bike handles snow.
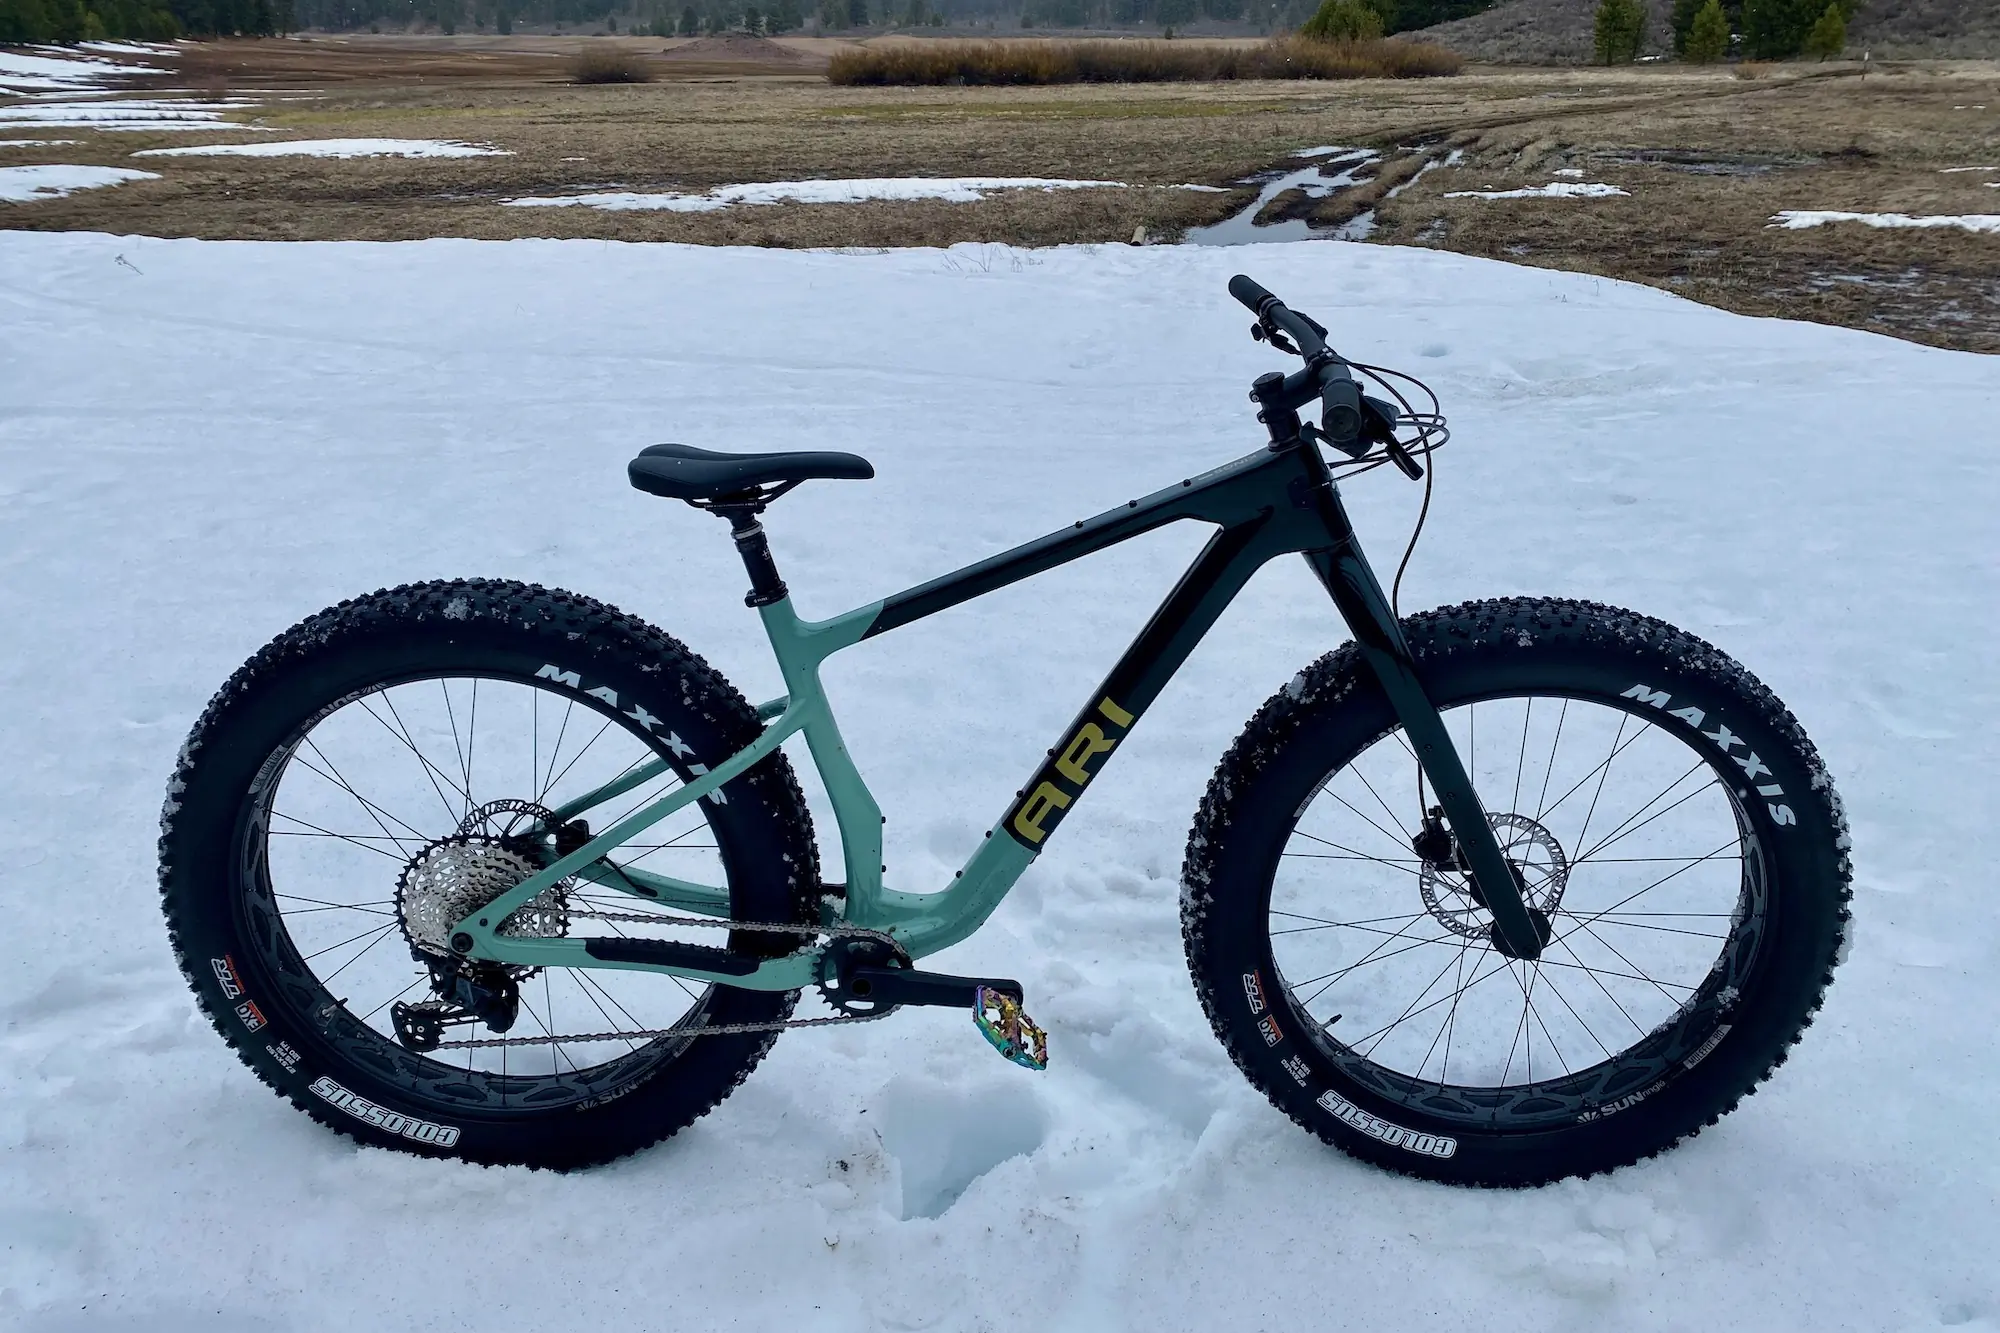
Tire Width And Diameter
Fat tires are wider than normal tires. Wider tires give better float on soft snow. They stop you from sinking.
Tire diameter affects how your bike rolls over snow and obstacles. Bigger diameter tires help with smooth riding.
- Choose tire width between 3.8 and 5 inches for snow.
- Diameter usually ranges from 26 to 29 inches.
- Wider and bigger tires improve stability and grip.
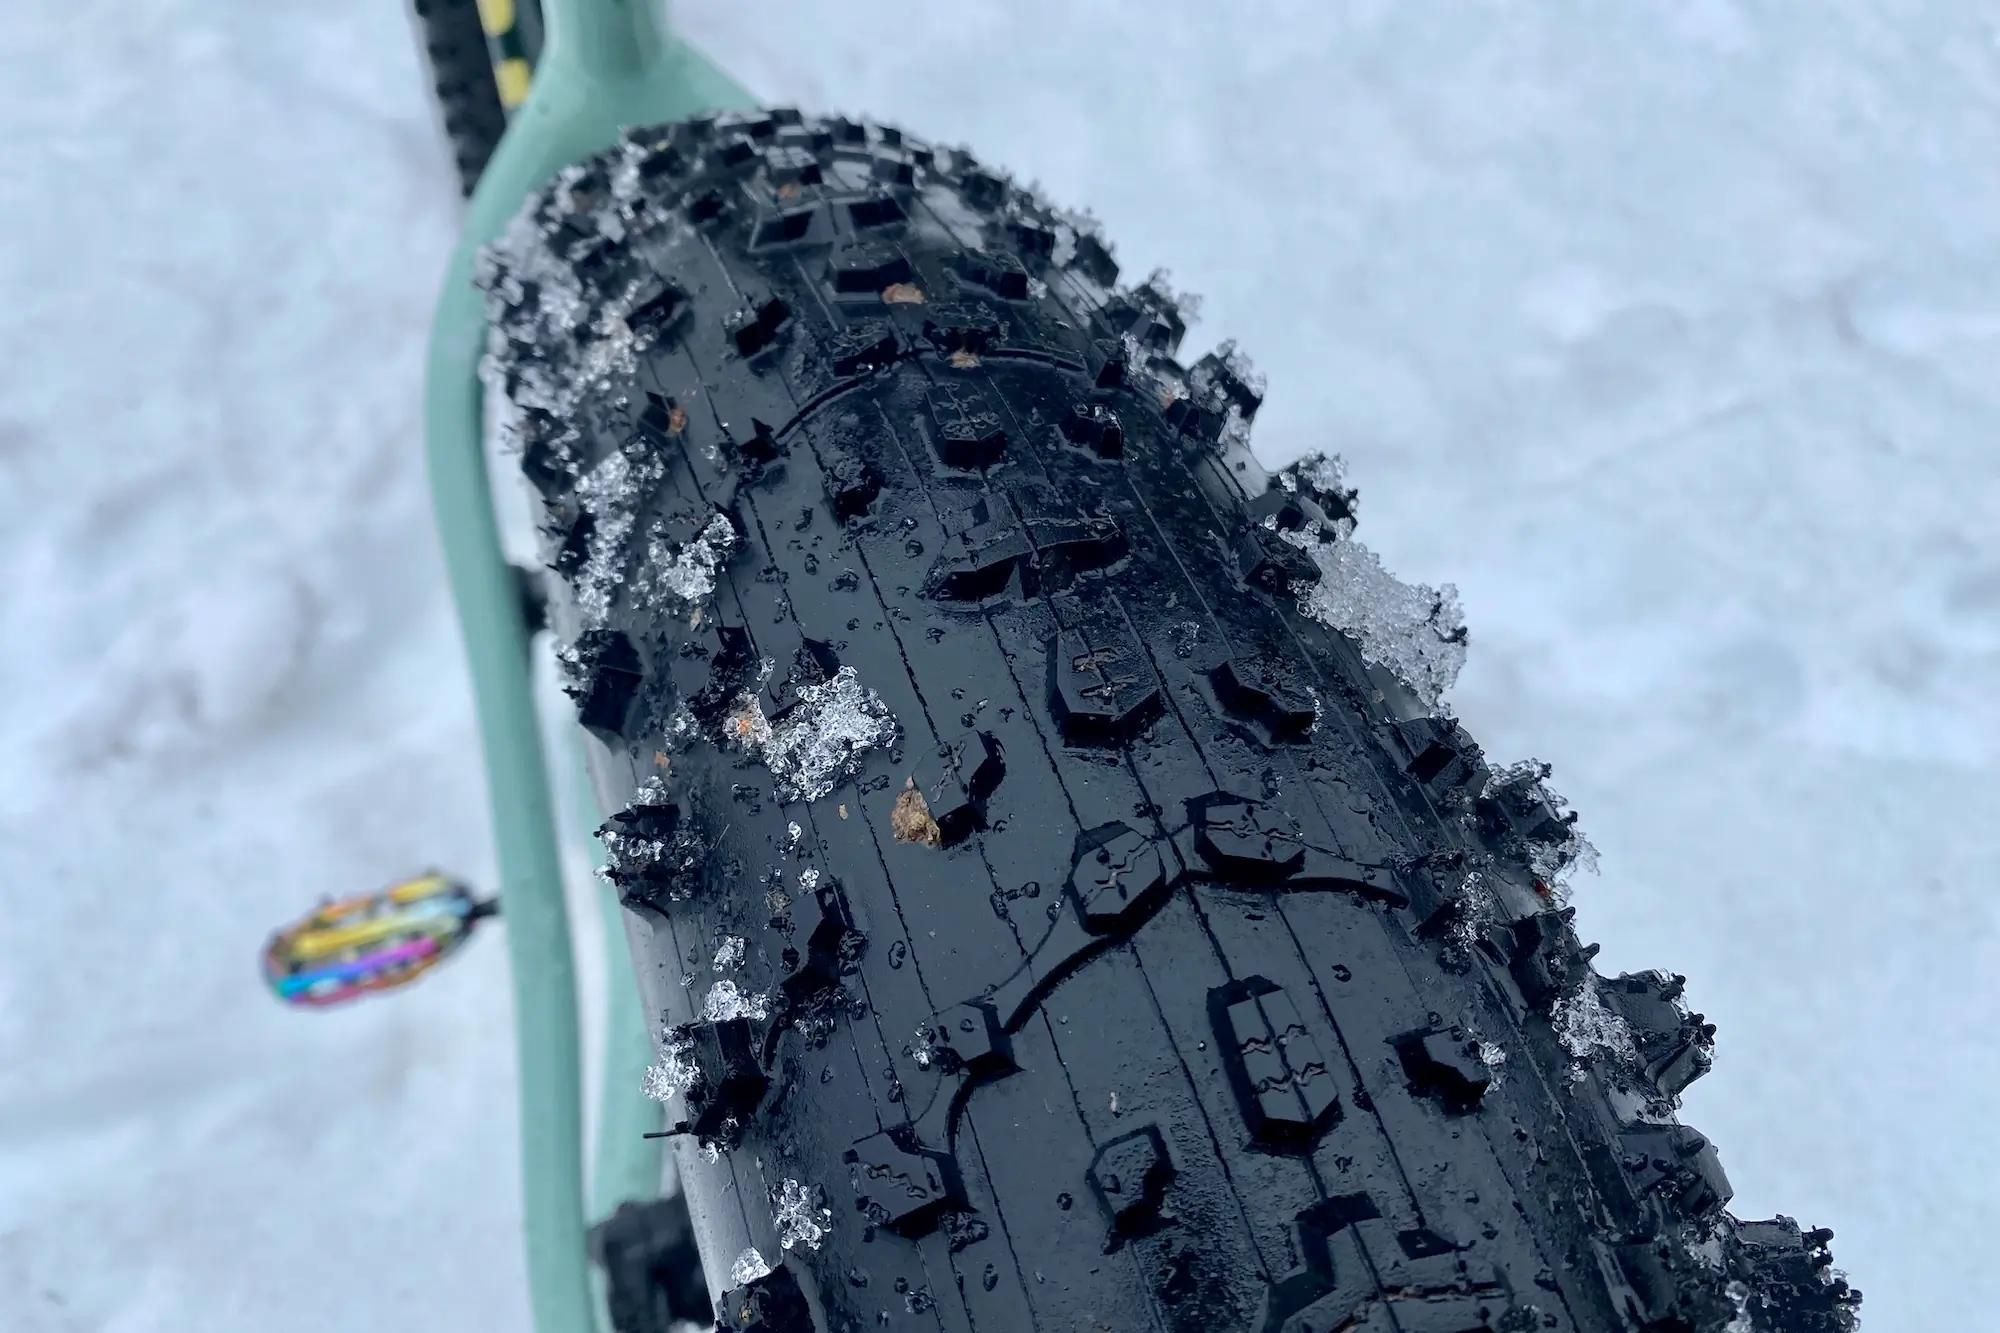
Tread Patterns
Tread design controls how well tires grip snow. Deep, widely spaced knobs help in soft snow. They dig in and prevent slipping.
Tread with small center knobs helps rolling on hard snow. Look for patterns that balance grip and speed.
- Knobby tread grips better in deep snow.
- Wide gaps avoid snow buildup between knobs.
- Moderate center tread improves smooth rolling.
Rubber Compound
Rubber type affects tire grip and durability in cold weather. Soft rubber stays flexible and grips better on ice.
Harder rubber lasts longer but may lose grip in freezing temperatures. Look for compounds made for cold climates.
- Soft rubber improves traction on ice and snow.
- Cold-resistant compounds prevent cracking.
- Choose tires designed for winter use.
Puncture Resistance
Punctures can end your trip early. Tires with good puncture protection keep you safe on rough, snowy trails.
Look for tires with reinforced layers or special liners. These reduce the chance of flats from sharp ice or rocks.
- Reinforced sidewalls add strength.
- Protective liners stop sharp objects from penetrating.
- Thicker casing improves durability.
Choosing The Right Tire Width
Fat tires are a must for snowy bikepacking trips. Picking the right width helps you stay safe and comfortable.
The tire width affects how your bike handles snow, weight, and speed. Choose wisely to enjoy your ride.
Narrow Vs Wide Tires
Narrow fat tires are usually 3.8 to 4.2 inches wide. They roll faster on packed snow and hard surfaces.
Wide fat tires range from 4.5 to 5 inches or more. They offer better floatation on deep snow and soft terrain.
- Narrow tires give better speed and control on firm snow
- Wide tires prevent sinking in soft, powdery snow
- Narrow tires use less energy but may slip more in loose snow
- Wide tires add stability but can slow you down
Balancing Weight And Performance
Wider tires usually weigh more than narrow ones. This weight affects how hard you pedal uphill.
Choosing the right tire width means balancing grip, float, and weight to fit your route and style.
- Lighter tires make climbing easier but may lose traction on deep snow
- Heavier, wider tires improve grip but require more effort
- Think about your bike’s weight and your physical strength
- Match tire width to the snow conditions you expect
Tread Design For Snow Conditions
Choosing the right tread design is key for bikepacking in snow. Your tires need good grip and control.
Snowy trails require tires that handle slippery and soft surfaces well. Tread patterns affect your ride safety.
Aggressive Vs Smooth Tread
Aggressive treads have deep, wide knobs that dig into snow. Smooth treads have smaller or fewer knobs for less resistance.
- Aggressive treadgives better traction in deep snow.
- Smooth treadrolls faster on packed snow and ice.
- Aggressive tires can slow you down on hard surfaces.
- Smooth tires may slip in loose, soft snow.
Studded Vs Non-studded Tires
Studded tires have metal pins to grip ice. Non-studded tires rely on rubber tread for traction.
| Feature | Studded Tires | Non-Studded Tires |
| Grip on Ice | Excellent | Moderate |
| Noise | Loud on pavement | Quiet |
| Wear Rate | Higher on hard surfaces | Lower |
| Weight | Heavier | Lighter |
| Use Case | Best for icy trails | Good for mostly snow |
Material And Durability Factors
Choosing fat tires for snowy bikepacking trips needs care. The right materials make tires last longer.
Durability helps tires handle rough snow and cold weather without damage.
Sidewall Strength
Strong sidewalls protect tires from cuts and tears on rough paths. Thick sidewalls add support and keep tires from bending.
Look for tires with reinforced sidewalls to avoid damage during long trips. This keeps you safe and your bike stable.
- Reinforced sidewalls resist sharp rocks and sticks
- Thicker rubber improves puncture resistance
- Durable materials prevent sidewall cracking in cold
Tire Pressure Recommendations
Lower tire pressure helps fat tires float on snow. It gives better grip and comfort on soft surfaces.
Use pressure between 5 and 15 PSI depending on snow conditions. Softer snow needs lower pressure to avoid sinking.
- 5-8 PSI for deep, powdery snow
- 8-12 PSI for packed snow or icy trails
- 12-15 PSI for hard or mixed surfaces
Credit: gearjunkie.com
Compatibility With Your Bike
Choosing fat tires for snowy bikepacking trips means checking if they fit your bike. The tires must work well with your bike’s parts.
Two key points are frame clearance and wheel size matching. These help avoid problems on the trail.
Frame Clearance
Frame clearance is the space between your bike frame and the tires. Fat tires are wider than regular ones. You need enough space to avoid rubbing.
- Measure the width inside your frame and fork.
- Check if the tires will fit without touching the frame.
- Remember to leave some space for mud and snow to pass.
- Consider your brakes and fenders; they need room too.
Wheel Size Matching
Fat tires come in different wheel sizes. Your bike’s wheels and tires must match to work well together.
| Wheel Size | Common Tire Width | Bike Use |
|---|---|---|
| 26 inch | 3.8″ to 5″ | Older fat bikes, some mountain bikes |
| 27.5 inch (650B) | 3.8″ to 4.8″ | Popular for modern fat bikes |
| 29 inch (700C) | 3.0″ to 3.8″ | Some fat bikes, plus size mountain bikes |
Maintenance Tips For Snowy Rides
Fat tires help you ride on snow with better grip and control. Proper care keeps them working well in cold weather.
Regular maintenance prevents damage and extends the life of your tires. Here are some tips to keep your tires in good shape.
Cleaning And Storage
Clean your fat tires after every snowy ride. Snow and salt can cause damage if left on the tires.
Store your bike in a dry place away from sunlight. Keep the tires off the ground to avoid flat spots.
- Use warm water and mild soap to clean tires
- Rinse off salt and dirt completely
- Dry tires fully before storing
- Keep tires in a cool, dry location
- Use a bike stand or hang the bike to avoid tire deformation
Inspecting For Damage
Check your fat tires for cuts, cracks, or worn tread before and after rides. Snow and ice can hide damage.
Look closely at the sidewalls and tread area to find any weak spots. Fix small issues early to prevent bigger problems.
- Look for cracks or splits in the rubber
- Check for embedded objects like small stones or glass
- Examine tread wear to ensure enough grip remains
- Feel for soft spots that might show tire damage
- Replace tires if damage is severe or tread is low
Credit: www.bikegeardatabase.com
Top Fat Tire Brands For Snow
Choosing the right fat tires is key for snowy bikepacking trips. Good tires improve grip and control.
Some brands focus on snow performance and durability. These brands offer tires built for cold, slippery conditions.
Popular Models
Many fat tire models suit snowy terrain. Look for tires with wide treads and strong sidewalls.
- Surly Nate: Known for aggressive tread and wide size options.
- 45NRTH Dillinger: Offers excellent traction on icy trails.
- Vee Tire Snowshoe XL: Lightweight with good grip on snow.
- Maxxis Minion FBR: Durable and designed for rough winter rides.
- Schwalbe Jumbo Jim: Smooth rolling but still grips well on snow.
Price Vs Performance
Fat tires vary in price based on materials and design. Higher prices often mean better grip and longer life.
Mid-range tires usually balance cost and performance. Budget options may lack durability or traction in deep snow.
| Price Range | Performance | Best Use |
|---|---|---|
| High ($150+) | Excellent grip, durable, advanced tread | Frequent snowy rides, rough terrain |
| Mid ($80-$150) | Good grip and durability | Casual snow bikepacking |
| Budget (<$80) | Basic grip, less durable | Occasional light snow rides |
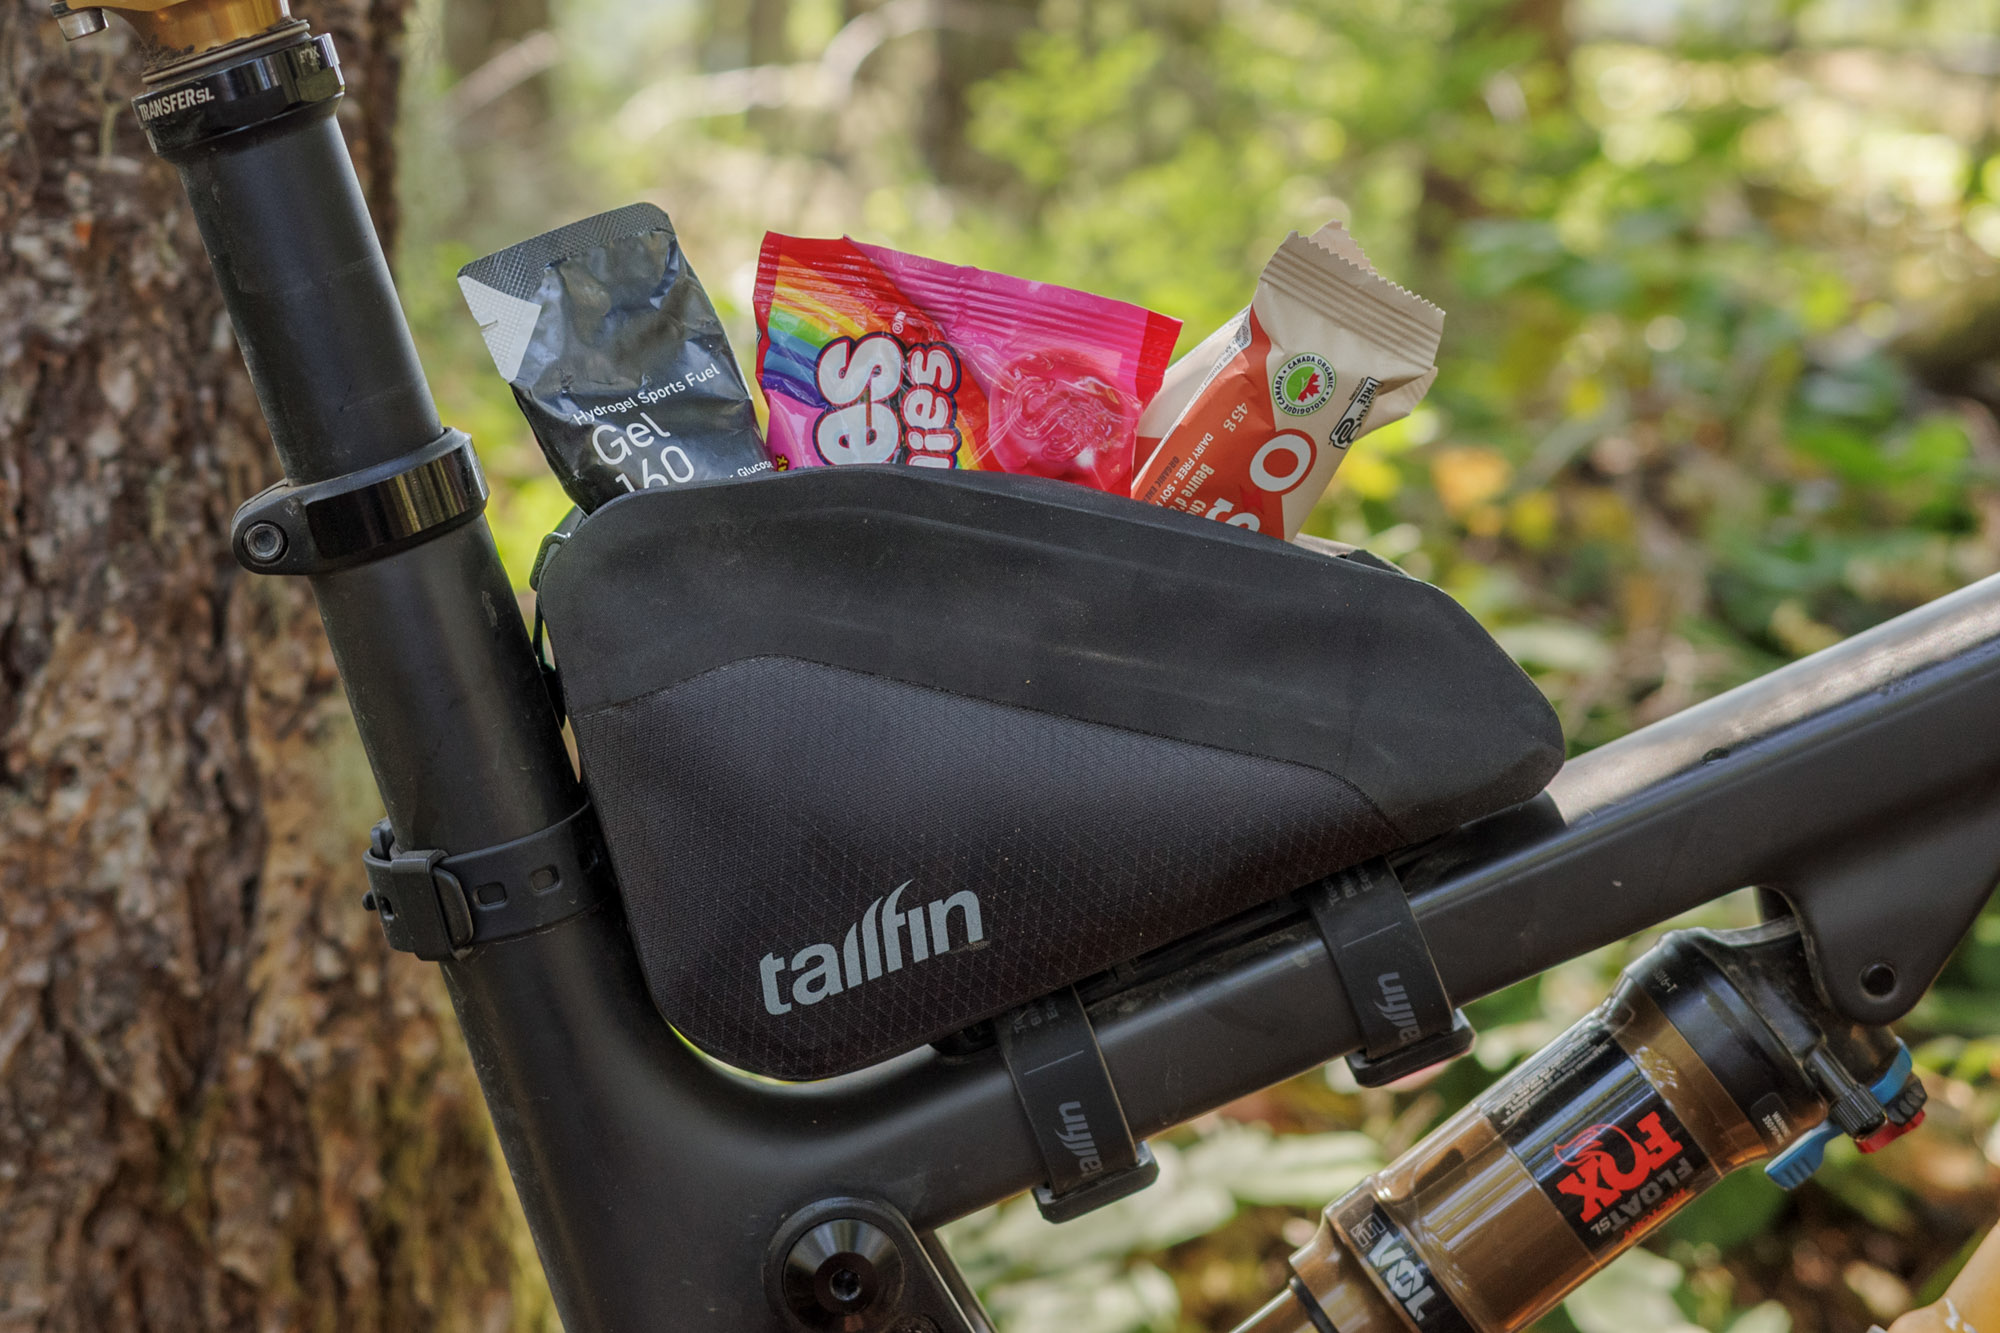
Packing Essentials For Snow Bikepacking
Bikepacking in snow needs special gear to keep you moving. Fat tires help, but packing right is key. Carry the right items for tire care and repair.
Focus on spare parts and tools. These items help fix problems fast and keep your trip safe and smooth.
Spare Tires And Repair Kits
Bring a spare tire that fits your fat bike well. Snow riding wears tires out faster. A repair kit is also needed for quick fixes.
- Choose a tire that matches your bike’s rim size and width
- Include patches and tire levers in your repair kit
- Carry extra tubes for quick replacement
- Sealant can help fix small punctures without removing the tire
- Keep a small pump or CO2 inflator for tire inflation
Tools For Tire Changes
Changing tires in cold, snowy conditions needs the right tools. Pack these to avoid delays and damage.
| Tool | Purpose |
| Tire Levers | Remove tire from the rim |
| Mini Pump | Inflate the tire after repair or replacement |
| Patch Kit | Fix small holes in inner tubes |
| CO2 Inflator | Quickly inflate tires in cold weather |
| Multi-tool | Tighten bolts and adjust brakes |
Credit: gearjunkie.com
Frequently Asked Questions
What Tire Width Is Best For Snow Bikepacking?
A tire width between 3. 8 to 4. 8 inches offers optimal floatation on snow. Wider tires improve grip and stability on soft, snowy surfaces, making your ride safer and more comfortable.
How Does Tire Tread Affect Snow Performance?
Aggressive tread patterns with deep knobs provide better traction on snow. They bite into icy or packed snow, reducing slippage and enhancing control during bikepacking trips.
Should I Choose Tubeless Fat Tires For Snow?
Yes, tubeless fat tires reduce flats and allow lower air pressure. Lower pressure increases surface contact and improves traction on snowy terrains, enhancing your overall ride experience.
What Tire Pressure Works Best For Snowy Trails?
Lower tire pressure, around 8-12 PSI, increases traction on snow. It allows the tire to conform to uneven surfaces, improving grip and ride comfort during snow bikepacking.
Conclusion
Choosing the right fat tires ensures a safe, enjoyable snowy bikepacking trip. Consider tire width for stability. Look for deep treads for better grip. Lightweight options can enhance performance. Always check compatibility with your bike. Proper tire pressure is crucial for navigating snow.
Experiment with different brands and models. Gather insights from fellow bikepackers. Prioritize quality over cost for long-term benefits. Enjoy the adventure with confidence. Stay prepared, and embrace the winter wonderland on your bike.


