
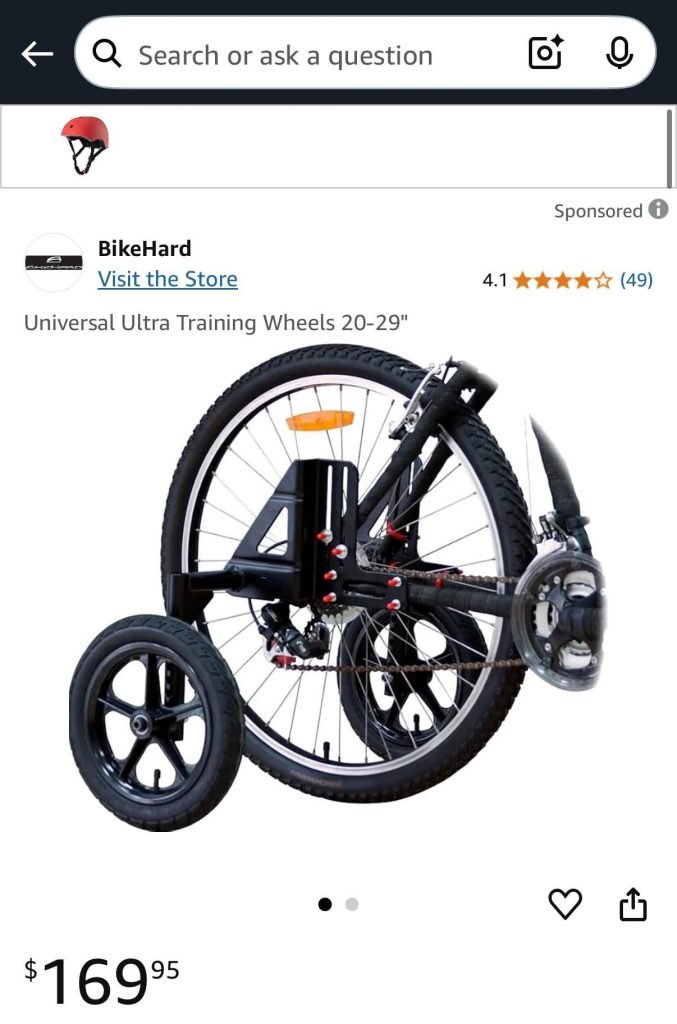
Are you ready to help your child take the next big step in learning to ride a bike? Removing and adjusting training wheels can feel tricky, but it doesn’t have to be.
In this guide, you’ll discover simple, clear steps that make the process smooth and stress-free for both you and your child. By the end, you’ll feel confident knowing exactly when and how to adjust or remove those training wheels to boost balance and independence.
Keep reading—you’re about to unlock the secret to making bike riding fun and safe every time!

Credit: www.reddit.com
When To Remove Training Wheels
Training wheels help children learn to ride a bike safely. Removing them is a big step. It shows your child is ready to balance on two wheels.
Knowing the right time to take off training wheels helps your child gain confidence. It also prevents frustration and keeps riding fun.
Signs Your Child Is Ready
Look for clear signs before removing training wheels. These signs show your child feels steady and safe on their bike.
- Your child can pedal smoothly without losing control.
- They steer the bike with ease on straight paths.
- Your child shows interest in riding without extra support.
- They can stop and start the bike confidently.
- Your child tries to balance without leaning on the training wheels.
Age Considerations
Age is a helpful guide but not the only factor. Most children are ready between ages 4 and 7.
| Age Range | Typical Readiness |
| 3 to 4 years | May need more time with training wheels |
| 4 to 5 years | Often ready to try without training wheels |
| 6 to 7 years | Usually able to balance and ride confidently |
Balancing Skills To Watch
Balancing is the key skill for riding a bike without training wheels. Watch how your child handles these tasks.
- Keeping the bike upright without leaning on support.
- Making smooth turns without wobbling.
- Stopping safely using brakes.
- Starting to pedal without assistance.
- Looking ahead while riding to stay balanced.
Preparing For Removal
Removing training wheels is an important step for a child learning to ride a bike. Preparing well helps make the process safe and smooth. It builds your child’s confidence before riding without extra support.
This guide covers three key areas to prepare for removing training wheels. You will learn what tools to gather, how to pick a safe place, and how to explain the change to your child.
Gathering Necessary Tools
Before removing the training wheels, collect the tools you need. Having everything ready saves time and keeps the process smooth. Most bikes use common tools for adjustment or removal.
- Adjustable wrench or a set of spanners
- Screwdriver (usually Phillips head)
- Bike stand or a stable surface to hold the bike
- Rag or cloth to clean parts if needed
Choosing A Safe Practice Area
Pick a quiet, flat, and open area for your child to practice riding without training wheels. This reduces the risk of falls or accidents. The space should have soft ground if possible.
- Empty parking lot or driveway
- Flat grassy field or park
- Sidewalks away from traffic
- Good lighting and no sharp obstacles
Explaining The Process To Your Child
Talk to your child about removing the training wheels. Explain that it is normal to feel unsure at first. Reassure them you will be there to help. This builds trust and excitement.
Use simple words and answer their questions. Tell them they will learn to balance and ride like a big kid. Let them know practice takes time and it is okay to fall.
Step-by-step Removal Guide
Removing training wheels is an important step in learning to ride a bike. It helps kids gain balance and confidence. This guide shows how to take off training wheels safely.
Follow these simple steps to loosen bolts, remove the wheels, and check the bike after removal.
Loosening The Bolts
Start by finding the bolts that hold the training wheels. These are usually near the back wheel of the bike. Use a wrench or a spanner to loosen them.
Turn the bolts counterclockwise until they become loose enough to remove. Do this gently to avoid damaging the bike or bolts.
- Use the correct size wrench for the bolts
- Hold the wheel steady while loosening
- Keep the bolts and nuts safe for later use
Taking Off The Training Wheels
After loosening the bolts, carefully take off the training wheels from both sides of the bike. Make sure to support the bike so it does not fall.
Check that the wheels come off easily. If they feel stuck, loosen the bolts a bit more before trying again.
- Remove wheels from both sides evenly
- Keep the training wheels for future use or storage
- Be gentle to avoid scratching the bike frame
Inspecting The Bike Post-removal
Once the training wheels are off, check the bike for any loose parts or damage. Make sure the back wheel is secure and spins well.
Look at the chain, brakes, and tires to ensure everything works properly before riding without training wheels.
- Tighten any loose bolts on the bike
- Check that the brakes respond correctly
- Inspect tires for proper air pressure
- Confirm the bike is safe for riding
Adjusting Training Wheels Instead
Training wheels help kids learn to ride a bike safely. Instead of removing them too soon, adjusting them can help build confidence.
This guide explains how to raise and adjust training wheels for better balance and support during learning.
Raising The Training Wheels
Raising the training wheels lets the bike tilt more. This helps the rider practice balancing while still having support.
- Loosen the bolts that hold the training wheels.
- Lift the wheels slightly higher off the ground.
- Tighten the bolts securely after adjusting.
- Test the bike for stability before riding.
Ensuring Proper Support
Proper support means the training wheels prevent falls but allow balance practice. Adjust them to the right height and angle.
| Height from Ground | Effect on Balance |
| Low (close to ground) | More support, less balance practice |
| Medium (1 inch off ground) | Good balance support |
| High (2 inches or more) | Less support, more balance challenge |
Gradual Reduction Techniques
Gradually reducing training wheel support helps kids gain confidence without fear. This process needs patience and care.
- Raise the training wheels slightly every few rides.
- Encourage short rides without training wheels on flat surfaces.
- Use a helmet and protective gear for safety.
- Support the child by holding the bike gently as they try.
- Remove training wheels fully when the child can balance well.
Tips For Smooth Transition
Removing and adjusting training wheels is a big step for young riders. It takes time and patience to help kids ride on two wheels confidently.
Use these tips to make the change easier and safer. Focus on balance, confidence, and practice to support your child.
Using Balance Bikes
Balance bikes help kids learn to balance before pedaling. They get used to steering and staying upright without training wheels.
- Start on smooth, flat ground
- Let the child walk or scoot with feet on the ground
- Encourage short rides to build skills
- Gradually increase speed and distance
Encouraging Confidence
Confidence is key when removing training wheels. Kids feel more secure when they know they are supported.
| Tip | How to Do It |
| Stay Close | Walk or run beside your child during rides |
| Offer Praise | Celebrate small successes and effort |
| Use Protective Gear | Always wear helmets and pads for safety |
| Set Realistic Goals | Break learning into easy, clear steps |
Practicing Regularly
Practice helps kids improve balance and control. Short, frequent sessions work best to keep interest and energy high.
Try this simple practice plan:
- Choose a quiet place with flat ground
- Spend 10-15 minutes riding each day
- Encourage trying new moves like turning and stopping
- Take breaks if your child feels tired or frustrated

Credit: www.youtube.com
Common Challenges And Fixes
Removing and adjusting training wheels can be a big step for young riders. Kids may feel unsure or scared about balancing on two wheels. Parents and teachers often face challenges during this transition.
Understanding these common issues helps to find simple solutions. Patience and safety are key to making this process smooth and fun.
Dealing With Fear
Children often feel afraid when training wheels come off. They worry about falling or losing control. This fear can stop them from trying to ride on their own.
Encourage your child with calm words and small steps. Let them practice balancing while you hold the bike. Celebrate small wins to build their confidence.
- Show them how to brake gently
- Practice on flat, open spaces
- Use protective gear for safety
- Be patient and supportive
Handling Falls Safely
Falling is a normal part of learning to ride. Kids may fall more often when training wheels are removed. Teaching safe ways to fall helps prevent injuries.
Show your child how to roll or land on soft parts of the body. Wearing a helmet, knee pads, and elbow pads adds protection. Always check the area for hazards before riding.
- Use soft grass or dirt for practice
- Wear a properly fitted helmet
- Teach how to fall safely
- Stay close to offer help
Maintaining Patience
Learning to ride without training wheels takes time. Children progress at different speeds. Some may learn quickly, others need more practice.
Stay calm and encourage your child every day. Avoid rushing or forcing them to ride. Celebrate each small step forward to keep their spirits high.
- Set short, regular practice sessions
- Give praise for effort, not just success
- Take breaks if your child feels tired
- Remember that patience leads to progress

Credit: bikefit.com
Frequently Asked Questions
How Do I Know When To Remove Training Wheels?
Remove training wheels when your child pedals steadily and balances well alone. Signs include smooth turns and no wobbling. Confidence and control indicate readiness to try riding without support.
What Tools Are Needed To Adjust Training Wheels?
You typically need a wrench or socket set to adjust training wheels. These tools help loosen or tighten the bolts holding the wheels. Make sure to check the bike’s manual for specific tool recommendations.
How To Properly Adjust Training Wheels For Balance?
Adjust training wheels so they are slightly off the ground. This encourages the child to balance on two wheels while preventing falls. Set them a small distance apart to provide stability without full support.
Can Training Wheels Be Removed Without Losing Bike Stability?
Yes, remove training wheels carefully while ensuring the bike remains stable. Hold the bike steady during removal, and let your child practice balancing gradually. Support and patience help maintain stability during transition.
Conclusion
Removing and adjusting training wheels can be simple. Follow the steps above. Practice helps kids gain balance and confidence. Safety first, always. Ensure the bike is stable and secure. Encourage your child with patience. Celebrate small progress and successes. With time, kids will ride confidently.
Training wheels are a helpful start. Soon, your child will cycle independently. Enjoy the biking journey together. Remember, every child learns at their own pace. Keep the experience fun and positive. Riding a bike is a joyful milestone. Happy cycling!



