
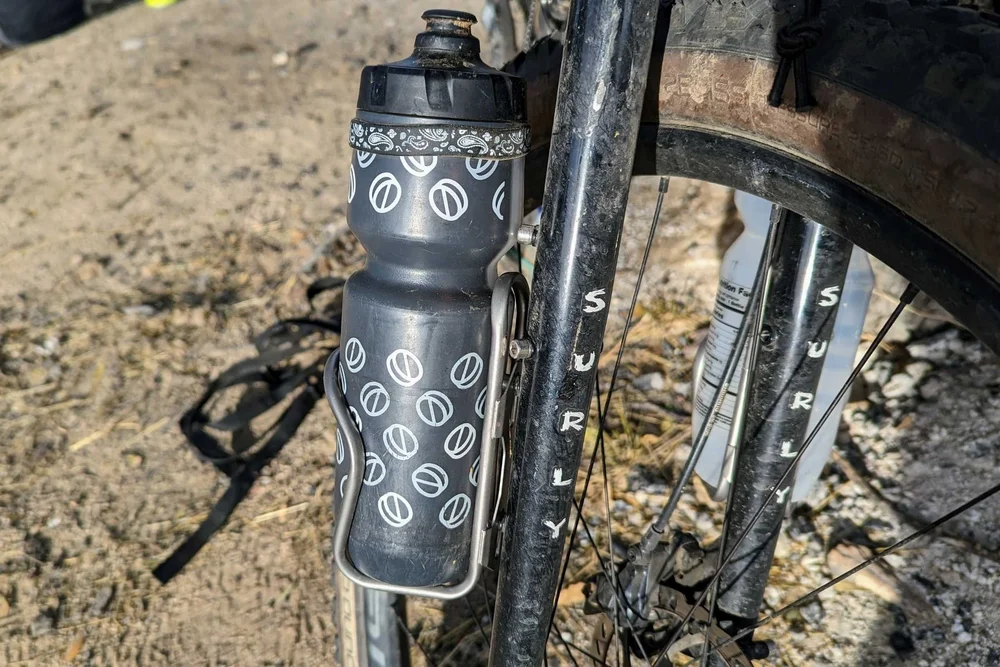
Are you ready to make your touring rides more comfortable and convenient? Installing bottle cages on your touring bike is one of the easiest upgrades you can make, but doing it right ensures your water stays secure no matter how rough the road gets.
Whether you’re planning a long trip or just want quick access to hydration on daily rides, this guide will walk you through every step. Keep reading, and you’ll learn how to install bottle cages quickly and safely, so you can stay refreshed and focused on the road ahead.
Choosing The Right Bottle Cage
Choosing the right bottle cageimproves your ride comfort. There are several types to pick from. Some hold bottles tightly, while others allow quick removal.
- Plastic cages:Lightweight and affordable, but less durable.
- Aluminum cages:Strong and light, good for long trips.
- Carbon fiber cages:Very light and stylish, but costly.
- Steel cages:Heavy but very strong and cheap.
Size matters. Most bottle cages fit standard bottles, but check your bottle size first. Some cages are adjustable for different bottle widths.
| Material | Weight | Durability | Cost |
|---|---|---|---|
| Plastic | Light | Low | Low |
| Aluminum | Medium | High | Medium |
| Carbon Fiber | Very Light | Medium | High |
| Steel | Heavy | Very High | Low |
Gathering Necessary Tools
Gathering the right toolsmakes the installation easier and faster. A Phillips screwdriveror Allen wrenchfits most bolts on bottle cages. A wrench or adjustable spannerhelps tighten nuts securely.
Extra items can help, like thread lockerto keep bolts from loosening. A tape measureor ruler checks the position of cages on the frame. A clean clothwipes dirt or grease before fixing the cage.
| Essential Tools | Optional Accessories |
|---|---|
| Phillips screwdriver | Thread locker |
| Allen wrench set | Tape measure or ruler |
| Wrench or adjustable spanner | Clean cloth |
Preparing The Bike Frame
Find the mounting pointson your bike frame first. Most touring bikes have two threaded holes on each side of the frame. These spots are usually near the down tube and seat tube.
Check if the holes are clear and ready for screws. If your bike does not have these holes, you may need special clamps or adapters.
Before installing the bottle cage, clean the frame area well. Use a soft cloth with mild soap and water. This removes dirt and grease, helping the cage stick better.
Dry the frame completely. This prevents rust and keeps the bike looking good.
Credit: lovelybike.blogspot.com
Installing The Bottle Cage
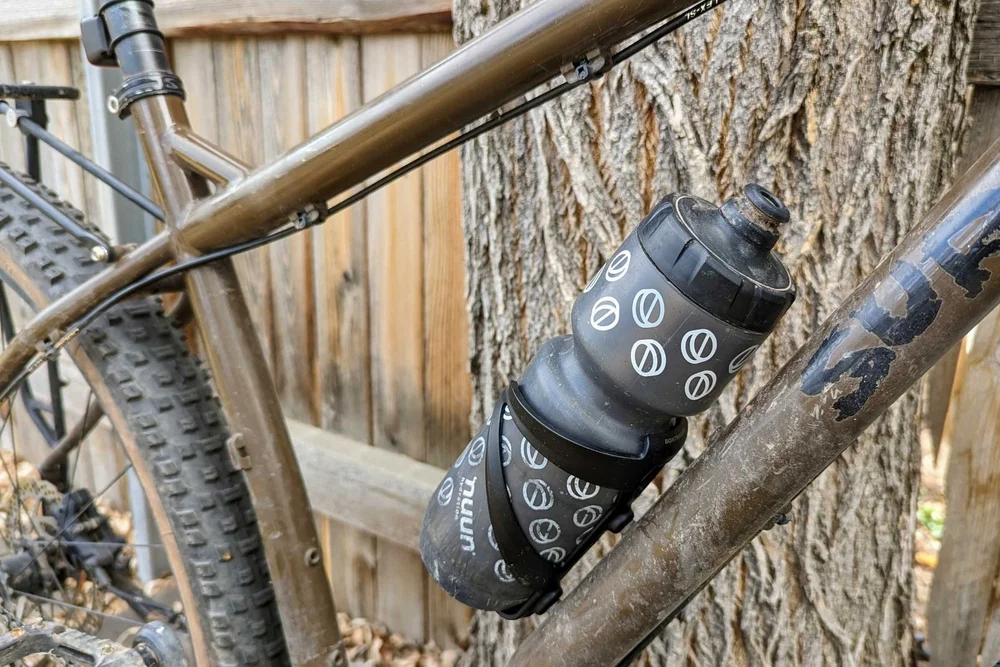
Place the bottle cage against the bike frame where the holes line up. Make sure the cage fits flat and does not wobble. The holes on the frame are usually near the middle of the down tube or seat tube. Align the cage so it sits straight and easy to reach while riding.
Use the bolts that came with the cage or the bike. Insert them through the holes in the cage and screw them into the frame. Tighten the bolts using a screwdriver or an Allen wrench. Make sure the bolts are snug but do not overtighten to avoid damage.
- Check if the cage holds the bottle firmly without moving.
- Try taking the bottle in and out to test ease.
- Ensure the bolts stay tight after a short ride.
- Adjust if the cage feels loose or too tight.
Adjusting For Multiple Cages
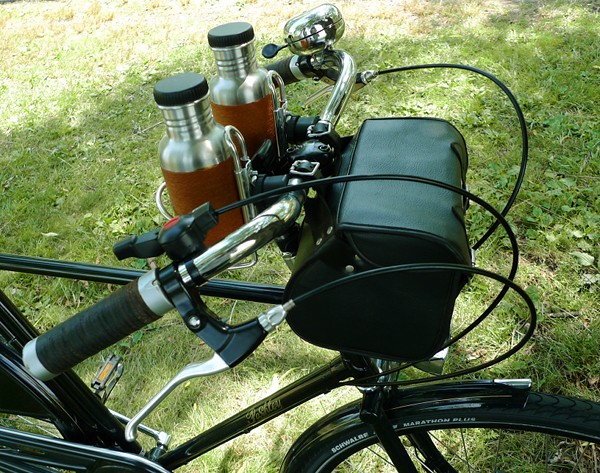
Position the bottle cages where they are easy to reach while riding. Usually, one cage goes on the down tube and another on the seat tube. Make sure the cages do not block each other or the bike frame.
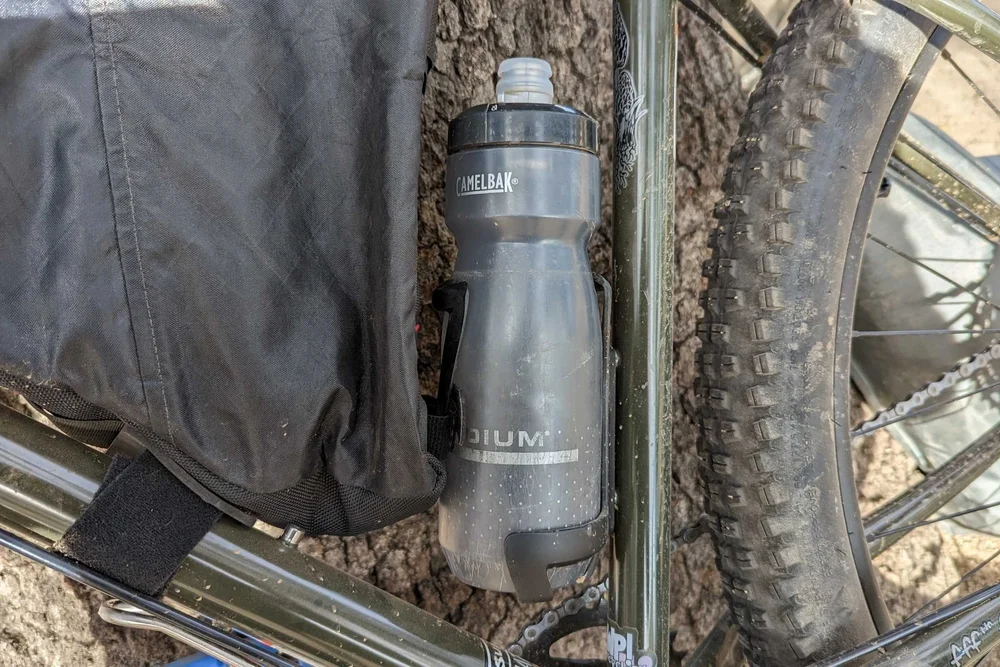
Check that the cages do not hit the pedals or your legs when pedaling. Also, avoid placing cages where they might rub against bags or other gear.
| Tip | Why It Matters |
|---|---|
| Place cages on different tubes | Prevents cages from blocking each other |
| Keep cages away from pedals and legs | Allows comfortable pedaling |
| Check clearance with bike bags | Stops rubbing and damage |
Credit: www.treelinereview.com
Maintenance Tips
Installing bottle cages on touring bikes involves choosing the right cage and positioning it on the frame. Use a screwdriver to attach the cage securely with screws. Ensure it’s tight to avoid rattling during rides.
Regular Tightening
Bottle cages can become loose over time. Always check the screws. Use a wrench to tighten them. Make sure they are secure. Loose cages can cause bottles to fall. This can be dangerous when riding. Tighten them regularly to prevent accidents.
Cleaning The Cages
Dirty cages can hold bacteria. Clean them with warm soapy water. Use a sponge to scrub them. Rinse thoroughly with clean water. Dry them with a soft cloth. This keeps your bottles clean and safe to use. Regular cleaning extends cage life.
Credit: www.treelinereview.com
Frequently Asked Questions
How Do I Install Bottle Cages On Touring Bikes?
To install bottle cages, align the cage holes with the frame’s mounting holes. Use bolts to secure tightly. Ensure the cage is stable and accessible while riding.
What Tools Are Needed To Mount Bottle Cages?
You need a hex wrench or Allen key, usually 4mm or 5mm. A screwdriver may help for some bolts. Having a torque wrench ensures correct tightness.
Can I Install Bottle Cages Without Pre-drilled Holes?
Yes, but you must use clamp-on cages or adapters. Drilling into the frame is risky and not recommended. Clamp-on cages attach securely without damage.
Where Is The Best Place To Mount Bottle Cages On Touring Bikes?
Mount cages on the down tube or seat tube for easy reach. Some riders add extra cages on the fork or rear rack for longer trips.
Conclusion
Installing bottle cages on touring bikes is simple and useful. Choose the right spot on your bike frame. Use the correct screws and tools for a secure fit. Tighten screws just enough to hold cages firmly. Check that cages hold bottles without wobbling.
Carry water easily on long rides. Stay hydrated and enjoy your journey. Small steps make big differences in bike setup. Now, your bike is ready for adventure and comfort.



