
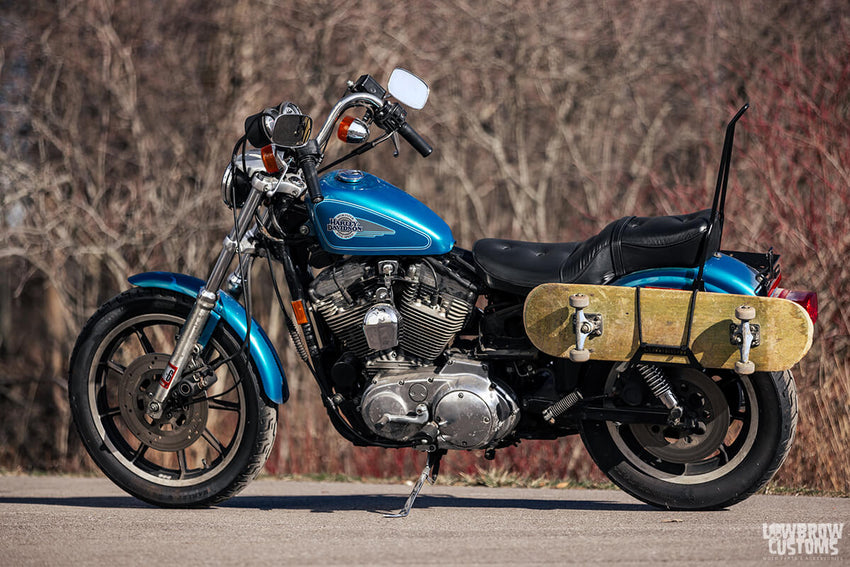
If you love riding your chopper bike but struggle to carry your gear, adding racks can be a game-changer. Imagine having a sturdy place to hold your bags, tools, or even groceries without ruining your bike’s style.
Installing racks on your chopper bike is easier than you think, and once you know how, you’ll wonder why you didn’t do it sooner. In this guide, you’ll get clear, step-by-step instructions that anyone can follow. Ready to upgrade your ride and carry more with confidence?
Let’s dive in and make your chopper bike work harder for you.
Choosing The Right Rack
Choosing the right rack for your chopper bike is key to safe carrying. Racks come in different typesand sizes. Some fit on the back, while others attach near the front fork.
Materialaffects weight and strength. Steel racks are strong but heavy. Aluminum racks are light but less tough. Consider how much weight the rack will hold.
Check your bike’s frame to ensure compatibility. Some racks fit only certain models. Measure the mounting points on your bike. Match them with the rack’s attachment style.
| Rack Type | Material | Weight | Best For |
|---|---|---|---|
| Rear Rack | Steel or Aluminum | Medium to Heavy | Carrying bags or small cargo |
| Front Rack | Aluminum | Light | Lightweight items and baskets |
| Side Pannier Rack | Steel | Heavy | Large cargo and panniers |
Credit: www.lowbrowcustoms.com
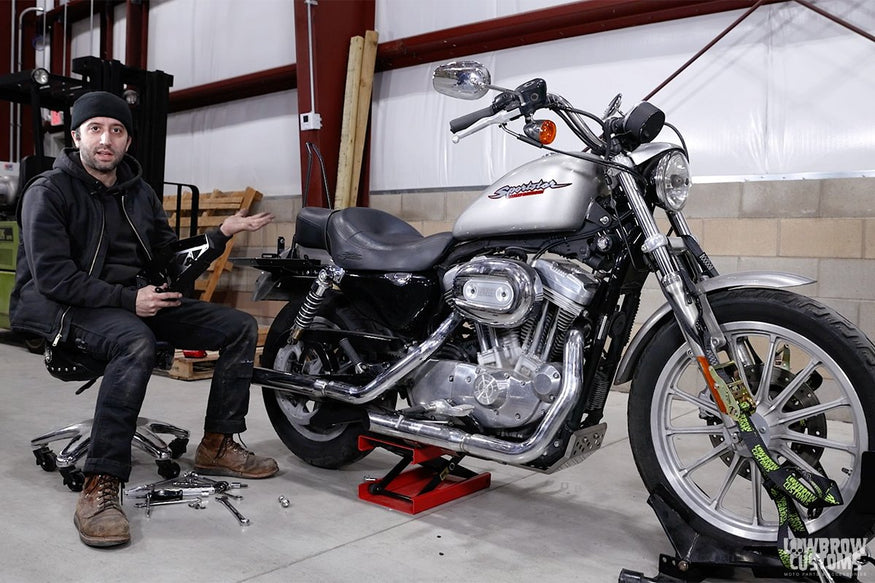
Gathering Tools And Supplies
Gathering the right toolsand materialsis key for installing racks on chopper bikes. Basic tools include a wrench set, screwdrivers, and Allen keys. These help in tightening bolts and screws securely.
Other essential items are mounting bracketsand rack bolts. Make sure these fit your bike model. A measuring tapehelps align the rack properly.
| Essential Tools | Additional Materials |
|---|---|
| Wrench set | Mounting brackets |
| Screwdrivers | Rack bolts |
| Allen keys | Measuring tape |
| Socket wrench | Zip ties (optional) |
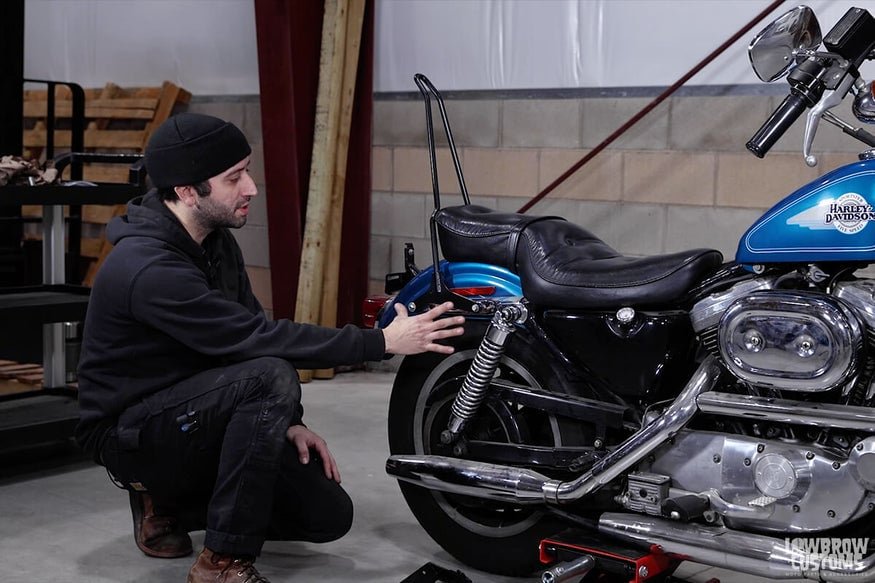
Preparing The Bike
Start by cleaning the mounting areason the bike. Dirt and grease can stop racks from fitting well. Use a soft cloth and mild soap to wipe the spots where the rack will go.
Next, inspect these areasfor damage. Look for cracks, rust, or loose parts that could cause trouble later. Fix or replace any parts if needed.
- Remove any cables or accessories blocking the rack spots.
- Clear away mud or old tape that might cover bolts.
- Ensure the frame is smooth and ready for the rack.
Removing obstructions helps the rack fit securely and safely. A clean, clear space is key for strong attachment.
Aligning The Rack
Place the rack gently on the bike frame to check its fit. The rack should sit close to the frame without touching the tires or chain. Ensure the rack is level and straight for better balance and safety.
Look for small holes or brackets on the frame where the rack can be attached. These are the attachment points. Mark these spots with a pencil or tape to guide you during installation.
| Attachment Point | Purpose |
|---|---|
| Rear dropouts | Support the lower part of the rack |
| Seat stays | Provide upper support for stability |
| Frame eyelets | Secure the rack firmly to the bike |
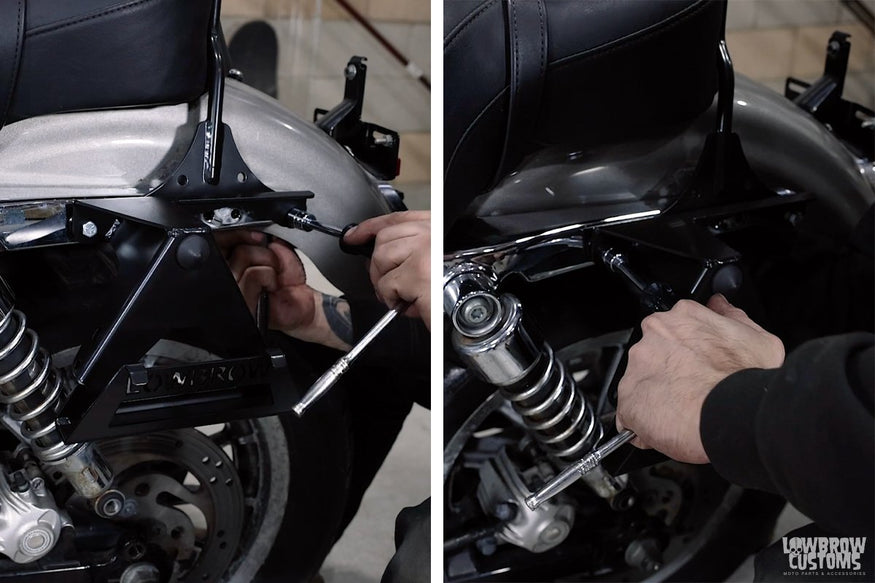
Mounting The Rack
Attach the bolts and screwstightly to hold the rack in place. Use a wrench or screwdriver for a secure fit. Make sure not to overtighten, which could damage the bike frame.
Secure the brackets and supportsfirmly. These parts keep the rack steady during rides. Align them correctly with the bike’s frame and fasten all connections.
Check the rack’s stabilityby shaking it gently. It should not move or wobble. If it does, tighten the bolts and adjust the brackets again. Proper stability keeps your cargo safe.
Adjusting And Testing
Adjust the rack to fit snugly on the chopper frame, ensuring all bolts align properly. Test stability by gently shaking the bike before riding. Tighten any loose parts to keep the rack secure and safe during use.
Fine-tuning Rack Position
Place the rack on the bike. Check if it sits evenly. Adjust the screws if needed. The rack should not wobble. Align it with the bike’s frame. Make sure it doesn’t touch the tires. The rack must be stable and secure. Use a level for perfect balance.Load Testing For Safety
Start with a light load. Put a small bag on the rack. Ride the bike slowly. Listen for strange sounds. Check if the rack moves. Increase the load gradually. Ensure the bike stays steady. The rack should hold the weight safely. Double-check all screws are tight. `Maintenance Tips
Choose racks that fit your chopper bike’s frame size and shape. Securely attach mounting brackets and tighten all bolts to avoid wobbling. Check stability before riding to ensure safety and durability.
Regular Inspection
Check your chopper bike’s racks often. Look for loose parts or damaged areas. A quick look can save big problems later. Make sure the racks are secure and straight. Wiggle them gently to test. If they move too much, they need fixing.
Tightening And Cleaning
Use a wrench to tighten any loose bolts. This keeps the racks strong. Clean the racks with a soft cloth. Dirt can make them weak over time. Use mild soap if needed. Rinse well and dry completely. This stops rust from forming.
Credit: www.lowbrowcustoms.com
Credit: www.lowbrowcustoms.com
Frequently Asked Questions
How Do I Choose The Right Rack For My Chopper Bike?
Select a rack compatible with your chopper’s frame and size. Consider weight capacity and mounting points for stability and safety.
What Tools Are Needed To Install Racks On Chopper Bikes?
You will need wrenches, screwdrivers, and possibly a drill. Always check the rack’s installation guide for specific tools.
Can I Install A Rack Without Modifying My Chopper Bike?
Yes, many racks fit without modifications. Choose racks designed for your bike model to avoid drilling or welding.
How Do I Ensure The Rack Is Securely Attached?
Tighten all bolts evenly and check alignment. Test the rack’s stability before carrying any load to ensure safety.
Conclusion
Installing racks on chopper bikes is easier than it seems. Follow each step carefully for a secure fit. Use the right tools and parts to avoid problems. Take your time and check all bolts tight. A good rack adds space and convenience for rides.
Enjoy carrying your gear safely and easily. Keep your bike balanced for a smooth trip. Practice installing a few times to gain confidence. Now, your chopper bike is ready for more adventures. Simple steps lead to great results.


